

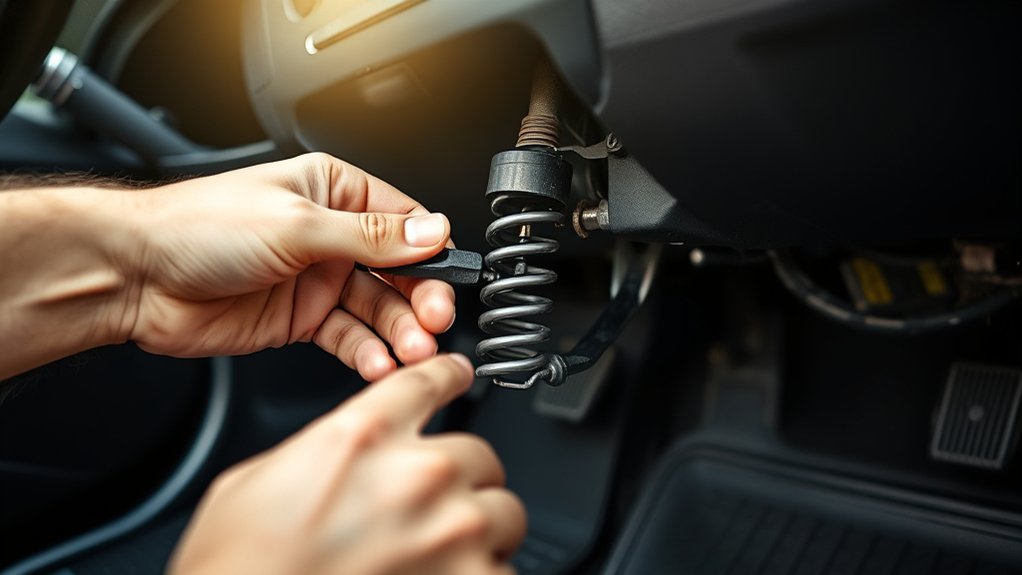
To adjust your clutch pedal properly, start by gathering essential tools like a wrench set, screwdriver, tape measure, and flashlight.
Adjusting the clutch pedal free play is crucial for smooth operation and preventing premature wear. Measuring the free play, which should be between 10-20 mm, ensures optimal clutch performance and responsiveness.
Locate the clutch cable adjuster near the pedal or under the hood, then loosen the locknut to make adjustments.
Turn the adjuster clockwise to reduce free play or counterclockwise to increase it. After setting the desired free play, tighten the locknut securely.
Test the pedal feel to confirm the adjustment, and repeat the process if necessary.
Following these steps helps recognize potential clutch issues and guarantees smooth clutch operation.
Key Takeaways
- Gather tools including wrench set, screwdriver, tape measure, and flashlight before starting the clutch pedal adjustment.
- Measure the clutch pedal free play, aiming for 10-20 mm (0.4-0.8 inches) before resistance.
- Locate the clutch cable adjuster near the clutch lever or under the hood and loosen the locknut.
- Turn the adjuster clockwise to reduce free play or counterclockwise to increase it, then retighten the locknut.
- Test pedal feel and free play after adjustment, repeating the process if necessary for smooth clutch operation.
Tools Needed for Clutch Pedal Adjustment
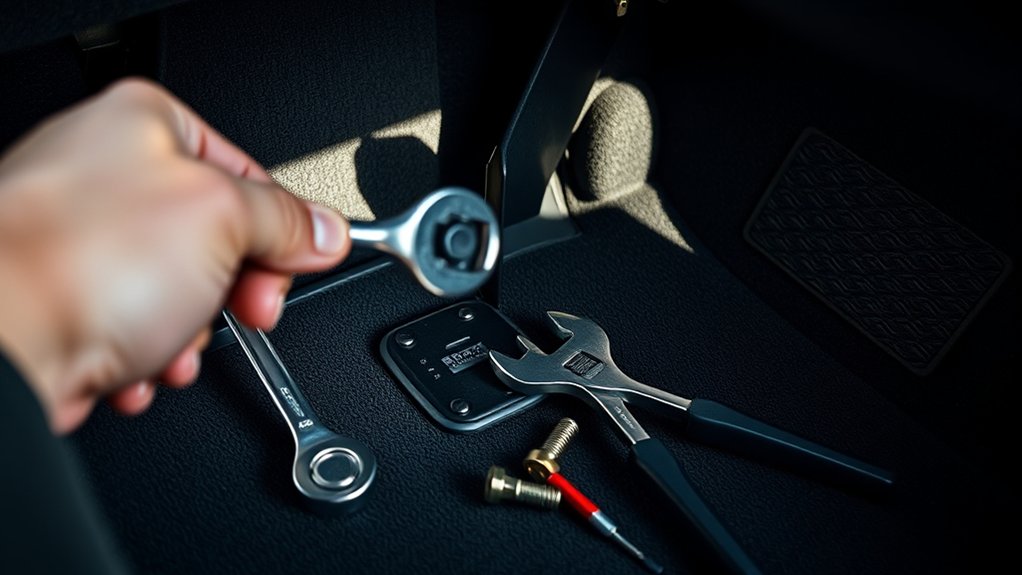
Before you begin adjusting your clutch pedal, you’ll need a few essential tools to make the job easier and more precise. Start by grabbing a wrench set, as you’ll often need to loosen or tighten nuts and bolts on the clutch linkage or pedal assembly. A screwdriver set is also handy for removing any panels or covers blocking access.
You should have a pair of pliers ready for gripping or bending small components if necessary. A flashlight or work light helps you see clearly in tight spaces under the dashboard. Finally, keep a ruler or tape measure nearby to check adjustments accurately.
Having these tools on hand guarantees you can work efficiently and avoid interruptions when adjusting your clutch pedal.
Check Your Clutch Pedal Play
How much clutch pedal play should you have? Typically, you want about 10-20 mm (0.4-0.8 inches) of free movement at the pedal before resistance is felt. This play prevents the clutch from dragging or slipping.
To check, press the pedal slowly and measure the distance it moves before you feel pressure.
Use this quick reference to understand your clutch pedal play:
| Clutch Pedal Play | Meaning |
|---|---|
| Less than 10 mm | Too tight, may cause drag |
| 10-20 mm | Ideal play range |
| Over 20 mm | Too loose, possible slip |
| No free play | Clutch likely engaged |
Make sure to check this before adjusting to keep your clutch working smoothly.
Find the Clutch Pedal Adjustment Mechanism
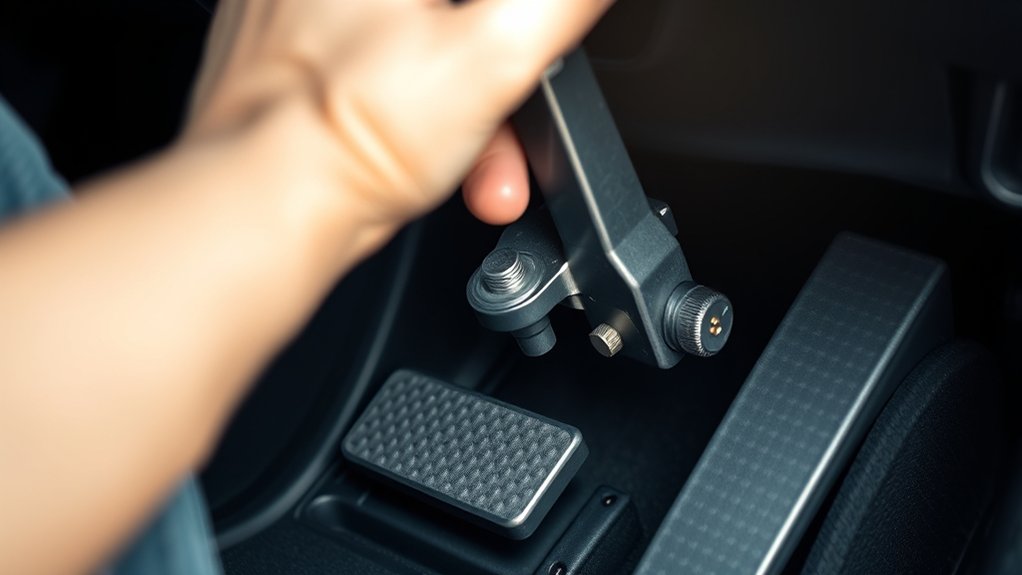
Once you’ve checked your clutch pedal play, locate the adjustment mechanism to begin fine-tuning. Typically, the adjustment point is near the clutch pedal assembly or on the clutch cable if your vehicle uses one. Here’s how to find it quickly:
- Look under the dashboard on the driver’s side for a threaded rod or nut attached to the clutch pedal.
- If your car has a clutch cable, trace it from the pedal to where it meets the transmission; there’s usually an adjuster there.
- For hydraulic clutches, locate the pushrod connected to the clutch master cylinder.
- Consult your vehicle’s manual for the exact location, as designs vary by make and model.
Knowing where the adjustment mechanism is sets you up to make precise clutch pedal adjustments next.
How to Adjust Your Clutch Pedal in 7 Easy Steps
Now that you’ve found the adjustment mechanism, let’s get your clutch pedal set just right. You’ll need a few basic tools to measure the pedal’s free play accurately.
Then, you can adjust the clutch cable to guarantee smooth and responsive pedal action.
Tools Needed
Before you begin adjusting your clutch pedal, gather the necessary tools to make the process smooth and efficient. Having everything ready will save you time and prevent frustration.
Here’s what you’ll need:
- Wrench set – Often a combination of open-end and socket wrenches to loosen and tighten adjustment nuts.
- Screwdriver – A flathead or Phillips to assist with any clips or covers.
- Tape measure or ruler – To help check pedal free play accurately.
- Flashlight – To illuminate tight spaces under the dashboard or engine bay for better visibility.
With these tools on hand, you’ll be well-prepared to adjust your clutch pedal correctly and safely.
Measuring Pedal Free Play
How do you know if your clutch pedal needs adjustment? One clear sign is if the pedal feels too loose or too tight, affecting smooth gear shifts.
To measure the pedal free play, sit in the driver’s seat and press the clutch pedal gently with your foot. Notice how far it moves before you feel resistance—this initial movement is the free play.
Use a ruler or a tape measure to check this distance, which typically ranges between 10 to 20 millimeters (about 0.4 to 0.8 inches), but always refer to your vehicle’s manual for the exact specification.
If the free play is outside this range, your clutch pedal likely needs fine-tuning to ensure proper clutch engagement and avoid premature wear.
Adjusting Clutch Cable
If your clutch pedal free play falls outside the recommended range, you’ll need to adjust the clutch cable to restore proper tension. Here’s how to do it in 7 easy steps:
- Locate the clutch cable adjuster near the clutch lever or under the hood.
- Loosen the locknut on the adjuster to allow movement.
- Turn the adjuster nut clockwise to decrease free play or counterclockwise to increase it.
- Tighten the locknut once the desired free play is achieved, usually about 10-20 mm.
After adjusting, press the clutch pedal several times to check the feel. If it feels too tight or loose, repeat the steps until the pedal feels right.
Proper adjustment ensures smooth gear shifts and prolongs clutch life.
Test Your Clutch Pedal After Adjustment
Now that you’ve adjusted the clutch pedal, it’s important to check the pedal free play to guarantee it’s within the proper range. Next, test the clutch engagement point to see if it feels smooth and responsive.
Finally, assess how easily you can shift gears to confirm everything is working correctly.
Check Pedal Free Play
Why is checking the pedal free play essential after adjusting your clutch? It guarantees the clutch engages and disengages properly, preventing premature wear or slippage.
To check the pedal free play, follow these steps:
- Sit in the driver’s seat and press the clutch pedal with your hand until you feel resistance.
- Measure the distance the pedal moves before resistance – this is your free play.
- Compare this measurement to your vehicle’s specified range in the manual.
- If the free play is outside the recommended range, adjust the clutch cable or linkage accordingly.
Test Clutch Engagement Point
After verifying your clutch pedal has the correct free play, you need to test the clutch engagement point to confirm the adjustment feels right while driving. Start by pressing the clutch pedal slowly and notice where the engine and transmission begin to connect—this is the engagement point. It should engage smoothly, not too close to the floor or too high up.
If it engages too low, the clutch might slip; too high, and it could cause premature wear. Next, drive slowly in a safe area, releasing the clutch pedal to feel how the engagement responds. If it feels grabby or inconsistent, you may need to readjust the pedal free play.
Testing ensures your clutch works efficiently and prevents potential damage.
Assess Smooth Gear Shifting
How smoothly does your vehicle shift through the gears after adjusting the clutch pedal? This step is crucial to ensure your clutch works properly. Here’s how to assess smooth gear shifting:
- Start the engine and press the clutch pedal fully. Shift through each gear slowly, paying attention to any grinding or resistance. Release the clutch pedal gradually while applying a little throttle to check for smooth engagement.
- Drive at low speeds and shift gears in normal driving conditions, noting any jerks or difficulty.
If you notice rough shifts or noises, your clutch pedal might need further adjustment. Smooth gear shifting means your clutch engages and disengages properly, giving you better control and extending the lifespan of your transmission.
Signs Your Clutch Pedal Needs Readjusting
When do you know your clutch pedal needs adjusting? You’ll notice changes in how the pedal feels or how the car responds. If the pedal feels too soft or too stiff, or if gear shifting becomes rough, it’s time to check your clutch.
Below is a quick guide to common signs:
| Symptom | What You Feel | Possible Cause |
|---|---|---|
| Soft Pedal | Pedal sinks too easily | Clutch cable slack |
| Stiff Pedal | Hard to press | Tight clutch cable |
| Difficult Gear Shift | Grinding or resistance | Misadjusted clutch |
If you spot one or more of these signs, adjusting your clutch pedal will help restore smooth operation and prevent further wear.
Troubleshooting Clutch Pedal Problems Beyond Adjustment
Even if you adjust your clutch pedal correctly, you might still face issues that require deeper troubleshooting. Sometimes, the problem isn’t just pedal position but underlying mechanical faults. Here’s what you should check next:
- Inspect the clutch master and slave cylinders for leaks or damage.
- Examine the clutch cable or hydraulic system for wear or air bubbles.
- Check the clutch release bearing and pressure plate for signs of wear or failure.
- Look for issues with the clutch fork or pedal linkage that might cause improper engagement.
If you find any of these problems, repairs or replacements may be necessary. Don’t hesitate to consult a professional mechanic if you’re unsure. Proper diagnosis ensures your clutch operates smoothly and lasts longer.
Frequently Asked Questions
How Often Should I Adjust My Clutch Pedal?
You should check your clutch pedal adjustment every 12,000 to 15,000 miles or if you notice slipping or difficulty shifting.
Regular checks keep your clutch responsive and prevent premature wear, so stay on top of it.
Can a Faulty Clutch Pedal Affect Fuel Efficiency?
Yes, a faulty clutch pedal can affect your fuel efficiency. If it doesn’t engage or disengage properly, your engine works harder, wasting fuel.
Fixing it guarantees smoother gear shifts and better mileage overall.
Is Clutch Pedal Adjustment Different for Manual and Automatic Cars?
Think of it like night and day: yes, clutch pedal adjustment only applies to manual cars since automatics don’t have a clutch pedal.
What Are Common Causes of Clutch Pedal Wear?
You’ll find clutch pedal wear usually comes from constant riding, improper adjustment, or aggressive driving. Over time, friction causes the pedal to lose responsiveness, and worn cables or hydraulic parts can also contribute to the problem.
Can I Adjust the Clutch Pedal Myself Safely?
Yes, you can safely adjust the clutch pedal yourself if you follow the vehicle’s manual instructions carefully. Make sure the engine is off, use proper tools, and double-check adjustments to avoid damaging the clutch system.
Conclusion
So, you’ve mastered adjusting your clutch pedal in just seven easy steps—who knew it could be that simple? Now, if only every car problem came with such straightforward solutions, right?
While you’re celebrating your newfound expertise, remember: if your clutch pedal starts acting up again, you might need more than just a quick tweak.
But hey, at least now you can confidently say, “I’ve got this”—until the next surprise pops up. Adjusting the clutch pedal correctly is key to smooth vehicle operation and prolonging your car’s clutch life.

