

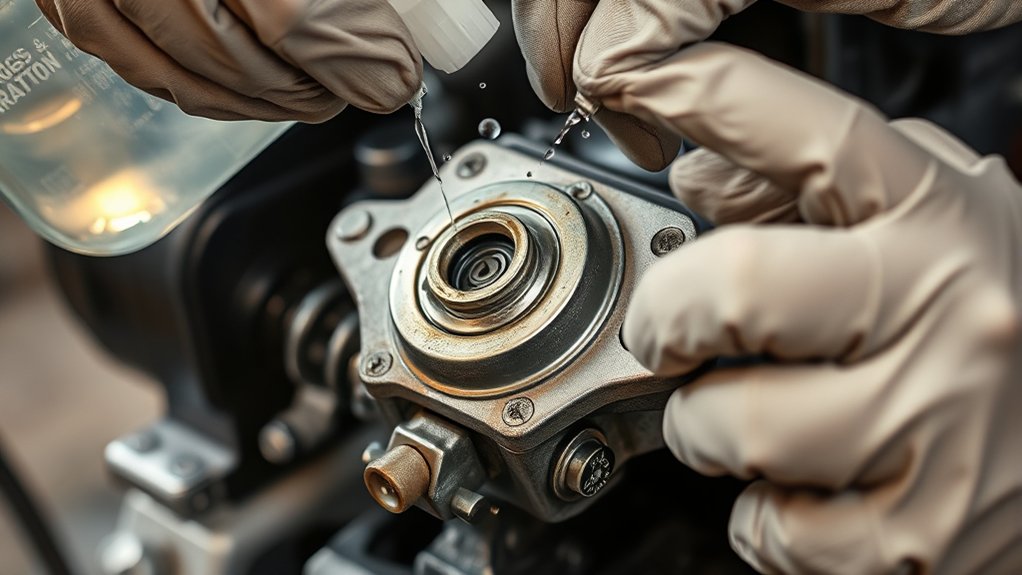
If your Briggs and Stratton engine struggles to start or idles roughly, cleaning the carburetor without removing it can restore smooth performance. A clogged carburetor often causes these issues, so regular maintenance is essential.
This guide will walk you through 7 easy steps to clean your Briggs and Stratton carburetor effectively without taking it apart.
Start by cooling the engine and disconnecting the spark plug for safety. Use carburetor cleaner spray generously, focusing on jets and buildup spots, then soak briefly.
Blow out jets with compressed air and gently remove debris with picks.
After cleaning, adjust the carburetor for better performance and test the engine.
Keep going to uncover detailed tips for each step.
Key Takeaways
- Ensure the engine is cool and disconnect the spark plug wire before starting any cleaning process.
- Turn off the fuel valve or clamp the fuel line to prevent fuel leaks during cleaning.
- Spray carburetor cleaner generously on the exterior, jets, and grime without removing the carburetor.
- Use compressed air to blow through jets and passages to clear blockages and loosen deposits.
- Wear gloves and work in a well-ventilated area to avoid inhaling fumes during the cleaning process.
How to Tell If Your Briggs and Stratton Carburetor Needs Cleaning
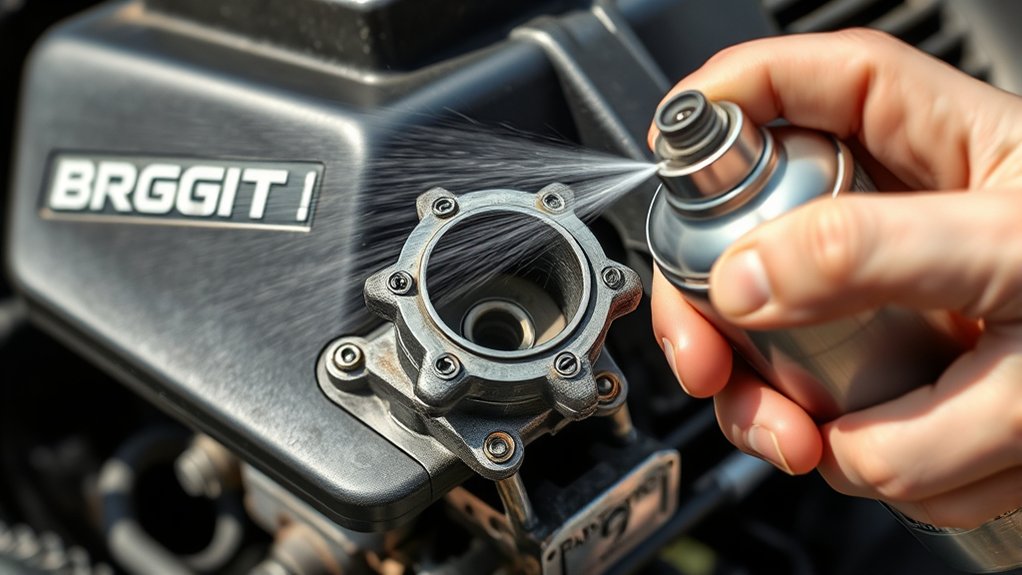
How do you know when your Briggs and Stratton carburetor needs cleaning? You’ll notice your engine struggles to start or runs unevenly, especially if it stalls shortly after starting. If your mower or equipment hesitates when you accelerate or idles roughly, that’s a clear sign.
Excessive black smoke or a strong fuel smell can also indicate a dirty carburetor. When fuel flow gets clogged, your engine won’t perform at its best, wasting fuel and causing frustration. Paying attention to these symptoms helps you act before bigger issues arise.
Tools and Supplies for Cleaning Your Carburetor Without Removal
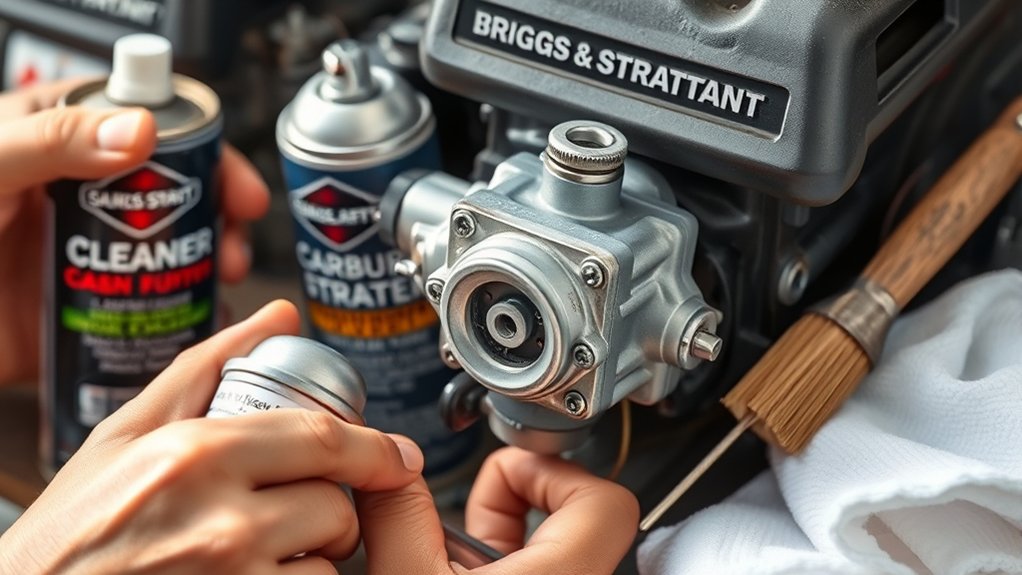
Noticing signs that your Briggs and Stratton carburetor needs cleaning means it’s time to gather the right tools and supplies before you start. You’ll need a carburetor cleaner spray designed to break down varnish and deposits without damaging parts. Have a clean, soft brush handy for scrubbing accessible areas gently.
A small screwdriver set helps you open adjustment screws if needed. Don’t forget a pair of safety goggles and gloves to protect yourself from chemicals. A clean rag or paper towels are essential for wiping away grime and excess cleaner.
Finally, compressed air or a can of compressed air works well to blow out loosened debris. Having these tools ready ensures you can clean your carburetor efficiently without removing it.
Prepare Your Engine Safely for Carburetor Cleaning
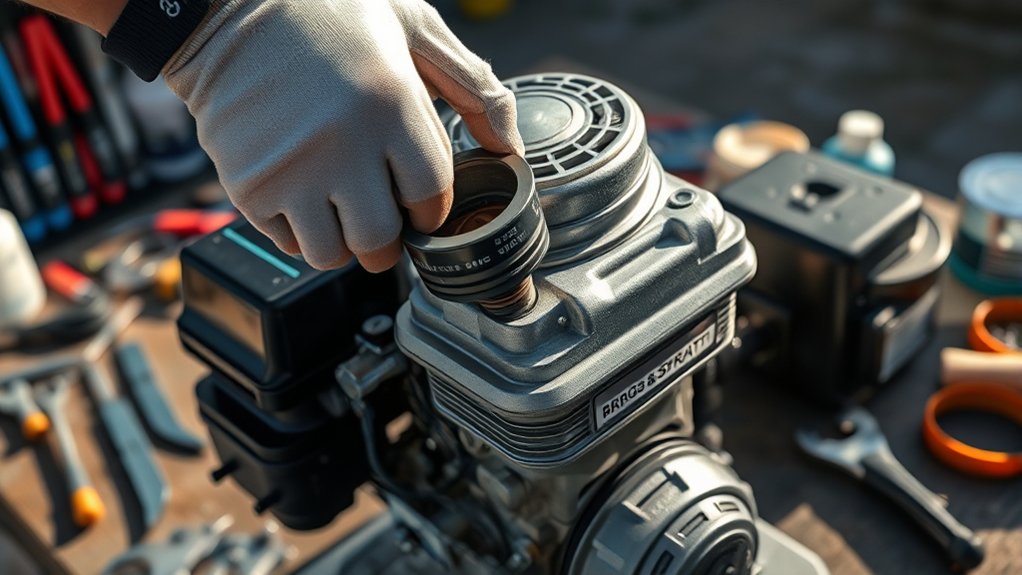
Before you start cleaning, make sure your engine is completely cool to prevent burns and avoid damaging components. Disconnect the spark plug wire to stop accidental starting while you work. This step is vital for your safety.
Next, move the equipment to a well-ventilated area or outdoors to avoid inhaling fumes. Place a drip tray or old cloth beneath the carburetor to catch any cleaner or debris. Remove any loose dirt or debris around the carburetor with a brush or compressed air, taking care not to push dirt inside.
Finally, confirm your fuel valve is off or clamp the fuel line to prevent fuel flow during cleaning. Following these precautions helps keep you safe and protects your engine during the process.
Spray Carburetor Cleaner to Remove Deposits on the Spot
Although the engine is off, you can still effectively target stubborn deposits by spraying carburetor cleaner directly onto the carburetor’s exterior and jets. Hold the spray nozzle close to the carburetor and apply the cleaner generously, focusing on areas with visible grime or buildup. The solvent quickly loosens varnish, gum, and dirt that clog performance.
Let the cleaner soak for a few minutes to break down deposits thoroughly. Be sure to wear gloves and work in a well-ventilated space to avoid inhaling fumes. Avoid oversaturating electrical components or fuel lines to prevent damage.
This spot treatment saves time and effort by dissolving grime without disassembly. After spraying, you’ll notice improved cleanliness, setting the stage for further cleaning steps if needed.
Clear Clogged Jets and Passages With Air and Picks
Now that you’ve loosened deposits, it’s time to spot any clogged jets and passages by inspecting for blockages. Use compressed air to blow through these tiny openings and clear out stubborn debris.
If needed, carefully employ precision picks to gently remove buildup without damaging the parts.
Identifying Clogged Jets
How can you tell if your Briggs and Stratton carburetor jets are clogged? Look for symptoms like rough engine idling, difficulty starting, reduced power, or stalling. These signs often indicate fuel flow restrictions through the jets.
You can also perform a visual inspection by removing the air filter and shining a light through the fuel passage openings. If you notice dirt, debris, or buildup blocking these tiny holes, it’s a clear sign the jets are clogged. Using a small pick or needle, gently probe the jet openings to feel for any blockages.
Be careful not to enlarge or damage the jets. Identifying these clogged jets early helps you clean them effectively and keeps your engine running smoothly.
Using Compressed Air
One effective way to clear clogged jets and passages in your Briggs and Stratton carburetor is by using compressed air combined with small picks or needles. First, attach a nozzle to your compressed air source and direct the airflow into each jet and passage you’ve identified as blocked. The force of the air will dislodge debris trapped inside.
While blowing air, gently use picks or needles to loosen stubborn deposits without damaging the carburetor parts. Make sure to wear eye protection to prevent debris from causing injury. Work systematically through all accessible jets and passages to guarantee thorough cleaning.
Afterward, blow air once more to flush out any loosened particles. This method helps restore proper fuel flow without removing the carburetor, saving you time and effort.
Employing Precision Picks
Following the use of compressed air to clear debris, precision picks become invaluable for tackling stubborn clogs inside the jets and passages. You’ll want to select thin, sturdy picks designed for detailed work, as they can reach tight spots without causing damage. Gently insert the pick into each clogged jet or passage, carefully scraping away any buildup.
Avoid forcing the pick too hard, which could enlarge or distort the passages. After loosening the debris, blow compressed air again to flush out loosened particles. Repeat this process as needed until you see clear airflow through the jets.
Using precision picks alongside compressed air guarantees thorough cleaning, restoring proper fuel flow without removing the carburetor from your Briggs and Stratton engine.
Adjust Briggs and Stratton Carburetor Settings for Better Performance
Although cleaning the carburetor improves engine function, adjusting its settings fine-tunes performance to match your specific needs. Start by locating the idle and mixture screws on your Briggs and Stratton carburetor. Turn the idle screw clockwise to increase idle speed or counterclockwise to decrease it.
Adjust the mixture screw slowly to find the best air-fuel ratio; turning it clockwise leans the mix, counterclockwise enriches it.
| Setting | Adjustment Tip |
|---|---|
| Idle Speed | Turn clockwise to increase speed |
| Mixture Screw | Turn counterclockwise for richer mix |
| Throttle Linkage | Ensure it moves freely |
| Choke Position | Fully open when engine warms up |
Make small adjustments and test after each to avoid over-tuning.
Test Your Engine to Confirm Smooth Operation
After adjusting the carburetor settings, you’ll want to start your engine to guarantee it runs smoothly and responds well under various conditions. Begin by observing how the engine idles—steady, without sputtering or stalling.
Start your engine after carburetor adjustments to ensure it idles steadily without sputtering or stalling.
Next, increase the throttle and listen for any hesitation or roughness. Finally, let the engine return to idle and ensure it maintains a consistent speed without fluctuating.
To confirm smooth operation, focus on:
- Smooth idling without interruptions
- Responsive acceleration without lag
- Stable engine performance returning to idle
If you notice any issues, revisit the carburetor adjustments or clean any remaining buildup. Testing thoroughly ensures your Briggs and Stratton engine runs efficiently and prolongs its lifespan.
Frequently Asked Questions
Can I Use Regular Household Cleaners on My Carburetor?
You shouldn’t use regular household cleaners on your carburetor because they can damage delicate parts and gaskets.
Instead, use a cleaner specifically designed for carburetors to safely remove deposits and keep your engine running smoothly.
How Often Should I Clean My Briggs and Stratton Carburetor?
You should clean your Briggs and Stratton carburetor at least once a season, or sooner if performance drops.
Ignoring it could lead to stubborn buildup—don’t wait until your engine struggles to start or runs rough.
What Are the Signs of a Carburetor That Needs Replacement?
You’ll know your carburetor needs replacement if your engine sputters, runs rough, or won’t idle properly. It may also stall frequently.
Excessive fuel leaks or black smoke are additional signs of serious carburetor problems. These issues usually indicate that cleaning won’t fix the problem.
Is It Safe to Clean the Carburetor in Cold Weather?
It’s generally safe to clean the carburetor in cold weather, but you should work in a well-lit, dry area. Avoid moisture and freezing temperatures that could cause damage or prevent proper drying after cleaning.
Make sure the area is well-ventilated to avoid inhaling fumes from cleaning solvents. Wear protective gloves to protect your skin from chemicals.
If possible, bring the carburetor indoors to a warmer environment for cleaning. This helps ensure thorough drying and prevents any moisture-related issues.
Can Fuel Additives Prevent Carburetor Clogging?
Yes, fuel additives can help prevent carburetor clogging by cleaning fuel lines and removing deposits. You’ll want to use them regularly and follow instructions to keep your engine running smoothly and avoid buildup over time.
Conclusion
Now, picture your Briggs and Stratton engine humming smoothly, like a well-tuned orchestra. By following these simple steps—cleaning without removing the carburetor, clearing clogs, and adjusting settings—you’ve breathed new life into your machine.
With a steady spray, careful picks, and a final test, you’ve transformed a stubborn engine into a reliable workhorse. Keep this routine in mind, and your engine will purr like a contented cat every time you fire it up.
Regular carburetor cleaning without removal is key to maintaining engine performance. Implement these 7 steps to clean your Briggs and Stratton carburetor effectively and enjoy a smoothly running engine every time.

