

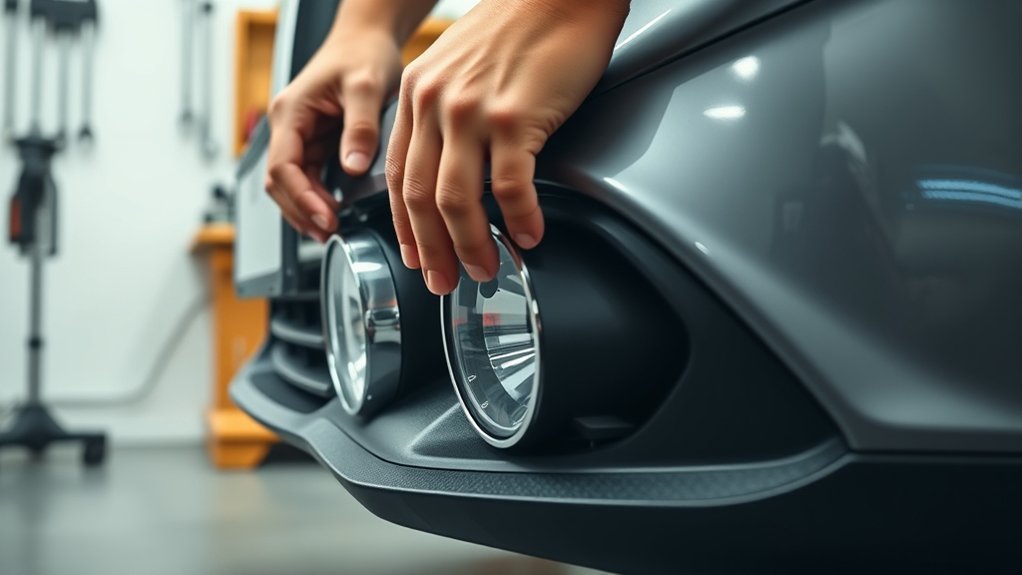
To install fog lights in seven easy steps, start by selecting fog lights compatible with your vehicle’s make, model, and bulb type. Having the right fog lights ensures a perfect fit and optimal performance.
Next, gather all necessary tools for the installation process before you begin.
Find stable, flat spots low on the bumper or near the grille to securely mount the fog light brackets. Proper placement is crucial for both safety and effectiveness.
After mounting, wire the fog lights through a switched power source, making sure to use a relay and fuse for protection.
Test the fog lights to confirm they function properly.
Once confirmed, adjust their aim carefully to reduce glare and maximize visibility in foggy conditions.
Keep following these steps to achieve a safe and effective fog light setup.
Key Takeaways
- Park on a flat surface, disconnect the battery, and gather all necessary tools and fog light components before starting installation.
- Identify sturdy, obstruction-free mounting spots low on the bumper or near the grille and securely attach brackets.
- Connect wiring to a switched power source using a relay and inline fuse, grounding to unpainted metal and routing wires safely.
- Test fog lights for proper illumination, then adjust aim slightly below center to maximize visibility and reduce glare.
- Recheck alignment and tightness of mounts, ensuring balanced lighting and secure hardware before driving in foggy conditions.
Choose Compatible Fog Lights for Your Vehicle
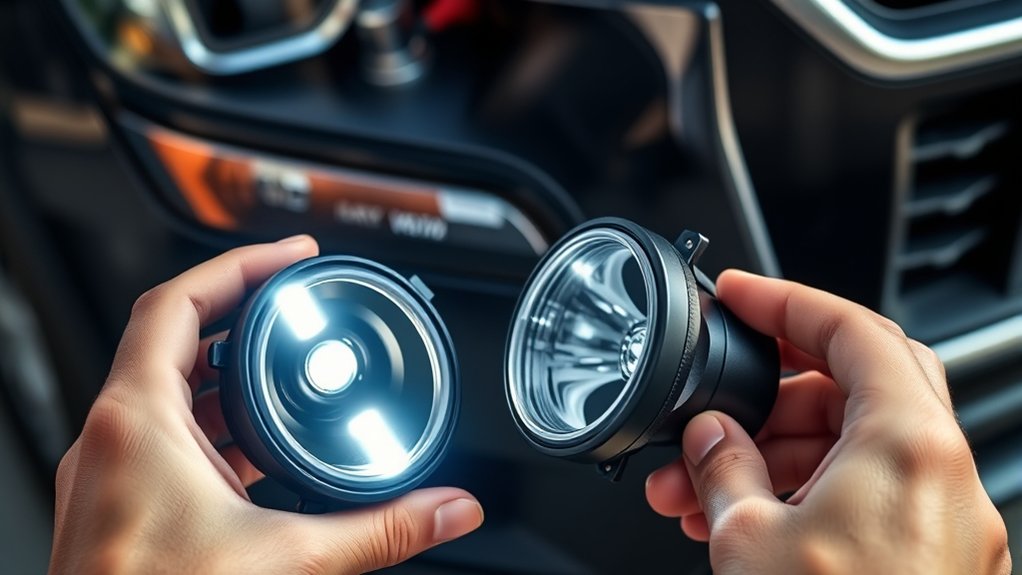
Choosing the right fog lights for your vehicle is crucial to guarantee proper fit and peak performance. You’ll want to start by checking your vehicle’s make, model, and year to find fog lights specifically designed for it. Universal fog lights might seem tempting, but they often require extra modifications and might not align perfectly.
Consider the type of bulb your vehicle supports—LED, halogen, or HID—and pick one that matches your lighting needs and budget. Don’t forget to verify the size and mounting style to ensure easy installation. Finally, check if your car’s electrical system can handle the new lights without additional upgrades.
Picking compatible fog lights saves you time, money, and frustration during installation.
Gather Tools for Installing Fog Lights
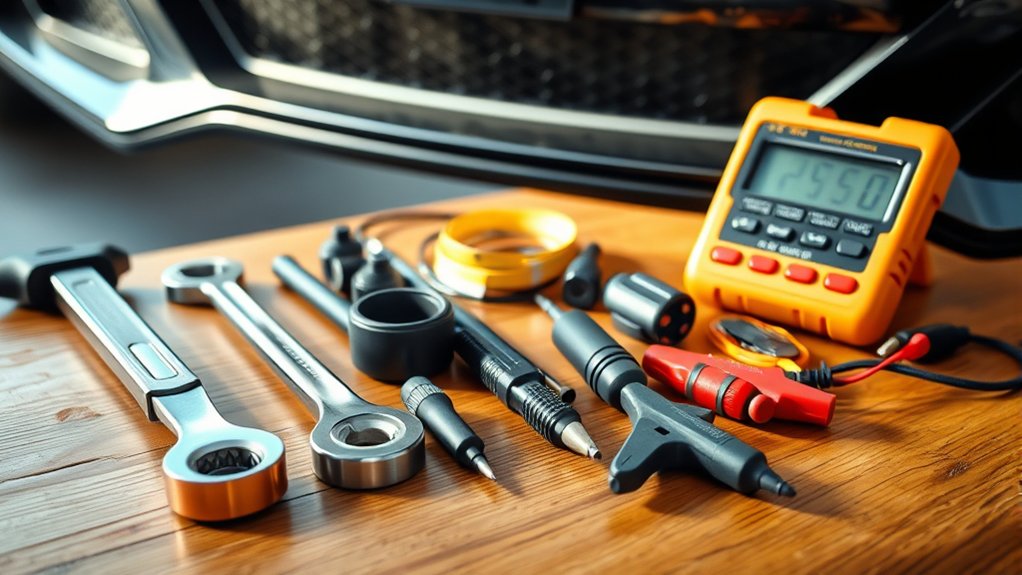
Before you begin installing your fog lights, you’ll need to gather the right tools to make the process smooth and efficient. Having everything on hand prevents interruptions and helps you work safely.
Gathering the right tools beforehand ensures a smooth, efficient, and safe fog light installation process.
At a minimum, you’ll want:
- A screwdriver set (both flathead and Phillips) to handle various screws.
- Wire strippers and crimpers for connecting your fog light wiring securely.
- A power drill with assorted bits to create mounting holes if needed.
Additionally, gloves and safety glasses are smart to protect your hands and eyes during installation. Make sure your tools are in good condition to avoid delays.
Once you have these essentials ready, you’ll be set for the next steps in adding fog lights to your vehicle.
Find the Best Spots to Mount Your Fog Lights
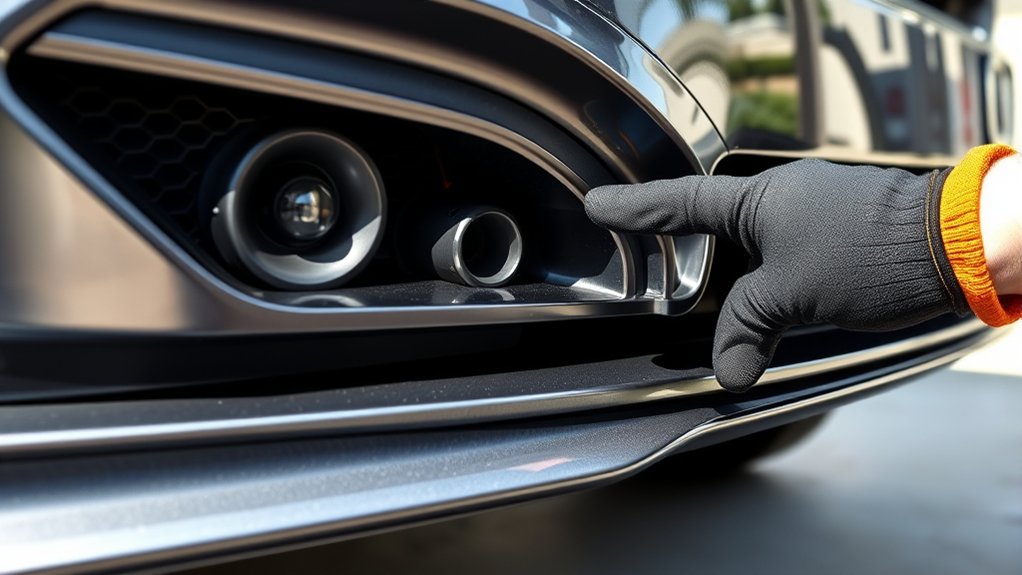
You’ll want to choose mounting spots that provide the best light coverage without obstructing your vehicle’s design. Consider areas low on the bumper or near the grille where the lights won’t interfere with other parts.
Keep your specific vehicle’s shape and features in mind to guarantee a secure, effective installation.
Optimal Mounting Locations
Although fog lights are designed to improve visibility in poor weather, their effectiveness depends largely on where you mount them. You want to position your fog lights low on the vehicle to minimize glare and illuminate the road surface clearly. Avoid placing them too high, or they’ll reflect off fog or snow, reducing visibility.
Here are some ideal spots to contemplate:
- Below the front bumper, centered for balanced light distribution
- Near the edges of the front bumper to widen your field of vision
- Integrated into existing fog light housings if your vehicle has them
Mounting your fog lights thoughtfully ensures they cut through fog, rain, or dust, helping you drive safely in challenging conditions.
Consider Vehicle Design
Mounting fog lights low on your vehicle is a great starting point, but the unique design of your car or truck can influence the best placement options. Take a close look at your front bumper and grille area to identify sturdy, flat surfaces where the lights won’t interfere with existing components like sensors or air intakes. Some vehicles have dedicated fog light slots, while others require custom brackets or mounting points.
Consider how your vehicle’s shape affects light projection—curved or bulky bumpers may block or scatter light, reducing effectiveness. Also, verify your chosen spots allow easy wiring access and won’t be vulnerable to debris damage. By factoring in your vehicle’s design, you’ll find the ideal mounting spots that maximize performance and maintain a clean, professional look.
Securely Install Fog Light Brackets
Now that you’ve picked the best spots, it’s important to choose the right bracket types for your fog lights. Make certain the mounting points are solid and secure to prevent any movement or damage.
Taking these steps will ensure your fog lights stay firmly in place on the road.
Choosing Proper Bracket Types
When you pick the right bracket for your fog lights, you’ll guarantee a secure and stable installation that lasts. Choosing the proper bracket depends on your vehicle’s design and the fog lights you’re using. You want a bracket that fits snugly without causing vibrations or misalignment.
Here are key types to contemplate:
- Universal brackets: Flexible and adjustable, fit most fog lights and vehicle models.
- Vehicle-specific brackets: Designed to match your car’s mounting points perfectly, offering a seamless fit.
- Heavy-duty brackets: Made from robust materials like steel or aluminum, ideal for off-road or rugged use.
Select a bracket that aligns with your fog light size and weight to avoid stress or damage during driving. This guarantees your fog lights stay firmly in place and perform effectively.
Ensuring Secure Mounting Points
Before securing your fog light brackets, make sure you identify strong, stable points on your vehicle’s frame or bumper to attach them. Look for areas that won’t flex or vibrate excessively, as these can loosen your brackets over time. Use existing holes or reinforced spots designed for mounting accessories when possible.
Once you’ve found the right locations, hold the bracket in place and mark where you’ll drill or fasten bolts. Double-check alignment to ensure your fog lights will point correctly. When drilling, take care to avoid wiring or other components behind the surface.
Finally, tighten all screws and bolts firmly but avoid overtightening, which can damage the bracket or mounting point. Securely mounted brackets provide a reliable base for your fog lights, keeping them stable during driving.
Wire Your Fog Lights to the Electrical System
Although wiring your fog lights might seem complex, you can simplify the process by following a clear step-by-step approach. First, locate the vehicle’s fuse box and identify a suitable power source, preferably one that’s switched with the ignition.
Wiring fog lights is easier when you start by finding a switched power source in the fuse box.
Next, connect the fog light wires using a relay and an inline fuse to protect the circuit. Finally, ground the fog lights to a clean, unpainted metal surface on the vehicle chassis for proper functioning.
Remember to:
- Use waterproof connectors to prevent corrosion.
- Route wires away from hot or moving parts.
- Secure wires with zip ties to avoid loose hanging cables.
Test Your Fog Lights for Proper Function
After completing the wiring, you’ll want to test your fog lights to guarantee they operate correctly and safely. Start by turning on your vehicle’s ignition and switch on the fog lights. Check both lights individually to ensure they illuminate without flickering.
If one or both don’t light up, inspect the wiring connections and fuses. Also, look for any signs of damage or moisture inside the fog light housing.
Testing assures your fog lights function when you need them most, boosting your confidence and safety on the road.
| Feeling | Reason | Result |
|---|---|---|
| Relief | Fog lights work properly | Safer night driving |
| Confidence | Clear visibility in fog | Reduced accident risk |
| Satisfaction | DIY success | Pride in your handiwork |
Adjust Fog Light Aim for Optimal Visibility
To get the most out of your fog lights, you’ll need to adjust their aim carefully. Proper alignment ensures they cut through fog without blinding other drivers. Begin by parking your car on a level surface about 25 feet from a wall or garage door.
Turn on the fog lights and mark the center of each beam on the wall. Next, adjust the fog lights so the top of the beam aligns slightly below your marks. Focus on keeping beams low to reduce glare and reflection.
Angle lights straight ahead, not outward. Ensure both lights are evenly aligned for balanced illumination. Take your time with these adjustments to maximize visibility and safety during foggy conditions.
Frequently Asked Questions
Are Fog Lights Legal in All States or Countries?
No, fog lights aren’t legal everywhere. You’ll find laws vary by state and country, so you should check local regulations before installing them to avoid fines or safety issues.
Always use fog lights appropriately.
How Do Fog Lights Improve Driving Safety in Bad Weather?
Fog lights act like a lighthouse cutting through thick fog, helping you see the road clearly. They reduce glare and improve visibility in rain, snow, or fog, so you can drive safer and avoid hidden hazards.
Can Fog Lights Be Installed on Motorcycles?
Yes, you can install fog lights on motorcycles. They improve visibility in foggy or rainy conditions, making you safer on the road.
Just make sure you choose compatible lights and follow proper wiring for your bike’s electrical system.
What Is the Average Lifespan of Fog Light Bulbs?
Like a candle in the wind, fog light bulbs last about 1,000 to 2,000 hours. You’ll want to check them regularly and replace them when their glow starts to fade or flicker unexpectedly.
Are LED Fog Lights More Energy-Efficient Than Halogen Ones?
Yes, LED fog lights are more energy-efficient than halogen ones. They use less power, produce less heat, and last longer, so you’ll save energy and money while enjoying brighter, clearer fog light performance on your vehicle.
Conclusion
Installing fog lights can greatly improve your safety—did you know that fog-related accidents cause over 100,000 crashes annually in the U.S.? By following these 7 easy steps, you’ll boost your visibility and confidence on the road.
It might seem tricky at first, but with the right tools and careful wiring, you’ll have your fog lights shining bright in no time. Stay safe and enjoy clearer drives ahead!
Remember, proper installation of fog lights not only enhances your vehicle’s appearance but also significantly increases your driving safety. Follow these simple steps to ensure your fog lights are installed correctly and effectively.

