


To replace a fuel filter in 7 easy steps, start by identifying the fuel filter location, which is usually under the car or in the engine bay. Make sure to gather essential tools such as wrenches and fuel line disconnect tools before you begin.
Relieving fuel pressure is crucial for safety; do this by removing the fuel pump fuse and running the engine until it stalls.
Next, carefully loosen the fittings on the fuel filter and remove the old filter.
Install the new fuel filter, ensuring it is positioned in the correct direction for proper fuel flow.
Tighten all fittings securely to prevent leaks.
Finally, start the car and inspect the fuel filter area for any signs of leaks.
Following these steps will help you perform fuel filter replacement efficiently. Keep reading to learn about timing, important safety tips, and ongoing maintenance advice.
Key Takeaways
- Locate the fuel filter along the fuel line or near the fuel tank, using the owner’s manual if needed.
- Relieve fuel system pressure by removing the fuel pump fuse and running the engine until it stalls.
- Wear safety gloves and glasses, then place a catch pan under the filter to catch fuel spills.
- Use appropriate tools to disconnect fittings, remove the old filter, and install the new one following the arrow direction.
- Start the engine, check for leaks, and ensure smooth operation before completing the replacement.
How to Locate the Fuel Filter in Your Vehicle
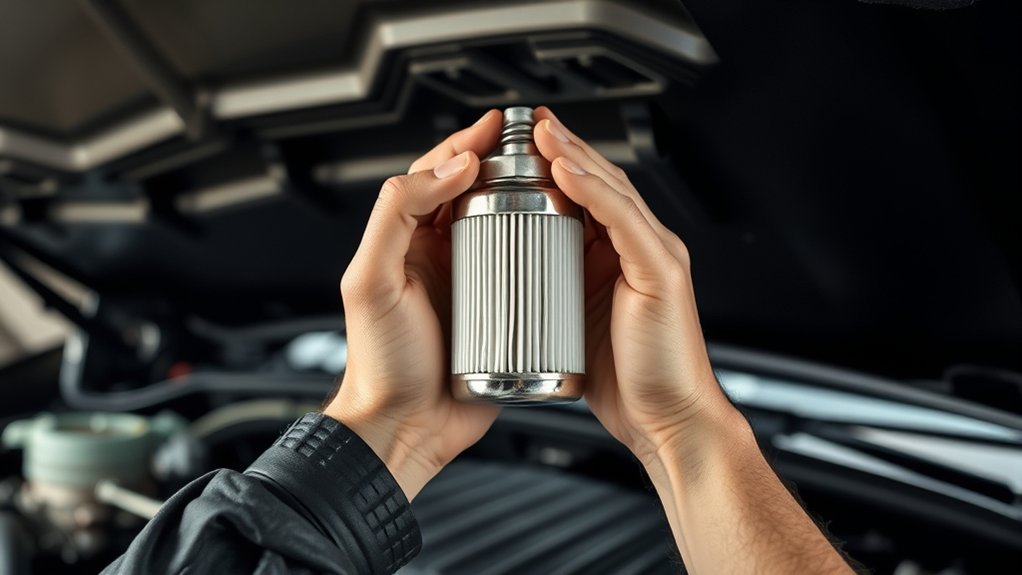
Before you can replace your fuel filter, you need to find where it’s located in your vehicle. Typically, fuel filters are found along the fuel line, either under the car near the fuel tank, inside the engine compartment, or near the fuel pump. Check your owner’s manual first; it often specifies the exact location.
If you don’t have the manual, look under the car along the frame rails or near the fuel tank. In some models, the filter might be inside the engine bay, close to the firewall. You may also spot a cylindrical or canister-shaped component with fuel lines connected to it.
Once you pinpoint the fuel filter, you’re ready for the next step—removing and replacing it safely.
Tools Needed for Fuel Filter Replacement
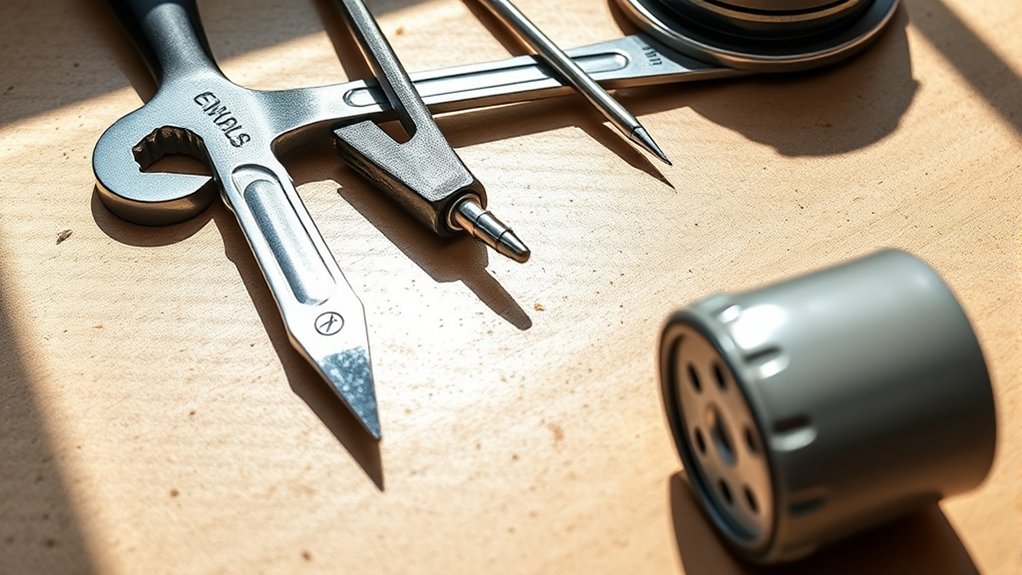
When you’re ready to replace your fuel filter, having the right tools on hand makes the job much smoother and safer. You’ll need a wrench set or socket set to loosen and tighten fuel line fittings. A pair of fuel line disconnect tools can be essential if your vehicle uses quick-connect fittings.
Don’t forget safety gloves and eye protection to shield yourself from fuel spills. A container or rag is helpful to catch any leaking fuel and keep your workspace clean. Additionally, a flathead screwdriver can assist in loosening hose clamps.
Having a new fuel filter that matches your vehicle’s specifications is vital. With these tools ready, you’ll be well-prepared to replace your fuel filter efficiently and safely.
How to Safely Relieve Fuel System Pressure
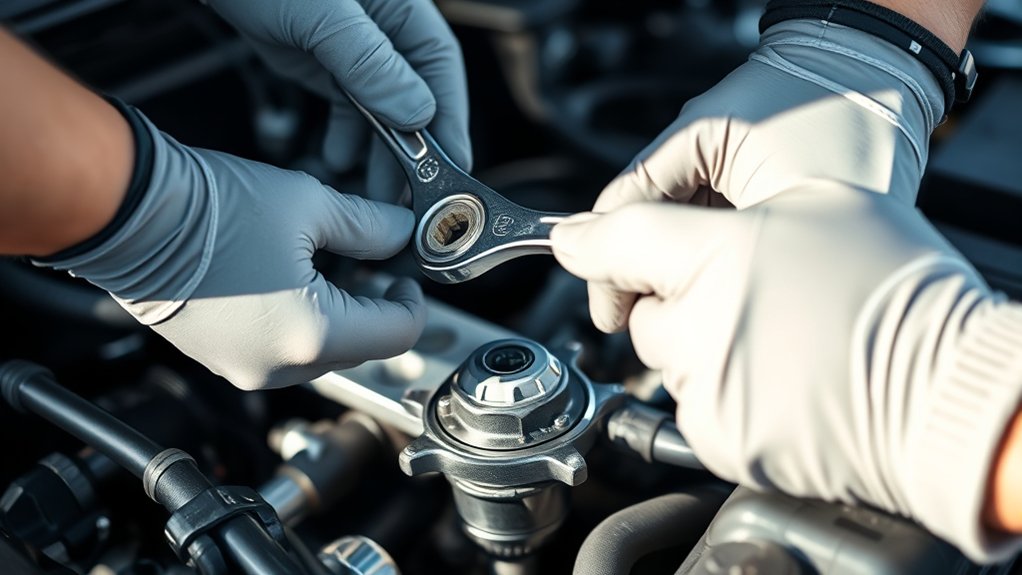
With the right tools ready, the next step is to safely relieve the fuel system pressure to prevent fuel spray or accidents during the filter replacement. First, locate the fuel pump fuse or relay in your vehicle’s fuse box and remove it to stop the pump from running. Then, start the engine and let it run until it stalls, which means the pressure has dropped.
Turn off the ignition and disconnect the negative battery cable to guarantee no electrical power reaches the fuel system. For added safety, wear safety glasses and gloves to protect against any residual fuel spray. Taking these precautions will make the upcoming steps safer and help you avoid fuel leaks or injuries while working on your fuel filter.
Removing the Old Fuel Filter: Step-by-Step
Once you’ve safely relieved the fuel system pressure, you can start removing the old fuel filter. First, locate the fuel filter—usually near the fuel tank or along the fuel line. Place a catch pan underneath to catch any spilled fuel.
Use a wrench or fuel line disconnect tool to carefully loosen the fittings at both ends of the filter. Be ready for some fuel to leak out, so work slowly and keep rags handy. Once the fittings are detached, remove the old filter from its bracket.
Inspect the filter’s orientation before removal to guarantee you install the new one correctly later. Finally, clean the area around the filter mount to prevent dirt from entering the fuel system during installation.
Installing the New Fuel Filter Correctly
Although installing a new fuel filter might seem straightforward, paying close attention to its orientation and secure fittings is crucial to guarantee your vehicle runs smoothly. You’ll want to place the filter in the exact direction indicated by the arrow on its body, which shows fuel flow.
Properly orient your fuel filter by following the arrow to ensure smooth vehicle operation.
Next, carefully reconnect the fuel lines, ensuring they fit snugly without forcing them. Tighten the clamps or connectors securely to prevent any fuel leaks.
Keep these tips in mind:
- Match the filter’s flow direction with the vehicle’s fuel flow.
- Use the correct clamps or connectors provided.
- Avoid over-tightening to prevent damage.
- Double-check all fittings for firmness.
- Handle the filter gently to avoid cracks.
Following these steps ensures your new fuel filter installs correctly and functions as intended.
Checking for Leaks and Testing the Fuel System
How can you be sure your new fuel filter is working properly without any leaks? First, start your vehicle and let it run for a few minutes while inspecting the filter and connections closely. Look for any signs of fuel dripping or wet spots around the fittings.
If you spot a leak, immediately turn off the engine and tighten the fittings or reinstall the filter. Next, listen for unusual engine noises or hesitation, which could indicate fuel delivery issues. You can also check for smooth acceleration and steady idle to confirm the fuel system operates correctly.
Finally, if you have a fuel pressure gauge, use it to verify the pressure matches your vehicle’s specifications. This step ensures your fuel system is sealed and functioning safely.
When and How Often to Replace Your Fuel Filter
Because fuel filters play a crucial role in protecting your engine, you should replace them regularly to maintain peak performance. Neglecting this can lead to clogging, reduced fuel efficiency, and engine damage.
Regular fuel filter replacement is essential to prevent clogging, maintain efficiency, and protect your engine from damage.
Generally, you should replace your fuel filter every 20,000 to 40,000 miles, but this varies depending on your vehicle and driving conditions.
Consider these factors to decide when to replace your fuel filter:
- Manufacturer’s recommended maintenance schedule
- Driving environment (dusty or dirty areas increase wear)
- Fuel quality and contamination risk
- Noticeable drop in engine power or fuel efficiency
- Difficulty starting or engine misfires
Frequently Asked Questions
Can a Clogged Fuel Filter Cause Engine Misfires?
Yes, a clogged fuel filter can cause engine misfires because it restricts fuel flow, making your engine run lean or stall. You’ll notice rough idling or hesitation since your engine isn’t getting enough fuel consistently.
This can lead to poor engine performance and increased emissions. Replacing a clogged fuel filter often resolves these issues and restores smooth engine operation.
What Are the Symptoms of a Failing Fuel Filter?
You might notice your engine feeling a bit under the weather with rough idling, stalling, or sluggish acceleration.
You’ll also experience trouble starting and reduced fuel efficiency—signs your fuel filter’s ready for a little attention.
Is It Safe to Replace a Fuel Filter Without Professional Help?
Yes, you can replace a fuel filter safely if you follow proper precautions like relieving fuel pressure and working in a well-ventilated area. Just make sure you have the right tools and understand your vehicle’s system first.
How Does a Fuel Filter Affect Fuel Efficiency?
Think of your fuel filter as a bouncer for your engine; if it’s clogged, fuel flow slows down, making your car work harder and sip more gas.
Keeping it clean boosts your fuel efficiency considerably.
Can Using a Fuel Additive Extend Fuel Filter Life?
Yes, using a fuel additive can help extend your fuel filter’s life by keeping the fuel system cleaner and preventing buildup.
Just make sure to choose the right additive for your vehicle and use it as directed.
Conclusion
Replacing your fuel filter might seem like an intimidating task, but with these simple steps, you can conquer it like a pro! Taking the time to locate, remove, and install the filter correctly guarantees your engine runs smoothly and efficiently.
Don’t wait until your car sputters like a dying dragon—regular replacement keeps your fuel system in top shape. Follow these tips, and you’ll save yourself from costly repairs down the road! Remember, replacing a fuel filter is essential maintenance that ensures optimal engine performance and longevity.

