

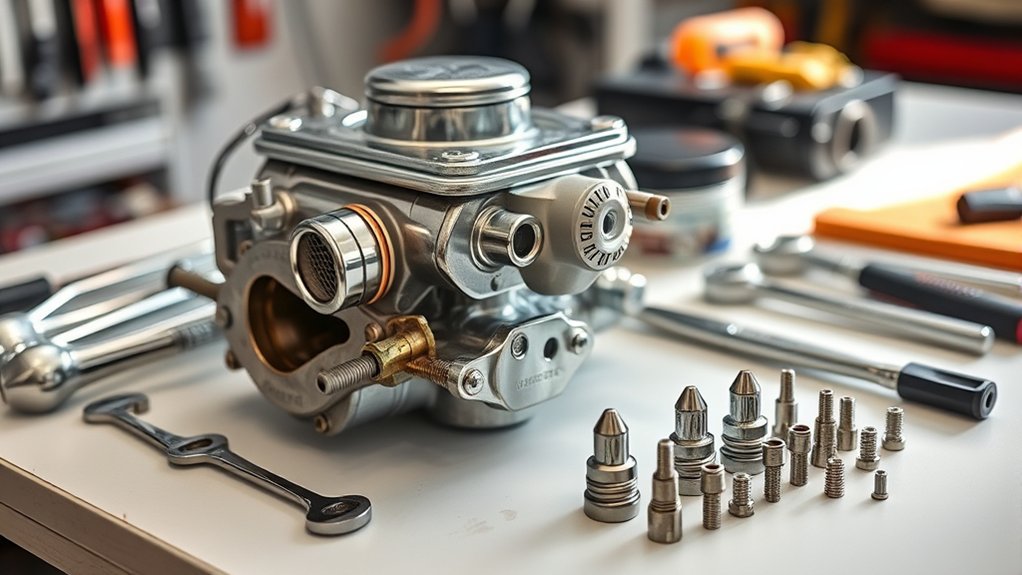
To set up your Edelbrock carburetor for optimal performance, start by gathering the right tools and parts. Cleaning and inspecting every component thoroughly is essential to ensure reliability. Proper preparation will make the installation process smoother and more efficient.
Mount the carburetor securely using the correct gasket to prevent leaks. Connect fuel lines tightly to maintain consistent fuel flow. Adjust the mixture screws carefully for smooth idling and better throttle response.
Next, ensure your throttle linkage and choke operate smoothly without sticking. Fine-tune the accelerator pump for quick throttle response during acceleration.
Finally, take the vehicle for a road test and tweak settings to achieve peak performance.
Keep following these steps to uncover detailed tips that will enhance lasting reliability and power from your Edelbrock carburetor.
Key Takeaways
- Clean and inspect all carburetor components thoroughly, including jets, passages, and linkages, before assembly.
- Mount the carburetor using the correct gasket and torque bolts evenly to manufacturer specifications.
- Secure fuel lines with proper fittings and clamps, then pressurize and check for leaks.
- Adjust mixture screws and idle speed for smooth, stable engine operation at normal temperature.
- Fine-tune throttle linkage, choke, and accelerator pump for responsive acceleration and prevent stalling.
Gather Tools and Parts Needed for Edelbrock Carburetor Setup
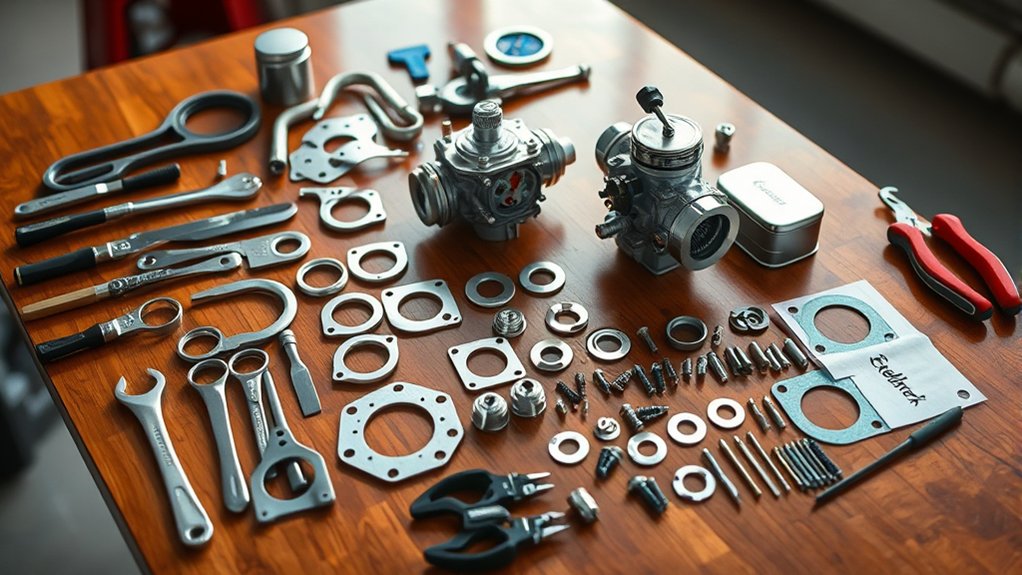
Before you begin setting up your Edelbrock carburetor, make sure you have all the necessary tools and parts on hand. You’ll need a basic socket set, screwdrivers (flathead and Phillips), a fuel line wrench, and a torque wrench for precise tightening.
Don’t forget a clean rag and carburetor cleaner for quick touch-ups during assembly. It’s also essential to have new gaskets, fuel filters, and any replacement parts specific to your Edelbrock model. Having a vacuum gauge and a timing light ready will help during tuning.
Gathering everything beforehand saves time and prevents interruptions. Double-check your carburetor’s manual for any unique tools or components required to guarantee a smooth, efficient setup process. This prep sets you up for success.
Clean and Inspect Your Edelbrock Carburetor (If Used)
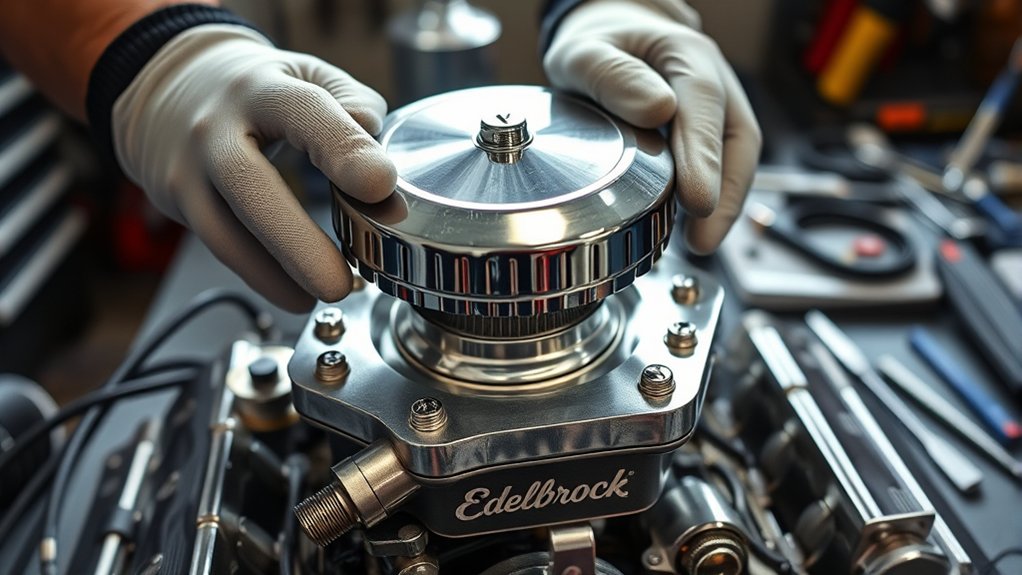
If you’re working with a used Edelbrock carburetor, start by carefully removing its components. Make sure to thoroughly clean the jets and passages to prevent clogs.
Then, inspect everything closely for any signs of wear or damage before moving forward.
Remove Carburetor Components
How do you guarantee your Edelbrock carburetor performs at its best? Start by carefully removing its components. This step ensures you can thoroughly clean and inspect each part for wear or damage.
Use the right tools to avoid stripping screws or damaging parts. As you disassemble, keep everything organized to simplify reassembly.
Focus on removing:
- Air horn and gasket
- Float bowl and float assembly
- Throttle linkage and choke components
- Accelerator pump and metering rods
Handle each piece gently and note any signs of corrosion or cracks. Removing these components lets you get a closer look at the carburetor’s condition, paving the way for a proper cleaning and adjustment.
This attention to detail keeps your engine running smoothly.
Clean Jets And Passages
Three critical areas demand your attention when cleaning jets and passages: the main jets, idle jets, and fuel passages. Start by soaking the jets in a carburetor cleaner to dissolve deposits. Use compressed air to blow through the tiny holes and verify they’re clear.
Next, inspect the fuel passages carefully; any blockage can cause poor performance. Avoid using wire or sharp tools that might enlarge or damage the passages.
| Area | Cleaning Method | Tip |
|---|---|---|
| Main Jets | Soak & air blow | Use carb cleaner, gentle air |
| Idle Jets | Soak & inspect holes | Avoid wire probes |
| Fuel Passages | Flush & air blow | Check for debris |
Inspect For Wear Damage
Why should you inspect your Edelbrock carburetor for wear damage before reassembly? Because worn parts can cause poor performance, leaks, or even engine damage. Catching issues early saves you time and money.
As you examine the carburetor, focus on critical areas that often show wear or damage.
Check these key points carefully:
- Throttle shaft and bore for excessive play or scoring
- Gaskets and seals for cracks, hardening, or damage
- Float and needle valve for proper operation and wear
- Linkages and springs for corrosion or breakage
If you spot any damage, replace the parts before reassembling. This guarantees your carburetor runs smoothly and reliably after installation. Don’t rush this step—it’s vital for peak performance.
Mount the Edelbrock Carburetor Securely on the Intake Manifold
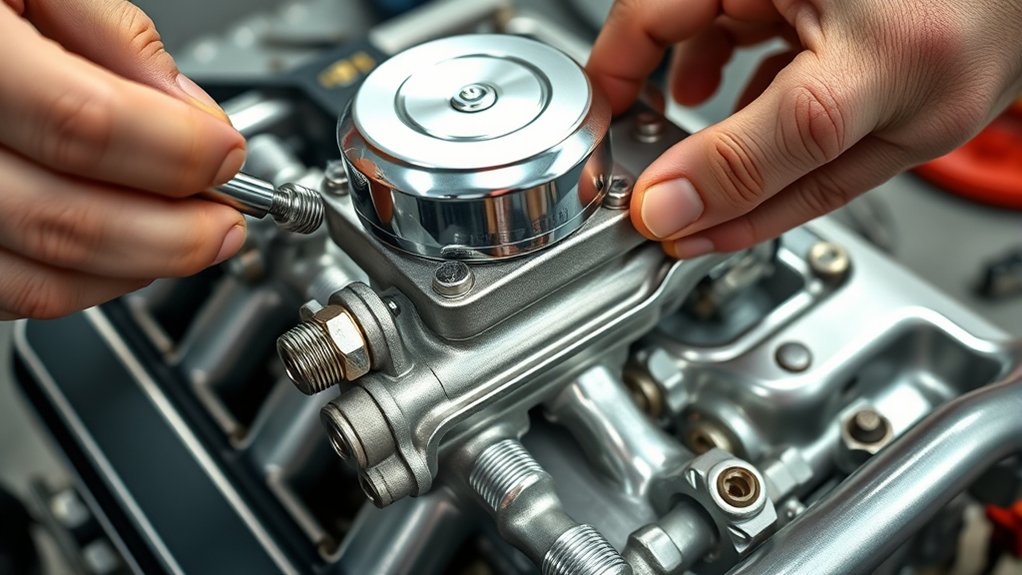
Start by choosing the correct gasket to prevent leaks between the carburetor and intake manifold. Make sure the bolt holes line up perfectly before placing the carburetor.
Then, tighten the bolts evenly in a crisscross pattern to secure it firmly without warping.
Choose Correct Gasket Type
Before you mount your Edelbrock carburetor, you’ll need to select the correct gasket type to guarantee a proper seal between the carburetor and the intake manifold. Using the right gasket prevents air leaks, fuel leaks, and ensures maximum engine performance.
Consider the following when choosing your gasket:
- Material compatibility with your intake manifold (rubber, cork, or composite)
- Thickness to maintain proper carburetor height and air/fuel mixture
- Seal durability under heat and pressure conditions
- Manufacturer recommendations specific to your Edelbrock model
Choosing the right gasket helps avoid engine misfires and vacuum leaks. Take your time selecting the gasket, as it plays an essential role in the overall carburetor setup and engine efficiency.
Align Carburetor Bolt Holes
Once you’ve chosen the correct gasket, carefully align the carburetor bolt holes with those on the intake manifold to guarantee a secure fit. Place the carburetor gently on top, ensuring the gasket stays properly positioned between the two surfaces. Take your time to match each bolt hole precisely; misalignment can cause air leaks or damage the gasket.
If needed, slightly adjust the carburetor’s position to line up all holes perfectly without forcing it. Holding the carburetor steady, check that the base rests evenly on the manifold to prevent gaps. Proper alignment is essential before moving on, as it sets the foundation for a tight seal and maximum engine performance.
This step ensures your Edelbrock carburetor mounts securely and functions smoothly.
Torque Bolts Evenly
After aligning the carburetor bolt holes and confirming the gasket sits properly, you’ll need to torque the bolts evenly to secure the Edelbrock carburetor firmly to the intake manifold. Uneven torque can cause leaks or damage, so take your time and follow a crisscross pattern to distribute pressure evenly. Use a torque wrench set to the manufacturer’s recommended specifications for best results.
Keep these tips in mind:
- Tighten bolts gradually in multiple passes.
- Avoid overtightening to prevent warping the carburetor base.
- Check torque specs in the Edelbrock manual before starting.
- Recheck bolt torque after initial engine warm-up to ensure stability.
Properly torquing the bolts guarantees a solid seal and peak carburetor performance.
Connect Fuel Lines Safely and Check for Leaks
Although it might seem straightforward, connecting your fuel lines requires careful attention to guarantee a secure fit and prevent leaks. Start by inspecting the fuel lines for cracks or damage, and replace any worn hoses. Use the correct size fittings for your Edelbrock carburetor’s inlet to avoid mismatches.
Slide hose clamps over the fuel line ends before attaching them to the carburetor’s fuel inlet and the fuel pump outlet. Push the lines on firmly, then tighten the clamps securely—but don’t overtighten, as this can damage the hose.
Once connected, turn on the fuel pump or crank the engine briefly to pressurize the system. Carefully check all connections for drips or wet spots. If you spot any leaks, tighten clamps or reseat the hoses immediately to prevent fuel hazards.
Adjust the Air-Fuel Mixture Screws for Best Performance
Ensuring your fuel lines are securely connected and leak-free sets the stage for fine-tuning your Edelbrock carburetor’s air-fuel mixture screws. Start by warming up your engine to operating temperature, then gently turn each mixture screw clockwise until it lightly seats.
Secure fuel lines and warm your engine before gently seating Edelbrock carburetor mixture screws for fine-tuning.
Next, back each screw out about 1 to 1.5 turns as a baseline. Adjust each screw slowly, listening for engine RPM changes. The goal is to achieve a smooth, steady idle with the best throttle response.
Remember these tips:
- Turn screws in small increments (1/8 turn)
- Use a tachometer for precise RPM changes
- Avoid over-tightening to prevent damage
- Adjust both screws evenly for balanced mixture
With patience, you’ll optimize fuel efficiency and engine performance.
Set the Idle Speed Just Right for Your Engine
Now that you’ve adjusted the air-fuel mixture, it’s time to set the idle speed just right for your engine. You’ll want to tweak the idle screw while keeping an eye on how smoothly the engine runs.
Getting this balance guarantees your engine stays stable and performs at its best.
Adjusting Idle Speed
How do you know when your engine’s idle speed is just right? Adjusting the idle speed on your Edelbrock carburetor ensures smooth engine operation at rest without stalling or surging. To fine-tune it, start by warming up the engine to its normal operating temperature.
Then, use a screwdriver to turn the idle speed screw slowly, increasing or decreasing RPMs until the engine runs steadily.
Keep these tips in mind while adjusting:
- Aim for the manufacturer’s recommended RPM range.
- Listen for a smooth, consistent idle sound.
- Watch for a steady tachometer reading without fluctuation.
- Avoid setting the idle too high to prevent unnecessary fuel consumption.
Monitoring Engine Performance
Once you’ve set the idle speed correctly, keep a close eye on how your engine performs during regular driving. Listen for smooth idling without stalling or surging, and watch for any hesitation when you accelerate.
If your engine runs rough or stalls, you may need to fine-tune the idle mixture or speed. Also, check your tachometer to ensure the RPM stays steady when idling. Pay attention to fuel efficiency—if consumption spikes, it might indicate your carburetor isn’t balanced right.
Regularly inspect spark plugs for signs of running too rich or lean. By monitoring these signs, you’ll catch issues early and maintain peak performance. Remember, a well-set idle speed helps your engine run efficiently and prolongs its life.
Get Your Throttle Linkage Working Smoothly
Although the throttle linkage might seem straightforward, getting it to operate smoothly is essential for your Edelbrock carburetor’s performance. If the linkage binds or sticks, your engine won’t respond correctly to your throttle input, causing poor acceleration or stalling. You want it to move freely and return promptly when you release the pedal.
Here’s how to verify smooth operation:
- Inspect all pivot points for wear or damage and replace if needed.
- Lubricate joints and moving parts with a light grease or spray lubricant.
- Check that the linkage rods and springs are properly aligned without excessive tension.
- Adjust the throttle stop screws to prevent binding at full throttle or idle positions.
Taking these steps will keep your throttle linkage precise and reliable.
Test and Adjust the Choke for Easy Cold Starts
Ensuring your throttle linkage moves smoothly sets the stage for properly testing and adjusting the choke, which plays a key role in cold starts. Start by warming the engine slightly, then observe the choke plate—it should be nearly closed when cold and open gradually as the engine warms.
If it’s too tight or loose, adjust the choke linkage accordingly. A properly adjusted choke means easier starts, less stalling, and smoother running.
Fine-Tune the Accelerator Pump for Responsive Throttle
Because the accelerator pump directly affects throttle response, you’ll want to fine-tune it carefully for smooth acceleration. Start by checking the pump’s stroke length—too short can cause hesitation, too long may flood the engine.
Fine-tune the accelerator pump stroke to ensure smooth acceleration and prevent hesitation or flooding.
Adjust the linkage to guarantee the pump delivers the right amount of fuel when you open the throttle quickly. Listen for a crisp, immediate response without bogging or sputtering.
Focus on these key adjustments:
- Set the pump arm stroke between 1/4 to 3/8 inch for ideal fuel delivery
- Adjust the pump cam or linkage for smooth, quick movement
- Inspect the pump diaphragm for cracks or wear that diminish effectiveness
- Ensure the pump nozzle sprays fuel evenly into the venturi
Fine-tuning here gives you responsive throttle and better engine performance.
Take a Road Test and Make Final Tweaks
Once you’ve completed all adjustments, take your vehicle for a road test to evaluate how the Edelbrock carburetor performs under real driving conditions. Pay attention to how the engine responds during acceleration, cruising, and deceleration. Notice any hesitation, bogging, or stalling.
If you encounter these issues, return to fine-tune the idle mixture screws or adjust the accelerator pump settings. Make small tweaks at a time, testing after each change to avoid overcorrecting. Also, monitor the engine temperature and listen for any unusual noises.
A well-tuned carburetor should provide smooth throttle response, steady idle, and consistent power delivery. Remember, patience during this phase guarantees peak performance and reliability. Once satisfied, secure all adjustment screws and enjoy your perfectly dialed-in Edelbrock setup.
Frequently Asked Questions
What Are the Benefits of Using an Edelbrock Carburetor?
You’ll enjoy improved throttle response, better fuel efficiency, and increased horsepower with an Edelbrock carburetor.
It’s designed for reliability and easy tuning, giving your engine smoother performance and making your ride more enjoyable overall.
How Do Edelbrock Carburetors Differ From Other Brands?
You’ll find Edelbrock carburetors offer a unique charm with superior airflow and precise fuel delivery. Unlike others, they’re designed for smoother performance and easier tuning, giving your engine that extra bit of spirited responsiveness you’ll appreciate.
Their construction emphasizes durability and efficiency, making them a reliable choice for enthusiasts. The design focuses on optimizing fuel mixture for various driving conditions. This results in better throttle response and overall engine performance.
Compared to other brands, Edelbrock carburetors often require less frequent adjustments. They balance classic performance with modern engineering advancements. This combination makes them stand out in the market.
Can I Use Ethanol Fuel With My Edelbrock Carburetor?
Yes, you can use ethanol fuel with your Edelbrock carburetor, but you’ll need to adjust jetting and guarantee components are ethanol-compatible to prevent corrosion and performance issues.
Regular maintenance helps keep everything running smoothly.
How Often Should I Rebuild or Replace My Edelbrock Carburetor?
You might think rebuilding’s only for old carbs, but you should rebuild or replace your Edelbrock carburetor every 50,000 miles or if you notice performance issues.
Regular maintenance keeps your engine running smooth and efficient.
What Engine Types Are Compatible With Edelbrock Carburetors?
You’ll find Edelbrock carburetors compatible with most V8 and V6 engines, especially classic American muscle cars and performance street vehicles. They also fit some inline engines, depending on your specific model and application requirements.
Conclusion
Now that you’ve followed these steps, your Edelbrock carburetor is almost ready to roar. But don’t rush—those final tweaks can make all the difference between good and great performance.
As you take it for a spin, listen closely and feel every response. You might just uncover that one perfect adjustment that transforms your ride.
Ready to discover what your Edelbrock carburetor can truly do? The best is yet to come with your Edelbrock carburetor setup.

