


To use a 12V battery charger effectively, it’s essential to understand the basics of battery charging and maintenance. Knowing how to safely operate your 12V battery charger can extend your battery’s life and ensure reliable performance.
In this guide, we will walk you through 7 easy steps to properly use a 12V battery charger, from identifying your battery type to maintaining its health after charging.
First, identify your battery type and confirm your charger matches its voltage and chemistry.
Prepare your battery and charger safely by inspecting the battery and wearing protective gear.
Set the charger to 12V and choose the correct mode.
Connect clamps correctly, turn on the charger, and monitor charging status.
When done, turn off the charger before disconnecting clamps, then maintain your battery’s health.
Following these basics leads to longer battery life and reliable performance.
Key Takeaways
- Identify your battery type and ensure the charger matches the 12V voltage and battery chemistry.
- Work in a ventilated area, wear protective gear, and inspect battery terminals for cleanliness.
- Connect positive clamp to the battery’s positive terminal and negative clamp to the negative terminal securely.
- Set the charger to 12V and select the appropriate charging mode for your battery type.
- Turn on the charger, monitor charging indicators, then turn off and disconnect clamps starting with negative.
Know Your Battery Type and Charger
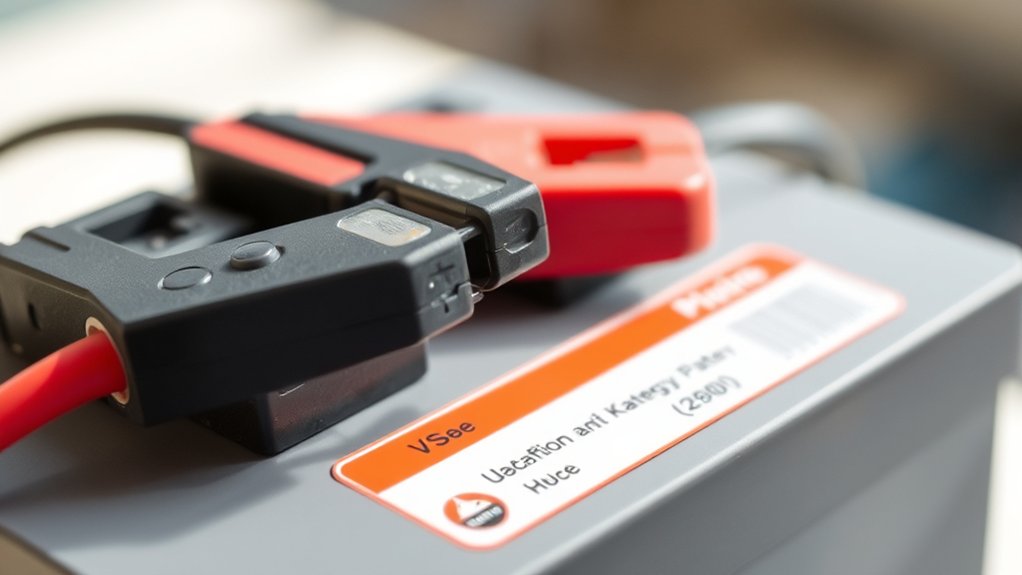
Before you begin charging, you need to know what type of battery you have and verify your charger matches it. Most 12V batteries fall into two main categories: lead-acid (including flooded, AGM, and gel types) and lithium-ion. Each requires a specific charging method to avoid damage.
Check your battery’s label or manual to identify its type and recommended charging parameters. Then, look at your charger’s specifications to confirm compatibility. Using a charger designed for a different battery chemistry can cause poor performance or even safety hazards.
Also, confirm your charger supports the battery’s voltage and capacity. Taking these steps helps you charge effectively and safely, extending your battery’s life and maintaining its performance. Always prioritize compatibility before plugging in your charger.
Get Your Battery and Charger Ready Safely

Although preparing your battery and charger might seem straightforward, taking safety precautions is essential to prevent accidents. Before you start, make sure you work in a well-ventilated area to avoid harmful gas buildup. Always wear protective gloves and goggles to shield yourself from acid splashes or sparks.
Safety first: use gloves, goggles, and ensure ventilation to prevent accidents while preparing your battery and charger.
Follow these steps to get ready safely:
- Inspect the battery for cracks, leaks, or corrosion, and clean terminals if needed.
- Unplug the charger before connecting it to the battery to avoid sparks.
- Connect the charger clamps correctly—positive clamp to the positive terminal and negative clamp to the negative terminal.
Taking these precautions guarantees a safe and effective charging process every time.
Set Your Charger’s Voltage and Charging Mode

Once you’ve connected your battery and charger safely, the next step is to set the charger’s voltage and charging mode correctly. Make certain you select 12 volts since your battery is designed for that voltage. Using a different voltage can damage your battery or charger.
Next, choose the charging mode based on your battery type and condition. For lead-acid batteries, modes like “standard,” “fast,” or “trickle” charging are common. If your charger has an automatic mode, it can adjust the charging process for you.
Otherwise, pick a mode that fits your needs: fast for quick charging or trickle for maintenance. Confirm your settings before proceeding to ensure a safe and effective charge without overcharging or undercharging your battery.
Connect the Charger Cables to the Battery
When you’re ready to connect the charger cables, make sure you identify the positive and negative terminals on both the battery and the charger. Connecting them correctly is essential to avoid sparks or damage.
Follow these steps to connect the cables safely:
- Attach the red (positive) cable clamp to the battery’s positive terminal, usually marked with a “+” or red cover.
- Connect the black (negative) cable clamp to the battery’s negative terminal, marked with a “-” or black cover.
- Double-check that the clamps are secure and not touching each other or any metal parts.
Turn On the Charger and Watch Your Battery Charge
After securely connecting the charger cables to the battery, you can power on the charger to begin the charging process. Make sure the charger is set to the correct voltage and charging mode for your battery type. Once turned on, you’ll often see indicator lights or a display showing the charging status.
Keep an eye on these to monitor progress. The charger will deliver current to the battery, gradually restoring its charge. Avoid touching the cables or battery terminals while charging to stay safe.
Depending on your charger, it may automatically adjust the current to prevent overcharging. Watching the charger in action helps you confirm everything runs smoothly, ensuring your battery regains power efficiently and safely.
Safely Disconnect the Charger From Your Battery
Before you disconnect the charger, make sure it’s turned off to prevent sparks or electrical shocks. Once the charger is off, you can safely remove the cables from your battery.
Follow these steps to disconnect properly:
- Remove the negative (-) cable first: This reduces the risk of short circuits.
- Then remove the positive (+) cable: Handle it carefully to avoid touching metal surfaces.
- Store the charger cables: Coil them neatly and keep the charger in a dry place.
Keep Your Battery Healthy After Charging
Once you’ve safely disconnected the charger, maintaining your battery’s health becomes your next priority. Regularly check the battery terminals for corrosion and clean them if needed. Keep the battery fully charged to prevent sulfation, especially if it’s not in use.
Store your battery in a cool, dry place to extend its lifespan. Also, avoid deep discharges, as they can damage the battery.
| Action | Why It Matters |
|---|---|
| Clean terminals | Prevents corrosion and poor contact |
| Keep battery charged | Stops sulfation and capacity loss |
| Store properly | Protects against temperature damage |
| Avoid deep discharge | Maintains battery health |
| Inspect regularly | Detects issues early |
Following these steps ensures your 12V battery stays reliable and lasts longer.
Frequently Asked Questions
Can I Use a 12V Charger for a 24V Battery?
You can’t use a 12V charger for a 24V battery safely. It won’t provide enough voltage, and your battery won’t charge properly.
Always match the charger voltage to your battery to avoid damage and guarantee efficient charging.
How Long Does a Typical 12V Battery Charging Take?
A typical 12V battery charging takes about 4 to 24 hours, depending on the battery’s size and charger’s amperage.
You’ll want to monitor it to avoid overcharging and guarantee the battery charges efficiently and safely.
What Are the Signs of a Faulty 12V Battery Charger?
You might notice your charger’s “mood swings” if it won’t hold a charge, emits unusual noises, or its indicator lights act confused.
If it overheats or smells odd, it’s time to contemplate a replacement or repair.
Can I Charge a Frozen or Damaged 12V Battery?
You shouldn’t charge a frozen 12V battery, as it can crack or explode. For damaged batteries, charging may be unsafe or ineffective.
Instead, inspect it first and consider replacing it to avoid hazards or poor performance.
Is It Safe to Charge a 12V Battery Indoors?
Yes, you can charge a 12V battery indoors, but make sure the area is well-ventilated to avoid gas buildup. Always follow safety precautions, keep sparks away, and never leave the charger unattended while it’s working.
Conclusion
Using a 12V battery charger is simple and effective when you follow these steps carefully. Did you know that properly charging your battery can extend its life by up to 50%? By knowing your battery type, setting the right voltage, and disconnecting safely, you’ll keep your battery healthy and reliable.
Stick with these tips, and you’ll save time and money while powering your devices efficiently. Charging smart really makes a difference! Using a 12V battery charger correctly ensures longer battery life, optimal performance, and safety.

