

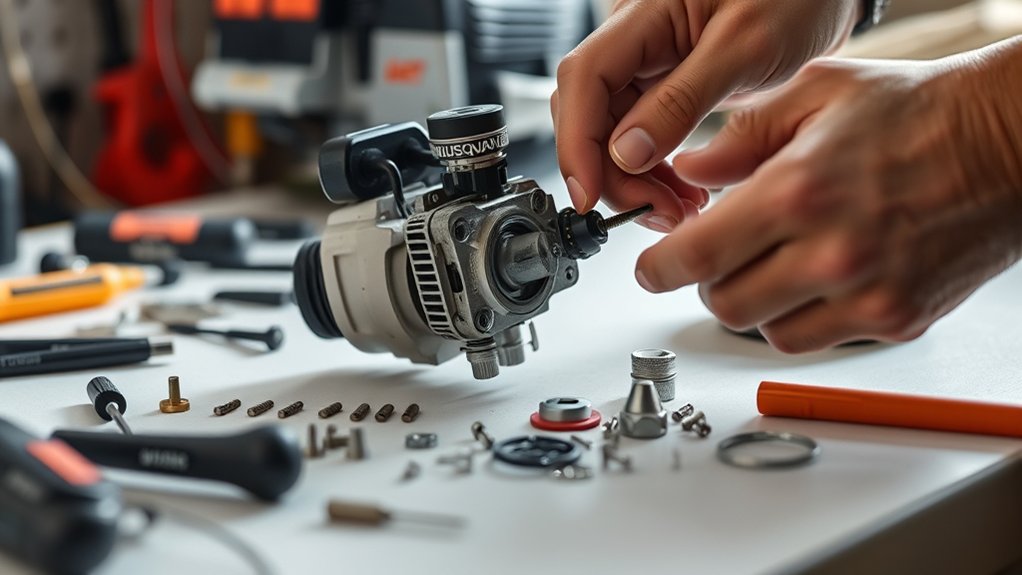
You’ll know it’s time to rebuild your Husqvarna trimmer carburetor if it struggles to start, stalls frequently, or shows poor performance during use. Rebuilding the carburetor can restore your trimmer’s power and efficiency, making it run like new again.
Start by gathering your basic hand tools and a Husqvarna trimmer carburetor rebuild kit. Safely remove the carburetor by disconnecting the spark plug and fuel line.
Then, disassemble it carefully, inspect parts for wear, and clean all components thoroughly.
Replace worn parts with those in the rebuild kit and reassemble everything before reinstalling. Keep going to uncover detailed tips that’ll make the rebuilding process easier and more effective.
Key Takeaways
- Safely remove the carburetor by disconnecting the spark plug, removing the air filter, and detaching fuel lines and mounting bolts.
- Disassemble the carburetor, inspecting the float, needle valve, gaskets, and seals for damage or wear.
- Clean all metal parts thoroughly with carburetor cleaner, a soft brush, and compressed air, ensuring complete drying.
- Replace worn components using a rebuild kit, including gaskets, diaphragms, and needles, for proper functionality.
- Reassemble the carburetor carefully, reinstall it on the trimmer, reconnect fuel lines and linkages, then test engine performance.
How to Know When Your Husqvarna Trimmer Carburetor Needs Rebuilding
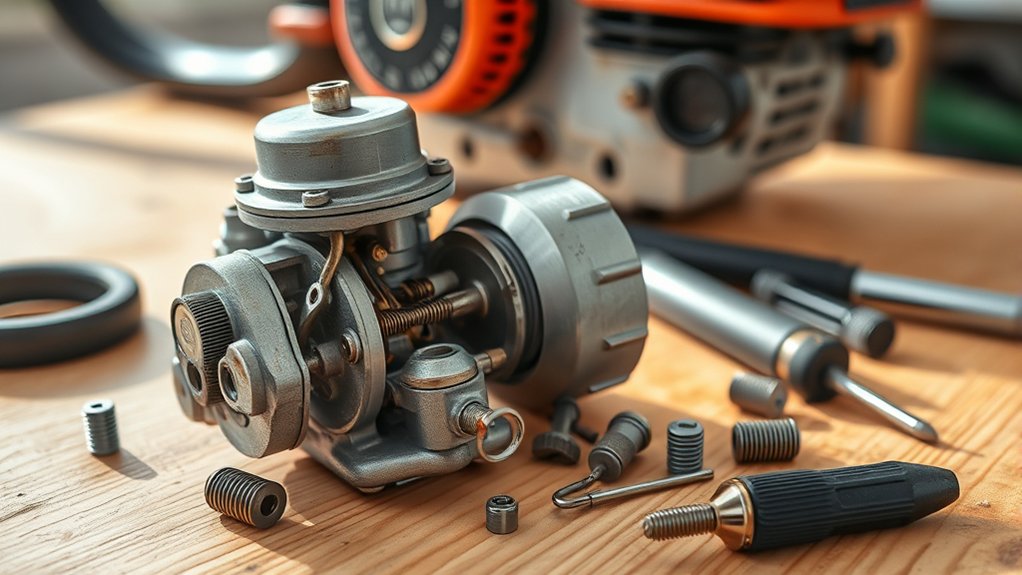
Although your Husqvarna trimmer might seem to run fine at first, you’ll notice signs that indicate the carburetor needs rebuilding. If your trimmer struggles to start or stalls frequently, the carburetor could be clogged or worn out. You might also experience poor engine performance, such as rough idling, uneven acceleration, or loss of power.
Excessive fuel consumption or black smoke from the exhaust points to improper fuel-air mixture, often caused by carburetor issues. Additionally, if the engine floods easily or runs only when you spray starter fluid, it’s a clear sign the carburetor needs attention. Paying close attention to these symptoms will help you diagnose the problem early and avoid further damage to your Husqvarna trimmer.
Gather Essential Tools and Carburetor Parts for Rebuild
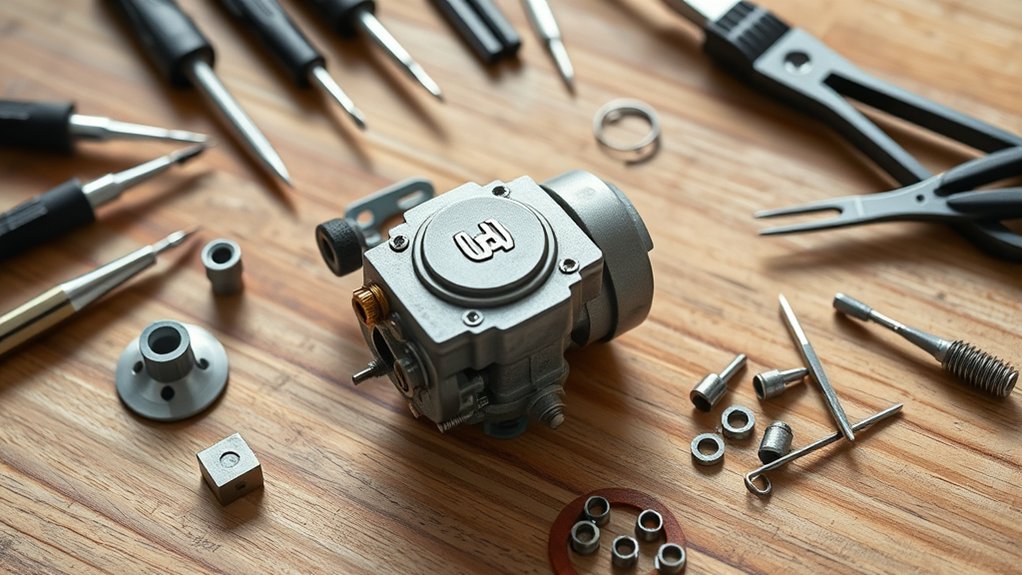
Before you begin rebuilding your Husqvarna trimmer carburetor, you’ll need to gather the right tools and replacement parts to guarantee a smooth process. Having everything on hand prevents delays and frustration. Start with these essentials:
Gather the right tools and parts first to ensure a smooth, frustration-free Husqvarna trimmer carburetor rebuild.
- Basic hand tools – Screwdrivers (flathead and Phillips), needle-nose pliers, and a small wrench set help you access and remove carburetor components.
- Carburetor rebuild kit – This kit includes gaskets, diaphragms, needles, and other parts specific to your Husqvarna model, ensuring a proper fit and function.
- Cleaning supplies – Carburetor cleaner spray, a small wire brush, and compressed air will help you thoroughly clean parts before reassembly.
Organize these items on a clean workspace to keep your rebuild efficient and precise.
Remove the Carburetor Safely
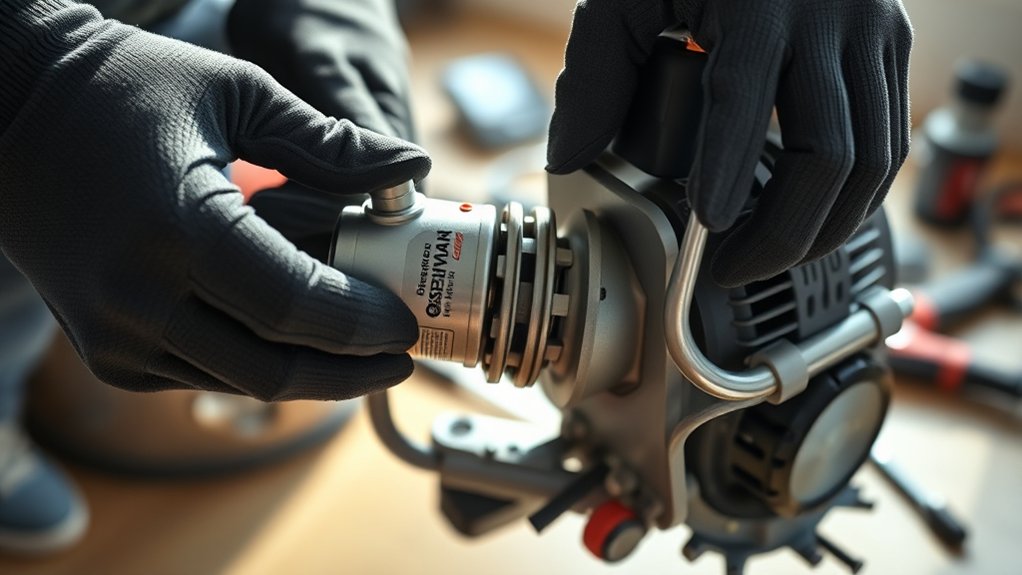
With your tools and parts ready, you can begin removing the carburetor from your Husqvarna trimmer. First, confirm the trimmer is off and cool to avoid burns or accidental starts. Disconnect the spark plug wire to prevent ignition.
Next, carefully detach the air filter cover and air filter to access the carburetor. Use a screwdriver or socket wrench to remove the mounting bolts securing the carburetor. Be cautious not to damage any gaskets or hoses.
Gently disconnect the fuel line—have a container or rag handy to catch any fuel spills—and remove the throttle linkage with care. Keep track of all small parts and note their positions for reassembly. Handle the carburetor gently to avoid bending or breaking components during removal.
Disassemble and Inspect Carburetor Components
Once you’ve removed the carburetor, carefully disassemble its components to inspect each part for wear, damage, or buildup. Begin by removing the float bowl and checking the float for punctures or cracks that could affect fuel flow.
After removing the carburetor, carefully disassemble and inspect parts for wear, damage, or buildup.
Next, examine the needle valve for signs of sticking or wear that might cause flooding or fuel starvation. Finally, inspect the gaskets and seals for any cracks or brittleness that could lead to air leaks.
Here’s a quick checklist:
- Float – ensure it moves freely and isn’t damaged.
- Needle valve – verify it seats properly without sticking.
- Gaskets and seals – look for any deterioration or cracks.
This thorough inspection helps you identify faulty parts before reassembling your carburetor.
Clean Carburetor Parts Thoroughly to Remove Dirt
Although disassembling and inspecting the carburetor is essential, you’ll need to clean each part thoroughly to remove all dirt, varnish, and debris that can block fuel flow and affect performance. Start by soaking metal parts in a carburetor cleaner solution to dissolve stubborn deposits. Use a soft brush or toothbrush to scrub surfaces gently, paying close attention to tiny passages and jets.
Avoid using sharp tools that might damage delicate parts. Rinse components with clean water or compressed air to guarantee all residue is gone. Don’t forget to clean the float bowl and needle valve area, as these spots often collect grime.
Dry everything completely before reassembly to prevent moisture-related issues. Proper cleaning helps restore smooth fuel delivery and keeps your trimmer running efficiently.
Identify and Replace Worn Parts Using a Rebuild Kit
Before reassembling your Husqvarna trimmer carburetor, carefully inspect each component for wear or damage. Using a rebuild kit makes it easier to replace worn parts and restore performance. Focus on these key areas:
- Gaskets and Diaphragms: Replace any that are cracked, brittle, or warped to guarantee airtight seals.
- Needle Valve and Seat: Check for wear or debris that could cause fuel leaks or flooding; swap them out if necessary.
- Springs and Screws: Examine for rust or deformation and replace to maintain proper tension and adjustment.
Replacing these parts with those from your rebuild kit ensures your carburetor functions efficiently and reliably. Don’t skip this step, as worn components often cause poor engine performance or stalling.
Reassemble, Reinstall, and Test Your Trimmer
After replacing all the worn parts, carefully reassemble your Husqvarna trimmer carburetor by following the reverse order of disassembly. Make certain each gasket and screw is correctly positioned to prevent leaks. Reinstall the carburetor onto the engine, reconnecting all linkages and fuel lines securely.
Once assembled, prime the carburetor if applicable, then start your trimmer and let it idle. Adjust the idle and mixture screws as needed for smooth running.
| Step | Key Tip |
|---|---|
| Reassemble parts | Follow reverse disassembly |
| Reinstall carburetor | Secure all connections |
| Prime carburetor | Use primer bulb if present |
| Start engine | Check for leaks or smoke |
| Adjust settings | Fine-tune idle and mixture |
Test thoroughly to ensure efficient performance.
Frequently Asked Questions
What Type of Fuel Is Best for Husqvarna Trimmers?
You should use a fresh mixture of unleaded gasoline with an octane rating of 89 or higher, combined with two-stroke engine oil at the correct ratio.
This keeps your Husqvarna trimmer running smoothly and efficiently.
How Often Should I Perform Carburetor Maintenance?
Think of your carburetor as the heart of your trimmer. You should perform maintenance every 25 hours of use or at the start of each season to keep it pumping strong and avoid unexpected breakdowns.
Can I Use Aftermarket Parts for Rebuilding the Carburetor?
Yes, you can use aftermarket parts for rebuilding your carburetor, but make sure they’re high-quality and compatible. Using cheap or wrong parts might cause poor performance or damage, so choose trusted brands to keep your trimmer running smoothly.
What Safety Precautions Should I Take When Handling Fuel?
Fuel’s like a sleeping dragon, so you’ve got to handle it carefully. Always work in a well-ventilated area, wear gloves, avoid sparks or flames, and store fuel in approved containers to keep yourself safe from harm.
How Do I Store My Trimmer During the Off-Season?
You should drain the fuel or add a fuel stabilizer, clean the trimmer thoroughly, remove the spark plug, and store it in a dry, cool place.
This prevents damage and keeps your trimmer ready for next season.
Conclusion
Now that you’ve mastered each step, your Husqvarna trimmer’s carburetor is ready for action. But before you fire it up, pause—what if you missed a tiny detail? Don’t worry, you’ve got this.
With patience and care, your trimmer will roar back to life like new. Just one more twist, one more test, and you’ll see the difference. Rebuilding the carburetor is key to restoring optimal performance.
Ready to bring your trimmer back from the brink? Let’s get started on your Husqvarna trimmer carburetor rebuild and enjoy a smooth-running machine once again!

