

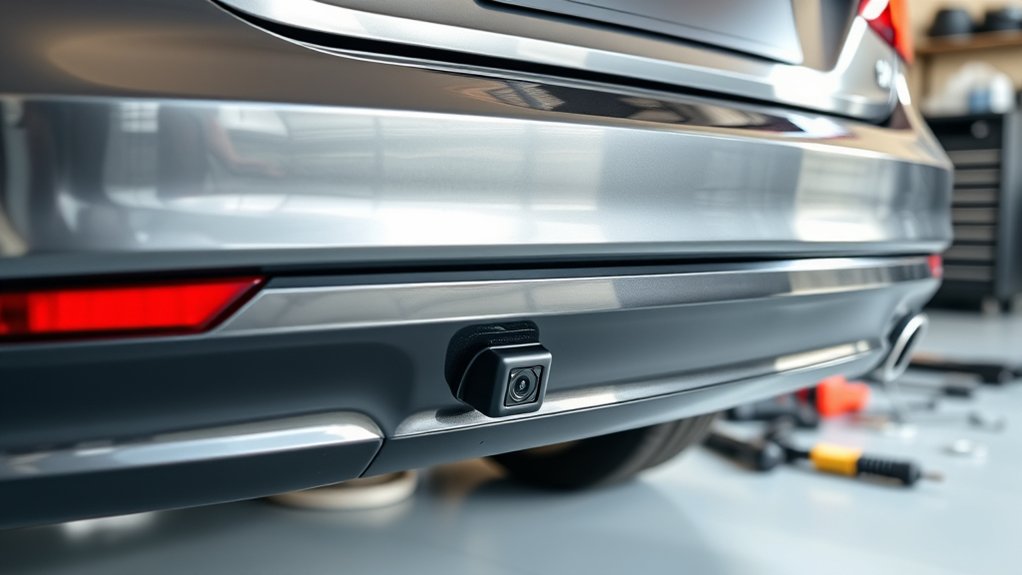
You can easily add a reverse camera to your car to enhance safety and convenience while backing up. Choosing a compatible model is key—wired cameras offer stable image quality, while wireless ones provide easier installation options.
Pick a mounting spot with a clear rear view, usually under the bumper or near the license plate. Use basic tools like screwdrivers and wire strippers to connect power to your reverse lights.
Finish by selecting a display type, such as an infotainment screen or a standalone monitor.
Keep going to discover tips on installation, troubleshooting, and upgrades for your new reverse camera system.
Key Takeaways
- Choose a compatible reverse camera type—wired or wireless—based on your vehicle and desired features like night vision or wide-angle view.
- Prepare necessary tools such as screwdrivers, wire strippers, and a power drill for mounting and wiring the camera properly.
- Mount the camera in a clear, protected location near the rear bumper or license plate for optimal rear visibility and weather protection.
- Connect the camera wiring to the reverse light power source, secure cables neatly, and ensure correct grounding to avoid electrical issues.
- Select and install a suitable display system (infotainment screen, standalone monitor, or smartphone app) based on your preferences and vehicle compatibility.
Why Add a Reverse Camera to Your Vehicle?
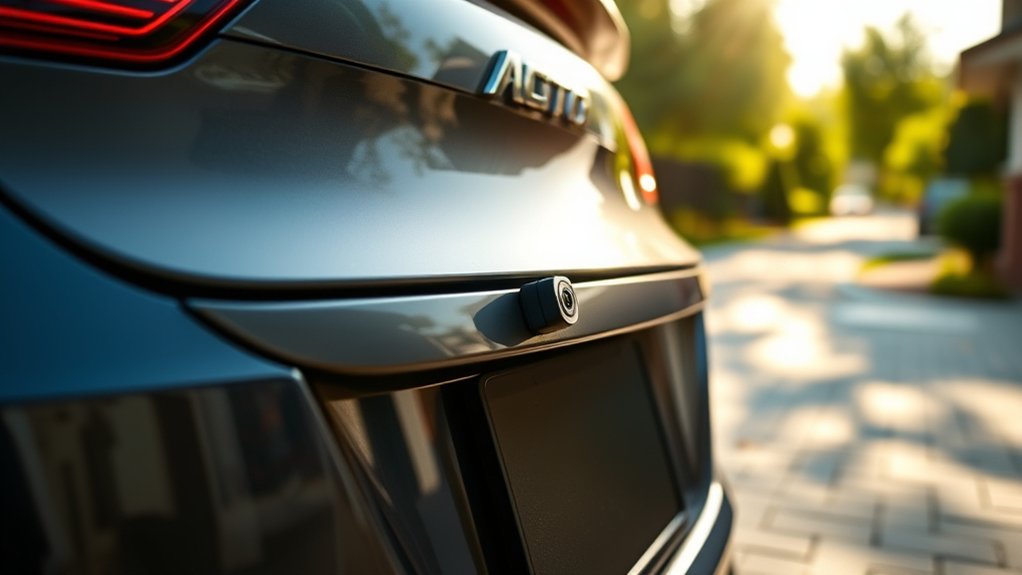
Although you might think reversing is straightforward, adding a reverse camera considerably improves your safety and convenience. When you back up, your view is limited, and blind spots can hide pedestrians, children, or obstacles. A reverse camera gives you a clear, real-time image of what’s behind your vehicle, reducing the risk of accidents.
It also makes parking much easier by helping you judge distances precisely. You won’t have to rely solely on mirrors or turning your head awkwardly. Plus, in tight spaces, you’ll avoid bumping into curbs or other cars.
Types of Reverse Cameras You Can Add
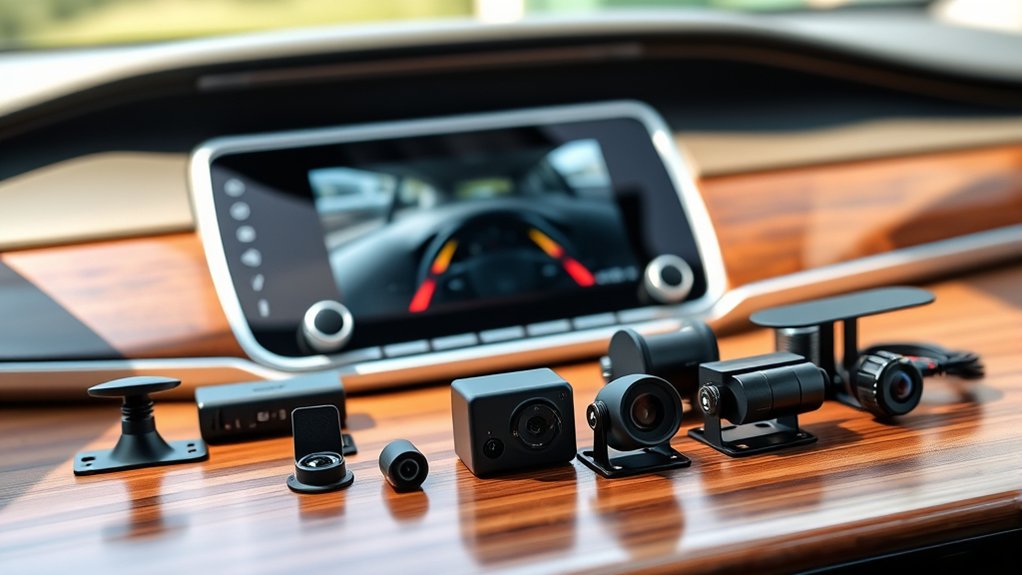
You can choose between wired and wireless reverse cameras to upgrade your vehicle. Wired cameras offer a stable connection, while wireless ones provide easier installation.
Let’s explore what each type has to offer so you can pick the best fit for your car.
Wired Reverse Camera Options
When choosing a wired reverse camera, consider the different types available to find one that fits your car and budget. Wired cameras generally offer reliable video quality and a steady connection since they’re directly linked to your vehicle’s display. You’ll find models with varying features like night vision, wide-angle lenses, and waterproof designs.
Here’s a quick overview:
| Camera Type | Key Features |
|---|---|
| Basic Wired Camera | Simple, budget-friendly |
| Night Vision Camera | Clear image in low light |
| Wide-Angle Camera | Expands rear view coverage |
| Waterproof Camera | Durable in all weather |
Pick one that suits your needs and guarantee it’s compatible with your car’s monitor system.
Wireless Reverse Camera Choices
How do wireless reverse cameras stack up against their wired counterparts? Wireless options offer easier installation since you won’t have to run cables through your car, making them ideal if you want a quick upgrade. They transmit video signals via Wi-Fi or radio frequency, reducing clutter and preserving your vehicle’s interior aesthetics.
However, they might experience occasional interference or latency, especially in areas with many wireless devices.
When choosing a wireless reverse camera, consider:
- Standalone wireless cameras: Simple, self-contained units that send video directly to a compatible monitor or smartphone app.
- Wi-Fi-enabled cameras: Connect to your phone or aftermarket display for real-time viewing and recording.
- Hybrid systems: Combine wired power with wireless video transmission for stable power and easy video setup.
These choices let you pick what fits your car and budget best.
How to Choose the Best Reverse Camera for Your Vehicle’s Needs
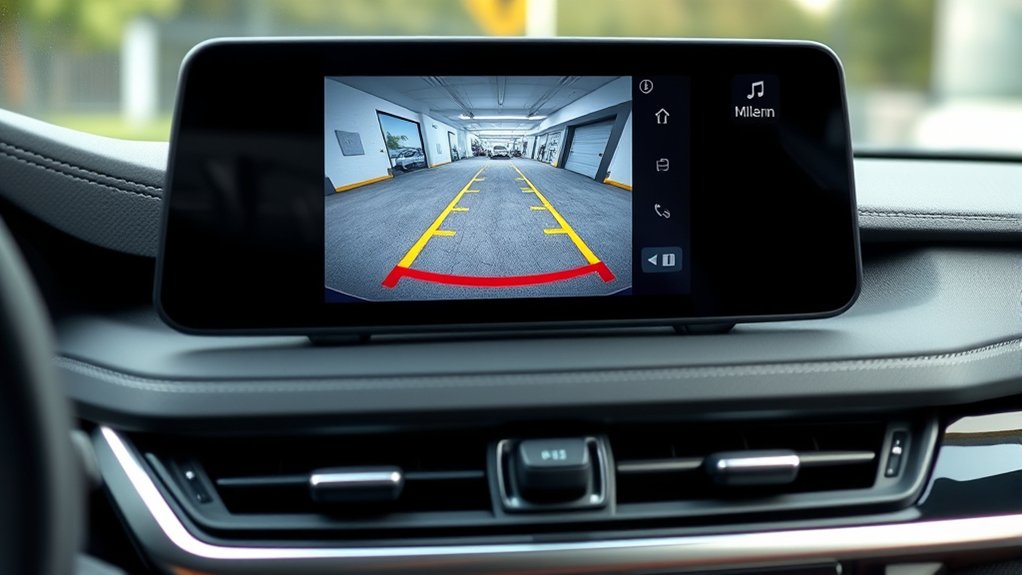
Since every vehicle and driver has unique requirements, selecting the right reverse camera means considering factors like compatibility, image quality, and installation ease. Think about your car’s make and model to guarantee the camera fits well. High-resolution cameras provide clearer images, especially in low light.
Also, consider if you want a wired or wireless setup based on your comfort with installation.
| Feature | What to Look For | Why It Matters |
|---|---|---|
| Compatibility | Fits your vehicle model | Ensures proper installation |
| Image Quality | High resolution, night vision | Clear view in all conditions |
| Installation | Wired vs. wireless | Match your DIY skill level |
| Field of View | Wide-angle lens | Covers blind spots effectively |
| Durability | Weatherproof design | Lasts through various climates |
Tools and Materials Needed for Installation
Before you start installing your reverse camera, gather all the necessary tools and materials to make the process smooth and efficient. Having everything at hand prevents interruptions and helps you stay organized. You’ll need specific tools to handle electrical connections, mount the camera properly, and route the wiring safely through your vehicle.
Here are the essential items:
- Screwdriver set: For securing the camera and removing panels without damaging your car.
- Wire strippers and electrical tape: To connect and insulate wires safely.
- Power drill (optional): Useful if your camera requires new mounting holes.
With these tools ready, you’ll be prepared to install your reverse camera confidently and avoid potential setbacks during the process.
How to Choose the Best Mounting Location for Your Reverse Camera
You’ll want to pick a mounting spot that gives you a clear, wide view behind your car without obstructions. Make sure the location protects the camera from rain and dirt to keep it working well.
Also, choose a place where wiring is easy to run and connect without hassle.
Visibility and Field of View
When selecting the best mounting location for your reverse camera, consider how much of the area behind your car you want to see. The camera’s visibility and field of view are vital for safety and convenience. Mounting it too low might capture ground details but miss obstacles farther back.
Too high, and you could lose close-range clarity. Aim for a spot that balances these aspects effectively.
Think about:
- Wide-angle coverage: Ensures you see a broad area, reducing blind spots.
- Height placement: Impacts how much ground and distance you can monitor.
- Line of sight: Avoid obstructions like the license plate or bumper parts that can block the view.
Choosing wisely enhances your reversing confidence and helps prevent accidents.
Protection From Weather
Although reverse cameras are designed to withstand outdoor conditions, choosing a mounting location that offers extra protection from harsh weather will extend its lifespan and maintain clear visibility. You’ll want to avoid spots directly exposed to rain, snow, or intense sunlight.
Placing the camera under the rear bumper or inside a small recess near the license plate can shield it from water and debris. Make sure the location doesn’t trap moisture or dirt, which can blur the lens. Also, avoid areas prone to extreme temperature changes that might cause condensation inside the camera housing.
Ease of Wiring Access
Since your reverse camera needs to connect to your car’s electrical system and display, choosing a mounting location with easy wiring access will simplify installation and reduce potential issues. You want a spot where you can quickly route cables without interfering with other components or risking damage. This approach saves time and prevents electrical problems down the road.
Consider these factors when picking a mounting location:
- Proximity to power sources and the display unit to minimize cable length
- Accessibility for running wires behind panels or through existing grommets
- Avoidance of areas exposed to excessive heat or moisture that might harm wiring
How to Connect a Reverse Camera to Your Car’s Electrical System
Before you start connecting the reverse camera to your car’s electrical system, make sure you have all the necessary tools and understand your vehicle’s wiring layout. First, locate the reverse light wire, as this powers the camera when you shift into reverse. Use a multimeter to confirm the correct wire.
Next, connect the camera’s power wire to the reverse light wire and ground the camera properly to avoid electrical issues. Finally, connect the video cable to your display unit.
| Step | Action | Tip |
|---|---|---|
| Locate wire | Find reverse light wire | Use multimeter for accuracy |
| Connect power | Attach camera power wire | Use wire tap or solder |
| Ground camera | Connect to chassis ground | Ensure firm, corrosion-free |
| Connect video cable | Link to monitor input | Test connection before final |
Tips for Routing and Hiding Reverse Camera Wiring
After connecting your reverse camera to the electrical system, the next step is to route and hide the wiring neatly. Proper wiring management prevents damage, keeps your car looking tidy, and ensures safety.
Start by tucking wires under trim panels, door sills, or carpet edges to keep them out of sight and away from moving parts. Secure cables with zip ties or adhesive clips to avoid rattling or snagging.
Tuck wires under panels or carpet and secure with zip ties to prevent rattling and damage.
Here are some tips to help you:
- Use factory wiring channels or existing wire looms to blend in the camera cables.
- Avoid sharp edges and heat sources that can damage the wires over time.
- Leave some slack near connection points to prevent tension and allow easy maintenance.
Comparing Display Options for Your Reverse Camera
When choosing a display for your reverse camera, you’ll want to contemplate factors like screen size, placement, and compatibility with your vehicle. Some displays integrate with your existing infotainment system, while others come as standalone units or use your smartphone. Each has pros and cons depending on ease of use, installation, and cost.
| Display Type | Pros | Cons |
|---|---|---|
| Infotainment Screen | Integrated, no extra devices | May need professional install |
| Standalone Monitor | Easy to install, visible | Takes up dashboard space |
| Smartphone App | Cost-effective, portable | Requires Bluetooth/Wi-Fi setup |
Choose what fits your needs and vehicle best for a seamless experience.
How to Test Your Reverse Camera After Installation
Once your reverse camera is installed, start by checking the visual clarity on your display to guarantee the image is sharp and clear. Next, test the sensors and signal by slowly backing up to confirm the camera responds accurately.
This quick check helps you catch any issues before hitting the road.
Visual Clarity Check
Although installing your reverse camera is a crucial step, you’ll want to verify its image is clear and dependable before relying on it. Start by cleaning the camera lens to remove dirt or smudges that can blur the picture. Next, test the camera in different lighting conditions—daylight, dusk, and nighttime—to confirm consistent visibility.
Pay close attention to image sharpness and color accuracy. If the view is distorted or blurry, adjust the camera angle or check for obstructions. Finally, confirm that the screen displays the entire rear view without cutoff areas, giving you a full perspective.
- Clean lens regularly for maximum clarity
- Test in varied lighting conditions
- Adjust angle to eliminate blind spots
These steps help you trust your reverse camera’s visual performance.
Sensor and Signal Test
Before you rely on your reverse camera, you’ll want to make certain its sensors and signals work flawlessly. Start by turning the camera on and putting your car in reverse. Watch the display for a clear image and check if the parking guidelines appear correctly.
Next, test the sensors by slowly backing up toward an obstacle, like a wall or cone. Listen for beeping sounds and observe any visual alerts on the screen. If the alerts activate at the right distances, your sensors are working properly.
Finally, inspect the wiring connections for any loose or damaged cables that might interrupt the signal. Fix any issues immediately to ensure your camera system functions reliably every time you reverse.
Common Installation Mistakes and How to Avoid Them
When installing a reverse camera, you’ll want to steer clear of common mistakes that can compromise its effectiveness or damage your vehicle. First, avoid poor wiring connections; loose or exposed wires can cause malfunctions or shorts. Next, don’t mount the camera in a spot with an obstructed view—this defeats its purpose.
Avoid poor wiring and obstructed views to ensure your reverse camera works effectively and safely.
Finally, skip neglecting waterproofing; moisture can ruin the camera’s electronics over time.
To guarantee a smooth installation, keep these tips in mind:
- Secure all wiring with proper insulation and connectors to prevent electrical issues.
- Choose a mounting location that offers a clear, wide-angle view behind your car.
- Seal the camera and wiring entry points against water and dust intrusion.
How to Upgrade Your Reverse Camera System Later
If you want to enhance your reverse camera system later, upgrading is simpler than you might think. Start by choosing a camera with higher resolution or wider viewing angles. Many modern cameras offer night vision or parking guidelines, which can be added to your existing setup.
You don’t need to replace the entire system; often, you can swap the camera or monitor separately. Make sure your wiring and connections are compatible with new components to avoid extra work. If you initially installed a basic monitor, consider upgrading to a touchscreen or integrating your camera feed into your car’s infotainment system.
Keep your user manual handy and follow manufacturer guidelines during upgrades. This approach helps you keep your setup current without starting from scratch.
How Much Does Reverse Camera Installation Cost?
Wondering how much you’ll need to spend to install a reverse camera in your car? Costs vary depending on the type of camera, your car model, and whether you install it yourself or hire a professional. On average, expect to pay between $100 and $500.
Installing a reverse camera costs between $100 and $500, depending on your car and installation choice.
Here’s what influences the price:
- Camera quality and features: Higher resolution and night vision add to the cost.
- Installation complexity: Some cars require more labor, increasing installation fees.
- DIY vs. professional installation: Doing it yourself saves money but requires some technical skill; professionals charge more but ensure proper setup.
Knowing these factors helps you budget effectively and make an informed decision about adding a reverse camera to your vehicle.
Best Places to Buy Reverse Camera Kits and Accessories
Although reverse camera kits are widely available, choosing the right place to buy them can save you money and guarantee you get quality products. Start by checking reputable online retailers like Amazon and eBay, where you’ll find a wide range of kits with customer reviews to help you make an informed choice.
Specialty auto parts stores, such as AutoZone or Advance Auto Parts, offer reliable products and the advantage of in-person advice. If you want professional-grade equipment, consider visiting car audio and electronics shops—they often provide installation services too.
Ultimately, don’t overlook manufacturer websites; buying directly can ensure compatibility and warranty support. By exploring these options, you’ll find a reverse camera kit that fits your budget and needs without compromising on quality.
Frequently Asked Questions
Will a Reverse Camera Work With My Existing Car Stereo System?
Yes, your reverse camera can work with your existing stereo if it has a video input. You’ll need to check compatibility and might require an adapter or a new head unit that supports video signals.
Make sure to verify the type of video input your stereo accepts. Sometimes, additional wiring or connectors are necessary.
If your current system doesn’t support video, upgrading to a compatible head unit is often the best solution.
Can Reverse Cameras Improve My Car Insurance Rates?
You might not see direct insurance discounts just for installing a reverse camera, but insurers appreciate safer drivers. By reducing accidents and claims, it can indirectly improve your rates over time, so don’t overlook its value.
Are Reverse Cameras Effective in All Weather Conditions?
Reverse cameras work well in most weather, but heavy rain, fog, or snow can reduce visibility. You’ll want to keep the lens clean and consider models with night vision or waterproof features for better performance in tough conditions.
How Does a Reverse Camera Affect My Car’s Resale Value?
You might think adding a reverse camera boosts resale value, and it often does. Buyers appreciate the safety feature, so you’ll likely get a better price or sell faster, especially if your car lacks advanced tech.
Do Reverse Cameras Require Regular Maintenance or Calibration?
No, reverse cameras don’t usually need regular maintenance or calibration. Just keep the lens clean and check connections occasionally.
If the image gets blurry or distorted, you might need a quick adjustment or professional inspection.
Conclusion
Adding a reverse camera to your car is a smart move that can save you from costly fender benders. With the right camera and proper installation, you’ll have a clear view behind you, making parking and reversing a breeze.
Just remember, don’t put all your eggs in one basket—choose a system that fits your needs and budget. Once it’s installed, you’ll wonder how you ever managed without it!
Installing a reverse camera not only enhances safety but also boosts your confidence on the road. For anyone looking to improve their driving experience, getting a reverse camera on your car is a practical and valuable upgrade.

