

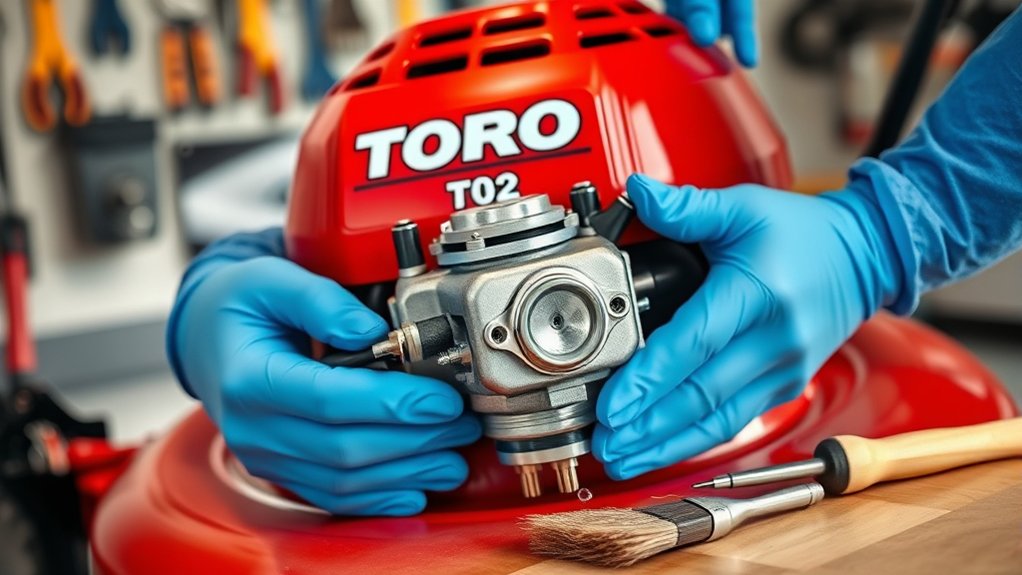
To clean your Toro lawn mower’s carburetor effectively, start by gathering essential tools like a wrench, carburetor cleaner, and safety gear. Cleaning the carburetor is crucial for maintaining smooth engine performance and prolonging the life of your mower.
Make sure the mower is cool before you begin. Drain the fuel safely, and disconnect the fuel lines to prevent spills. Remove the air filter, then unbolt and carefully detach the carburetor.
Next, disassemble the carburetor with caution. Clean the jets and passages thoroughly using carburetor cleaner and a brush.
Once cleaned, reassemble the carburetor and reinstall it onto the mower.
Reconnect the fuel lines securely, then test the mower to ensure it runs smoothly. Follow these steps for the best results and keep your Toro lawn mower in top condition.
Key Takeaways
- Remove the air filter and disconnect throttle and choke linkages before detaching the carburetor from the engine.
- Drain fuel completely and disconnect fuel lines to prevent spills and ensure safe carburetor access.
- Disassemble the carburetor carefully, keeping track of gaskets, seals, and small parts for reassembly.
- Clean jets and passages by soaking in carburetor cleaner and removing debris with a brush or compressed air.
- Reassemble and reinstall the carburetor, reconnect linkages and fuel lines, then start the mower to test operation.
Gather Your Tools and Safety Gear
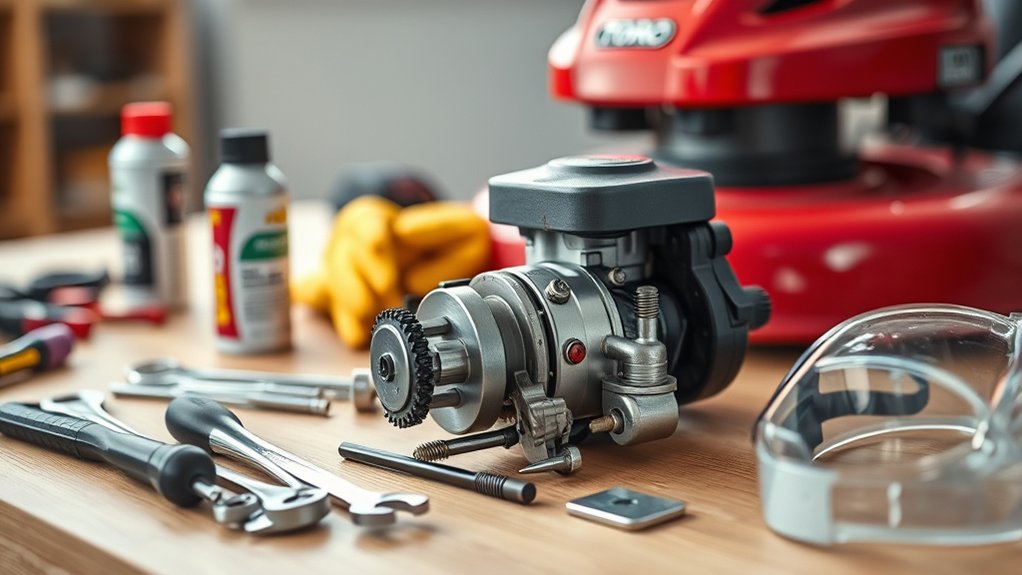
Before you begin cleaning the carburetor on your Toro lawn mower, make sure you have all the necessary tools and safety gear ready. You’ll need a socket wrench set to remove bolts, screwdrivers (both flathead and Phillips), and a carburetor cleaner spray. Have a small brush or toothbrush handy for scrubbing stubborn deposits.
Don’t forget a clean cloth or paper towels for wiping parts. Safety is essential—put on gloves to protect your hands from fuel and chemicals, and wear safety goggles to shield your eyes from splashes. Work in a well-ventilated area to avoid inhaling fumes.
Having everything prepared before you start will make the cleaning process smoother and safer, preventing interruptions and ensuring you handle the carburetor carefully.
Get Your Toro Mower Ready for Cleaning
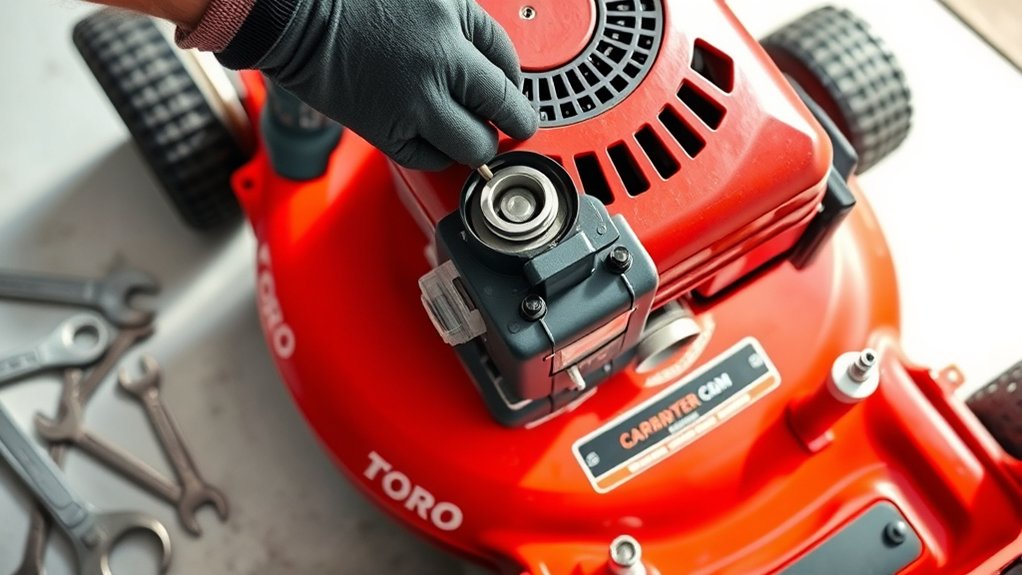
Once you have your tools and safety gear ready, it’s time to prepare your Toro mower for cleaning. Begin by placing the mower on a flat, stable surface to prevent any accidental movement. Make sure the engine is completely cool before you start working.
Remove the spark plug wire to avoid any accidental starts—this step is vital for your safety. Clean off any dirt, grass, or debris from around the engine and carburetor area using a brush or compressed air. This will help you see all the components clearly and prevent debris from falling into the carburetor once it’s opened.
Finally, consult your owner’s manual to locate the carburetor and understand its assembly specific to your Toro model.
Drain the Fuel and Disconnect Fuel Lines
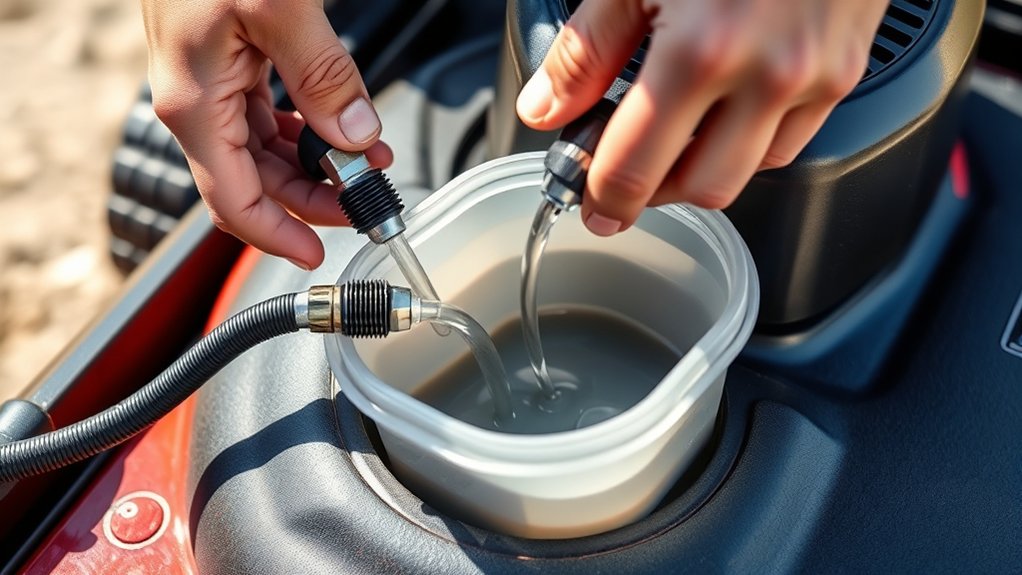
How do you safely remove fuel from your Toro mower before cleaning the carburetor? First, make sure your mower is off and cooled down. Position a suitable container under the fuel tank or fuel line to catch draining gasoline.
Open the fuel valve if your model has one, or carefully loosen the fuel cap to relieve pressure. Then, detach the fuel line clamps using pliers and slowly pull the fuel lines off the carburetor and fuel tank. Allow the fuel to drain completely into the container.
Be cautious not to spill fuel, and keep it away from open flames. Once drained, securely cap or plug the fuel lines to prevent dirt from entering. This step guarantees a safer and cleaner carburetor cleaning process.
Locate and Remove the Toro Carburetor
After safely draining the fuel and disconnecting the fuel lines, you’re ready to locate and remove the carburetor on your Toro mower. First, find the carburetor, usually positioned between the air filter housing and the engine. Remove the air filter cover and the air filter to access it clearly.
Next, disconnect the throttle linkage and choke linkage carefully to avoid bending or damaging the small parts. Use a wrench or socket set to remove the bolts securing the carburetor to the engine. Keep track of any gaskets or seals you remove, as you’ll need them during reassembly.
Once everything’s disconnected, gently pull the carburetor away from the engine. Now, you have the carburetor ready for cleaning or further disassembly.
Disassemble the Carburetor Components Carefully
Before you start taking the carburetor apart, make sure you have a clean workspace and a container to hold small parts. Carefully loosen screws and bolts one at a time, keeping track of where each component belongs. Avoid forcing parts apart to prevent damage.
Use the table below to help you organize parts and their handling tips:
| Component | Handling Tip | Common Placement |
|---|---|---|
| Float Bowl | Handle gently, avoid dents | Bottom of carburetor |
| Needle Valve | Keep clean, avoid bending | Inside float bowl |
| Gaskets | Don’t stretch or tear | Between metal parts |
| Jets | Remove with proper tool | Inside carburetor body |
| Springs | Keep tension intact | Around throttle linkage |
Stay methodical to guarantee smooth reassembly.
Inspect and Replace Damaged Carburetor Parts
Once you’ve carefully disassembled the carburetor, take a close look at each part for signs of wear, cracks, or buildup that could affect performance. Check the float for any damage or sticking, as this can cause fuel flow issues. Inspect the gaskets and seals for cracks or brittleness; these should be replaced if they’re not pliable.
Look closely at the needle valve and seat, ensuring they move freely without obstruction. If you spot any warped or broken parts, swap them out with exact replacements to maintain proper function. Using damaged components can lead to poor engine performance or fuel leaks.
Keep all small parts organized during inspection so you don’t lose anything before reassembling your carburetor.
Clean the Carburetor Jets and Passages
Since clogged jets and passages can cause poor engine performance, you’ll need to clean them thoroughly to guarantee proper fuel flow. Start by locating the jets and passages on your Toro carburetor. Use the following steps:
- Remove any visible debris with a soft brush or compressed air.
- Soak the jets in carburetor cleaner for 10-15 minutes to dissolve buildup.
- Use a thin wire or specialized carburetor cleaning tool to gently clear out the passages.
- Rinse the parts with clean carburetor cleaner and dry them completely before proceeding.
Be careful not to enlarge or damage the jets during cleaning. Thoroughly cleaning these components ensures your mower runs smoothly and efficiently.
Reassemble the Toro Carburetor
After thoroughly cleaning the carburetor jets and passages, you’re ready to put the Toro carburetor back together. Start by carefully placing the cleaned float and needle valve into position, ensuring they move freely without sticking.
Next, reinstall the diaphragm and gasket, aligning them precisely to prevent air leaks. Secure the diaphragm cover with screws, tightening them evenly but not too tight to avoid damage.
Then, attach the throttle and choke linkages, making sure they operate smoothly. Finally, reinsert the main carburetor body onto the mounting base, checking that all seals and O-rings are correctly seated to avoid fuel leaks.
Taking your time during reassembly helps ensure your mower runs efficiently when you’re finished.
Reinstall the Carburetor and Reconnect Fuel Lines
When you’re ready to reinstall the carburetor, carefully position it back onto the engine mounting base, making sure all seals and gaskets stay in place to prevent leaks. Next, follow these steps to secure everything properly:
- Align the carburetor mounting bolts and tighten them evenly to avoid warping.
- Reconnect the fuel lines, ensuring each hose fits snugly on its respective fitting.
- Attach any throttle or choke linkages, confirming they move smoothly without binding.
- Double-check all connections for tightness and proper placement to prevent fuel or air leaks.
Test Your Toro Mower to Ensure Smooth Running
Before you start your Toro mower, make sure all tools are removed and the area is clear for safety. Once everything’s set, prime the carburetor according to your model’s instructions, then pull the starter cord. Listen carefully to how the engine runs.
It should idle smoothly without sputtering or stalling. If the mower struggles or hesitates when you increase throttle, the carburetor might need further adjustment or cleaning. Let the engine run for a few minutes to ensure consistent performance.
Also, check for any fuel leaks or unusual noises. If everything sounds and runs well, you’ve successfully cleaned and reinstalled the carburetor. If not, revisit your steps or consult a professional.
Proper testing ensures your mower runs efficiently and lasts longer.
Frequently Asked Questions
How Often Should I Clean My Toro Mower’s Carburetor?
You should clean your Toro mower’s carburetor at least once a year or after every 25-50 hours of use.
If it runs rough or won’t start, check and clean it sooner to keep things running smoothly.
What Causes a Carburetor to Get Dirty Quickly?
Like a knight’s armor gathering rust, your carburetor gets dirty quickly because of old fuel, dirt, and debris. Using stale gas or running your mower in dusty conditions lets grime build up, clogging the system fast.
Can Bad Fuel Damage the Carburetor?
Yes, bad fuel can damage your carburetor by causing buildup and clogging. It leaves varnish and debris inside, which restricts fuel flow and can lead to poor engine performance or even carburetor failure over time.
Are Carburetor Cleaning Sprays Safe to Use?
Carburetor cleaning sprays are as safe as a gentle breeze when used properly. Just don’t overdo it or spray on sensitive parts.
Always wear gloves and eye protection—you’ll keep your mower happy and yourself safe!
How Do I Know if My Carburetor Needs Replacement?
You’ll know your carburetor needs replacement if your mower won’t start, runs erratically, or stalls frequently despite cleaning.
Visible damage, corrosion, or persistent clogging also signals it’s time to replace the carburetor.
Conclusion
Just like a skilled sailor tunes their ship before setting sail, cleaning your Toro mower’s carburetor guarantees smooth journeys across your lawn. By following these steps, you’ve restored the heart of your mower, readying it to power through any task.
Remember, a well-maintained engine is like a well-tended garden—both flourish with care. Keep this routine, and your Toro lawn mower will keep running strong, season after season. Regular carburetor cleaning is key to maintaining optimal performance and longevity.

