

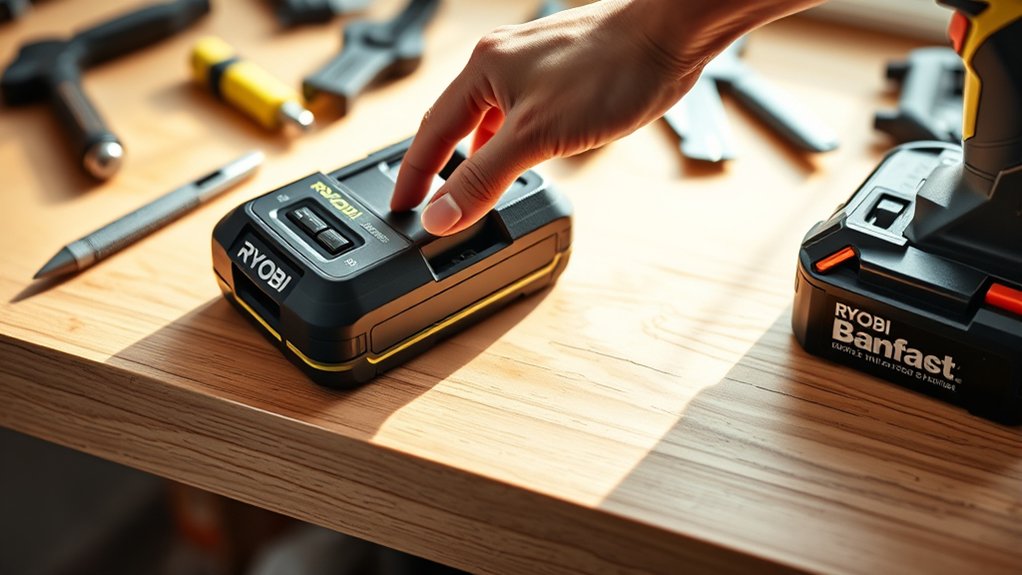
To reset your Ryobi battery charger, start by unplugging it from the power source. Carefully remove the battery, holding it securely by the sides to avoid damage. Proper handling is important to ensure safety and prevent electrical issues.
Next, allow the charger to cool down in a well-ventilated area for 15-30 minutes. This step helps prevent overheating and prepares the charger for a proper reset.
If your Ryobi charger model includes a reset button, press and hold it for 10-15 seconds. Then release the button and observe the indicator lights for any changes.
In case there is no reset button, unplug the charger again and wait for 10 minutes. After that, reconnect it and check the indicator lights for normal operation.
If problems persist despite these efforts, additional troubleshooting steps or replacing the charger may be necessary. Following these simple steps can help maintain your Ryobi battery charger’s performance.
Key Takeaways
- Unplug the charger from the power outlet to ensure safety before starting the reset process.
- Press and hold the reset button on the charger for 10-15 seconds, if available, to clear internal glitches.
- If no reset button exists, unplug the charger, wait about 10 minutes, then reconnect to power for a manual reset.
- Observe the indicator lights for blinking or turning off, signaling the reset process is in progress or completed.
- After resetting, securely reconnect the battery and confirm charger lights show proper charging status before use.
Signs Your Ryobi Charger Needs a Reset
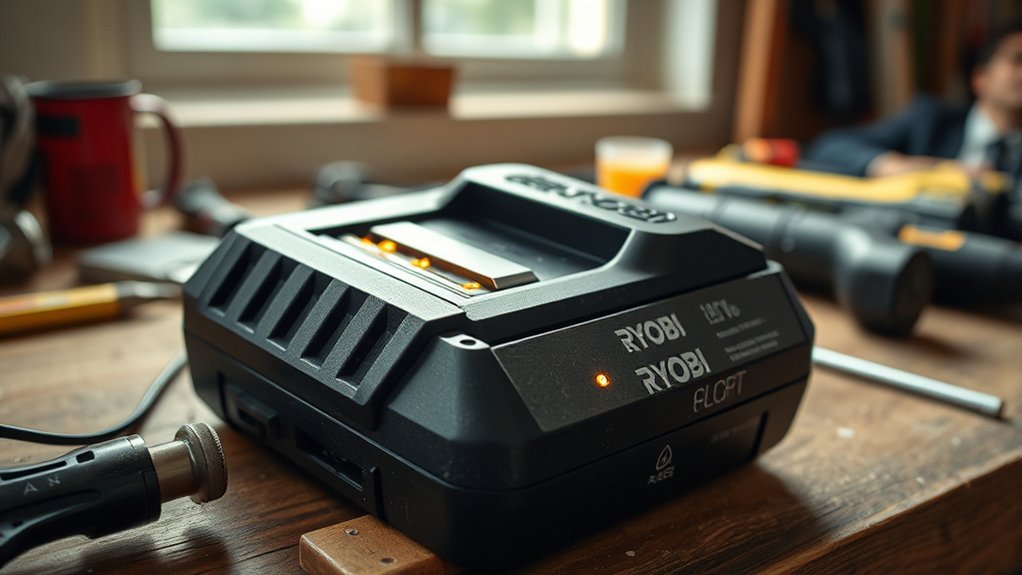
If your Ryobi charger isn’t powering up your batteries or shows unusual blinking lights, it may need a reset. You’ll notice the charger failing to recognize the battery, leaving it stuck without charging. Sometimes, the indicator lights blink in patterns that don’t match the user manual, signaling an error.
You might also see the battery not reaching full charge despite being connected for hours. Occasionally, the charger might overheat or shut down unexpectedly during the charging process. These signs suggest the internal system is glitching or stuck in an error state.
Resetting the charger can clear these issues, restoring normal function. Recognizing these signs early helps you avoid battery damage and ensures your tools are ready when you need them.
Tools and Safety Tips Before Resetting Your Ryobi Charger
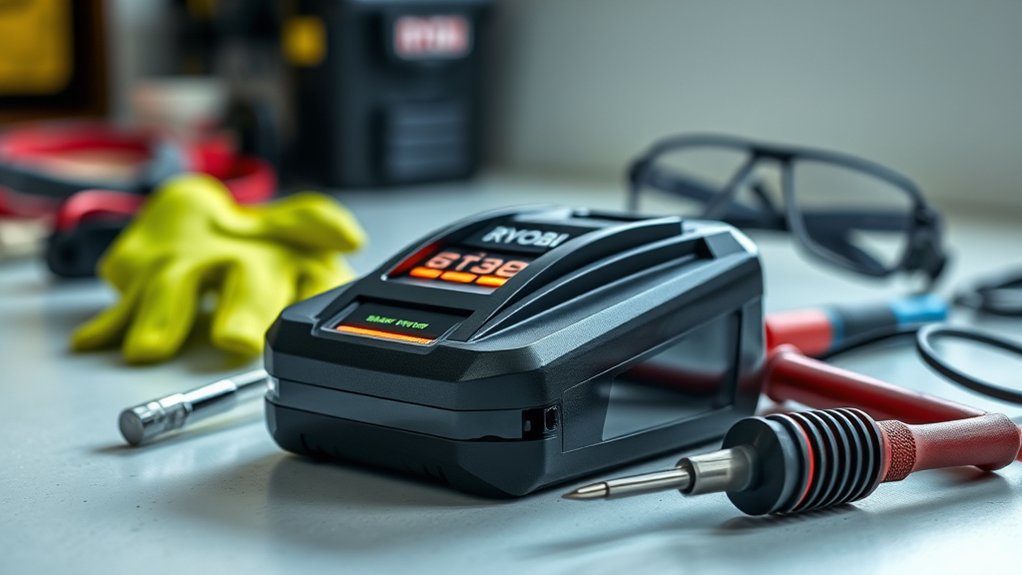
Before resetting your Ryobi charger, gather the necessary tools and follow essential safety precautions to protect yourself and your device. Having the right tools on hand speeds up the process and reduces risks.
Also, make certain you work in a dry area and avoid touching any exposed wires to prevent shocks. Use insulated gloves if possible for added safety.
| Tool | Purpose | Safety Tip |
|---|---|---|
| Multimeter | Check voltage levels | Always set to correct range |
| Screwdriver | Open charger casing | Use insulated handles |
| Insulated Gloves | Protect from electrical shock | Wear whenever handling charger |
| Clean Cloth | Wipe dust and debris | Avoid wetting charger components |
Unplug and Remove the Ryobi Battery Safely
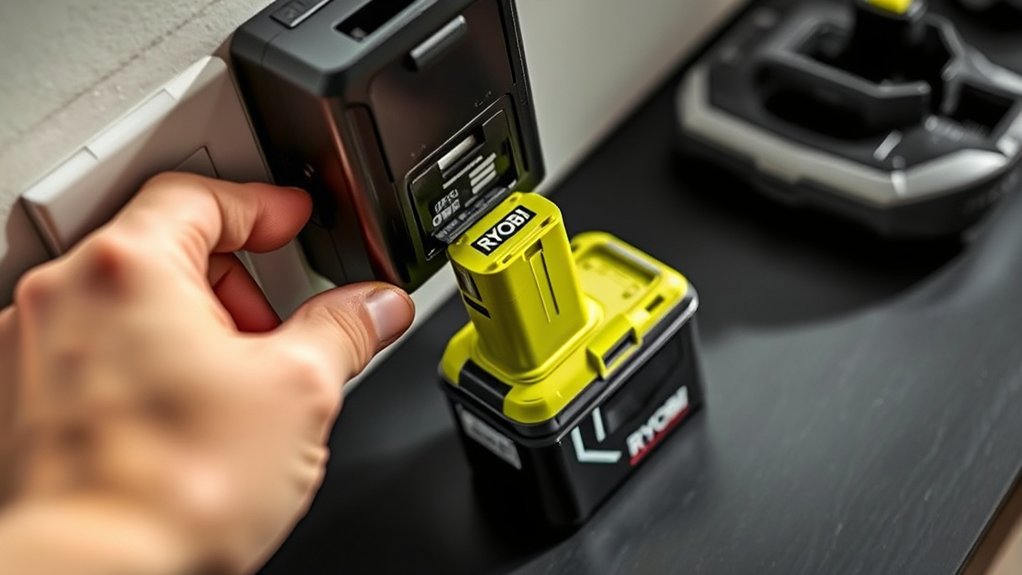
Once you’ve gathered your tools and verified your safety precautions are in place, the next step is to unplug the charger and carefully remove the Ryobi battery. First, disconnect the charger from the power outlet to eliminate any electrical risk. Then, grip the battery firmly and press the release button or latch to release it from the charger.
Pull the battery straight out without twisting or forcing it to avoid damaging the terminals. Handle the battery by its sides, keeping your fingers away from the contacts. Place the battery on a non-conductive surface to prevent accidental short circuits.
Following these steps guarantees your safety and protects your equipment while preparing for the next phase in resetting your Ryobi battery charger.
Let the Ryobi Charger Cool Down Completely
Although it can be tempting to restart the charging process immediately, you’ll need to let the Ryobi charger cool down completely to prevent overheating and guarantee peak performance. Overheating can cause the charger to malfunction or reduce its lifespan, so giving it time to cool is vital. Place the charger in a well-ventilated area away from direct sunlight or heat sources.
Avoid touching the charger while it’s hot to prevent burns. Cooling usually takes about 15 to 30 minutes, but it may vary depending on ambient temperature. Once the charger feels cool to the touch, you can proceed with the next steps to reset or recharge your battery safely.
Patience here ensures your charger works efficiently and lasts longer.
Press and Hold the Reset Button (If Your Charger Has One)
How do you reset your Ryobi battery charger if it’s acting up? First, check if your charger has a reset button—some models do. This button is usually small and located on the side or bottom of the charger.
Once you find it, press and hold the reset button for about 10 to 15 seconds. Holding it down allows the internal circuitry to reboot, clearing any temporary faults or errors. You might notice the charger’s indicator lights blinking or turning off momentarily—that’s a good sign.
After releasing the button, wait a few seconds to let the charger stabilize. This simple step can often resolve minor glitches without needing further intervention. If your charger doesn’t have a reset button, don’t worry; there are other ways to reset it.
Reconnect the Battery and Power On Your Ryobi Charger
Make certain you reconnect the battery securely to your Ryobi charger to guarantee proper contact. Check that your power source is working before turning the charger on.
Once powered, watch the indicator lights closely to confirm the charger is functioning correctly.
Proper Battery Connection
Before you power on your Ryobi charger, make certain the battery is securely reconnected to the charger terminals. A loose connection can prevent proper charging or cause the charger to malfunction.
Align the battery contacts with the charger terminals carefully, then press the battery firmly until it clicks into place. This guarantees a solid electrical connection and ideal charging performance.
Here’s a quick reference for proper battery connection:
| Step | Action | Tip |
|---|---|---|
| 1 | Align battery terminals | Match positive (+) and negative (-) symbols |
| 2 | Insert battery gently | Avoid forcing the battery |
| 3 | Press firmly until it clicks | Confirm a secure fit |
| 4 | Check for movement | Battery should not wiggle |
| 5 | Inspect terminals for debris | Clean if necessary |
Following these steps will help your charger recognize and recharge the battery efficiently.
Power Source Verification
Where should you start when your Ryobi charger won’t power on after reconnecting the battery? First, verify the charger is firmly plugged into a working power outlet. Sometimes, the issue lies with the wall socket, so try a different outlet if necessary.
Next, reconnect the battery securely, making sure it clicks into place without any loose connections. Avoid forcing it, as improper seating can prevent charging. Once connected, power on the charger by pressing any necessary buttons or switches if available.
If the charger still doesn’t power up, check the power cord for damages or frayed wires. Confirming these steps helps you eliminate simple power source problems before moving on to more complex troubleshooting.
Charger Indicator Lights
When you reconnect the battery and power on your Ryobi charger, pay close attention to the indicator lights. These lights communicate the charger’s status and help you understand if it’s working correctly. A solid green light means the battery is fully charged, while a flashing green light indicates that charging is in progress.
A red light usually signals a problem, such as a battery that’s too hot or too cold, or a faulty connection. If the red light stays on, unplug the charger and inspect the battery and terminals for issues. Understanding these signals guarantees you can quickly identify if your charger needs resetting or if the battery requires attention before resuming charging.
What to Do If Your Ryobi Charger Still Won’t Reset
If your Ryobi charger still won’t reset, start by checking for common issues like dirty contacts or damaged cables. Make sure the battery is compatible and properly seated.
If problems persist, it might be time to contemplate replacing the charger.
Troubleshooting Common Issues
Why won’t your Ryobi charger reset despite following the basic steps? First, check if the outlet is working by plugging in another device. If there’s no power, try a different outlet.
Next, inspect the charger’s contacts for dirt or corrosion—clean them gently with a dry cloth. Also, confirm the battery fits snugly; a loose connection can stop the charger from resetting. If the battery is completely drained, the charger might not recognize it immediately—leave it connected for a few minutes.
Finally, verify the charger’s vents aren’t blocked to prevent overheating. If none of these solve the issue, try resetting the charger again by unplugging it for 10 minutes. These steps often clear common glitches keeping your charger from resetting.
When to Replace Charger
Although troubleshooting can fix most issues, there are times you’ll need to replace your Ryobi charger. If your charger still won’t reset after trying all steps, it might have an internal fault or damaged components. Signs you should replace it include persistent error lights, failure to charge any battery, or overheating during use.
Also, if the charger’s power cord is frayed or the unit emits a burning smell, stop using it immediately and get a new one. Using a faulty charger can damage your batteries or pose safety risks. To ensure your tools stay powered and safe, invest in a genuine Ryobi replacement charger that matches your battery model.
Don’t delay; substituting a bad charger saves time and prevents further problems.
Frequently Asked Questions
How Long Does a Typical Ryobi Battery Last?
You can expect a typical Ryobi battery to last about 30 to 60 minutes of continuous use. With proper care and charging habits, you’ll keep it performing well for several years before needing a replacement.
Can I Use Ryobi Chargers With Non-Ryobi Batteries?
You shouldn’t use Ryobi chargers with non-Ryobi batteries because they’re designed specifically for Ryobi’s battery chemistry and voltage. Using incompatible batteries can damage both the charger and battery, and it might void warranties or cause safety risks.
What Is the Warranty Period for Ryobi Chargers?
Imagine you bought a Ryobi charger for your new drill. Ryobi offers a 3-year limited warranty on their chargers, so if it malfunctions within that time, you can get a repair or replacement without hassle.
This warranty ensures peace of mind while using your Ryobi charger. Just keep your proof of purchase handy to make any claims easier.
If any issues arise, contact Ryobi customer service to start the process. They will guide you through repair or replacement options under the warranty.
How Do I Clean My Ryobi Battery Contacts?
You clean your Ryobi battery contacts by gently wiping them with a cotton swab dipped in isopropyl alcohol. Make sure the battery and charger are disconnected, then let the contacts dry completely before reconnecting.
Are There Any Compatible Ryobi Charger Accessories?
You’ll find several compatible Ryobi charger accessories, like cooling fans and replacement power cords. Notably, Ryobi’s battery system supports over 275 tools, so using proper accessories helps keep your charger efficient and prolongs battery life.
Conclusion
Resetting your Ryobi battery charger is simpler than you might think, but it’s not a guaranteed fix every time. Some believe that just cooling it down and pressing the reset button will solve all issues, but if your charger still won’t reset, it might be a deeper electrical problem.
Don’t ignore signs of damage—sometimes a new charger is the safest bet. Always prioritize safety and trust your instincts when troubleshooting.
In conclusion, following these steps to reset your Ryobi battery charger can often resolve common issues. However, if problems persist, consider professional help or replacement to ensure safe and efficient battery charging.

