

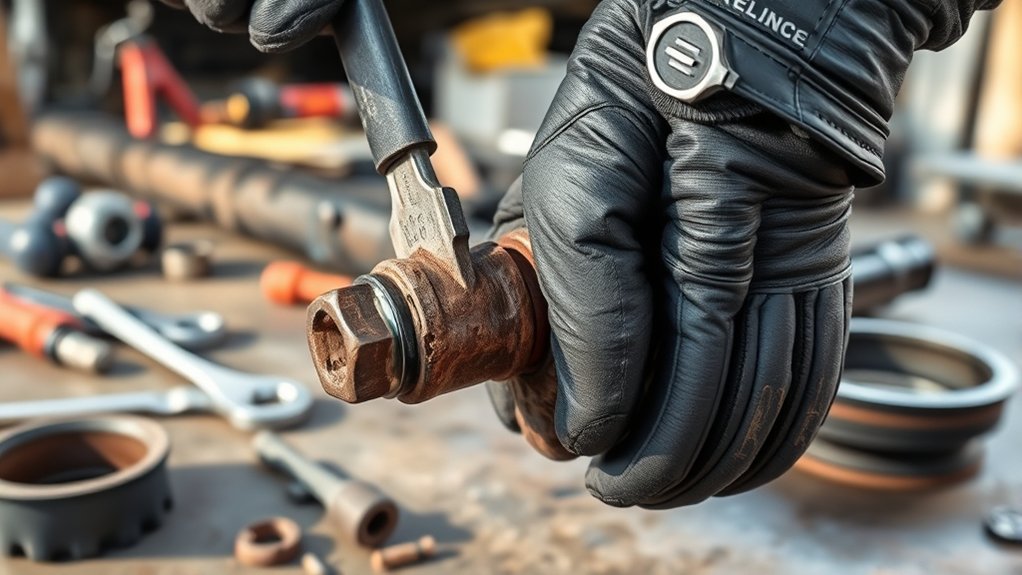
To disassemble a CV axle in 10 easy steps, start by gathering all necessary tools and safety gear to ensure a smooth process.
Securely lift and support the vehicle using jack stands for safety.
Removing the wheel is the next step, followed by loosening the axle nut to prepare for axle removal.
Next, separate the axle from the hub assembly carefully.
Pry the axle out of the transmission with caution to avoid damage.
Loosen the boot clamps to gain access to the CV joint components.
Remove the CV joint parts and inspect them thoroughly.
Clean all components to ensure proper maintenance and longevity.
Following these steps closely will help you understand the full CV axle disassembly process with confidence.
Key Takeaways
- Lift and securely support the vehicle, then remove the wheel for clear access to the CV axle.
- Loosen and remove the axle nut, using penetrating oil if necessary to ease tightness.
- Disconnect suspension components like sway bar links and tie rod ends to free the axle.
- Pry the CV axle from the transmission or differential housing carefully to avoid damage.
- Remove the CV joint boot clamps and separate the joint from the shaft for inspection or replacement.
Understand the CV Axle and What You’ll Need
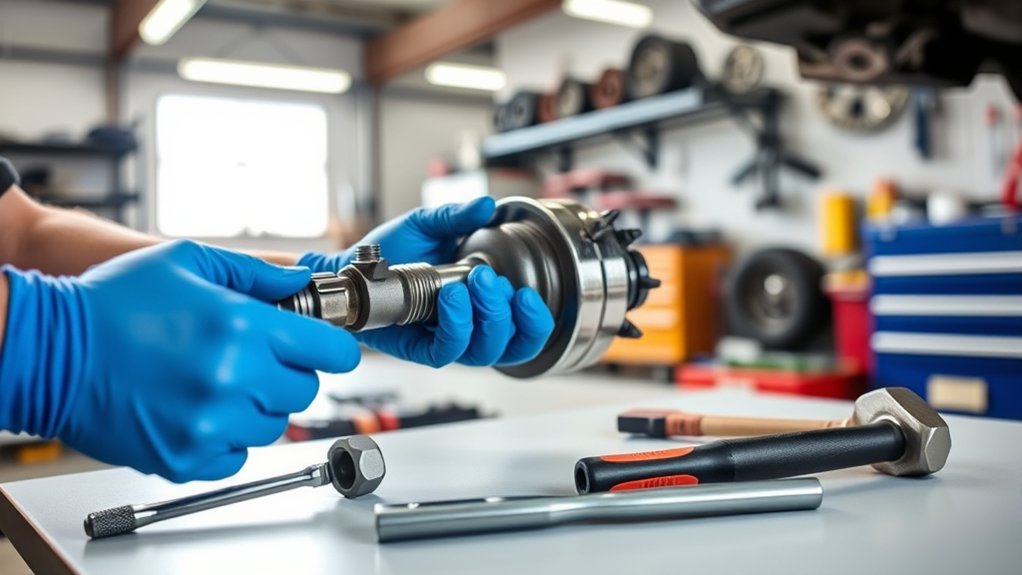
Before you begin disassembling a CV axle, it’s important to understand its function and gather the right tools. The CV axle transfers power from your vehicle’s transmission to the wheels, allowing smooth rotation even as the suspension moves. Knowing this helps you handle it carefully to avoid damaging the joints or boot.
You’ll need to identify the specific CV axle type on your vehicle, as designs vary. Familiarize yourself with the axle’s components: the inner and outer joints, shaft, and protective boots. You don’t need to gather tools just yet, but understanding the structure ensures you’ll know what to expect during disassembly.
This foundation makes the process safer and more efficient, preventing costly mistakes as you move forward.
Gather Tools and Safety Gear for CV Axle Removal
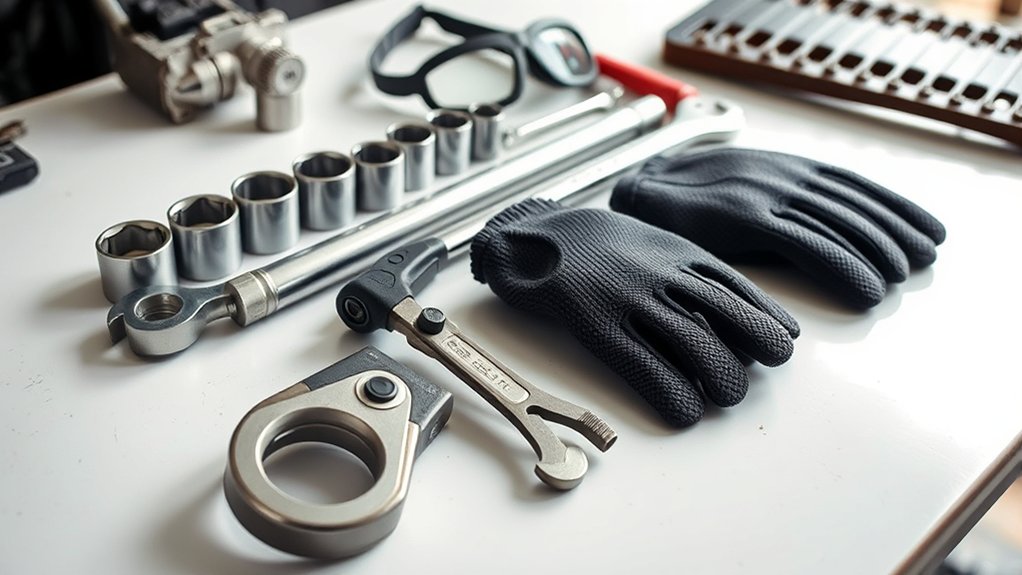
Before you start removing the CV axle, make sure you have all the essential tools ready, like wrenches and a pry bar. Don’t forget to wear safety gear such as gloves and eye protection to keep yourself safe.
Also, prepare your workspace by clearing the area and ensuring good lighting.
Essential Tools Checklist
Although disassembling a CV axle might seem straightforward, having the right tools and safety gear is essential to guarantee the job goes smoothly and safely.
You’ll want to gather everything beforehand to avoid interruptions.
Below is a checklist of essential tools you’ll need for the job:
| Tool | Purpose | Notes |
|---|---|---|
| Socket Set | Remove axle nuts and bolts | Metric sizes recommended |
| Pry Bar | Separate the axle from hub | Use carefully to avoid damage |
| Hammer | Loosen stubborn parts | Rubber mallet preferred |
| Torque Wrench | Tighten bolts to spec | Ensures correct torque |
Make sure each tool is in good condition before starting.
This preparation saves time and prevents injury.
Recommended Safety Equipment
Why should you prioritize safety equipment when removing a CV axle? Because this task involves heavy parts, sharp edges, and potential exposure to grease and debris. Wearing gloves protects your hands from cuts and grime, while safety glasses shield your eyes from flying particles.
Use sturdy closed-toe shoes to prevent injury from dropped tools or parts. A mechanic’s overall or long sleeves can protect your skin from irritants. If you’re working under the vehicle, consider using a dust mask to avoid inhaling brake dust or rust particles.
Don’t forget ear protection if you’re using power tools. Gathering this safety gear before you start helps you stay focused and reduces the risk of accidents, making your CV axle removal smoother and safer.
Preparing Your Workspace
Where should you start when preparing to remove a CV axle? First, clear a well-lit, flat workspace near your vehicle. A clean area prevents lost parts and accidents.
Gather essential tools: a socket set, breaker bar, torque wrench, hammer, and pry bar. Don’t forget CV joint grease and replacement clips if needed. Next, put on your safety gear—gloves, safety glasses, and sturdy shoes protect you during the job.
Lay out a drip pan to catch any leaking fluids and have rags handy for cleanup. Organize your tools within reach to avoid constant searching. Taking these steps *guarantees* you work efficiently and safely, making the disassembly process smoother and reducing the risk of injury or damage to your vehicle.
Lift and Secure the Vehicle Safely
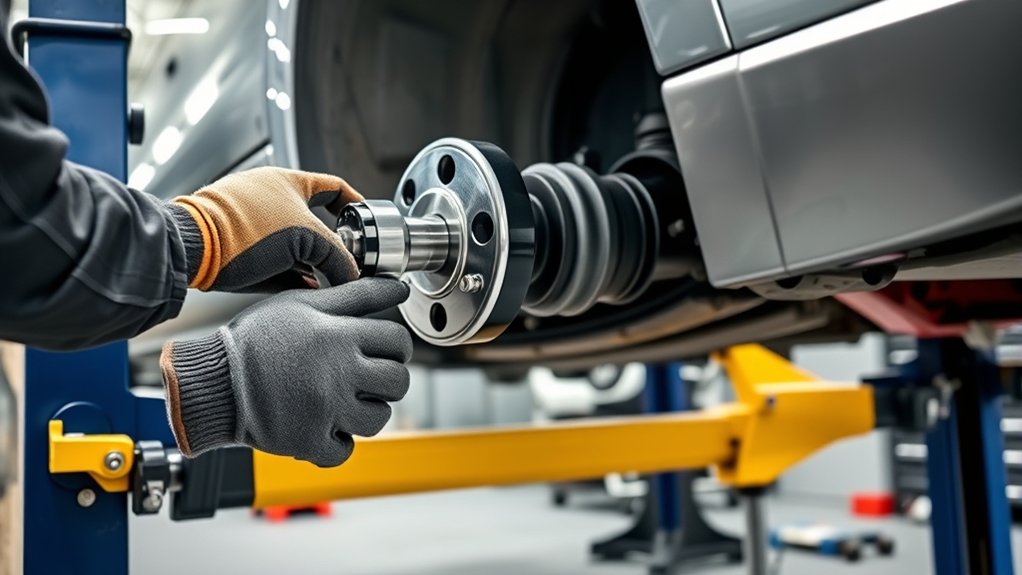
Before you begin working on the CV axle, make sure you lift and secure the vehicle properly to prevent any accidents. Start by parking on a flat surface and engaging the parking brake. Use wheel chocks to block the wheels remaining on the ground.
Then, position a reliable jack under the vehicle’s recommended lift points and raise it carefully. Once lifted, place sturdy jack stands under the frame to support the vehicle securely. Never rely solely on the jack for support.
| Step | Tips |
|---|---|
| 1. Park & Brake | Flat ground and parking brake on |
| 2. Use Chocks | Block wheels opposite to work side |
| 3. Position Jack | Follow manual’s lift points |
| 4. Lift Vehicle | Lift slowly and steadily |
| 5. Set Jack Stands | Double-check stability before work |
Remove the Wheel to Access the CV Axle
Now that the vehicle is secure, start by loosening the lug nuts on the wheel before you lift the car higher with a jack. Once the vehicle is properly raised, you can remove the lug nuts completely.
Finally, take the wheel off to get clear access to the CV axle.
Loosen Lug Nuts
How do you begin to access the CV axle? First, you need to loosen the lug nuts on the wheel. This step is essential because you can’t remove the wheel without loosening these nuts.
Use a lug wrench or breaker bar for better leverage. Remember, don’t remove the lug nuts completely just yet; just loosen them while the car is still on the ground.
Here’s a quick overview of what you’ll need and tips:
| Tool Needed | Tip |
|---|---|
| Lug Wrench | Use a cross wrench for grip |
| Breaker Bar | Apply steady pressure |
| Penetrating Oil | Spray if nuts are rusted |
Loosening lug nuts first saves effort and guarantees safety during wheel removal.
Jack Up Vehicle
After loosening the lug nuts, the next step is to lift the vehicle safely to remove the wheel and access the CV axle. Start by positioning a jack under the manufacturer’s recommended jacking point—usually indicated in your owner’s manual—to avoid damaging the frame. Pump the jack handle steadily until the tire clears the ground.
Once lifted, place a sturdy jack stand under a secure support point near the jack to hold the vehicle firmly in place. Never rely on the jack alone for safety. Double-check that the car is stable and won’t shift or fall while you work.
With the vehicle securely elevated, you’re now ready to proceed to the next step, which involves removing the wheel completely to expose the CV axle.
Remove Wheel Completely
Why is removing the wheel completely essential before working on the CV axle? Without taking the wheel off, you won’t have clear access to the axle components. Start by loosening the lug nuts with a wrench while the vehicle is still on the ground to prevent the wheel from spinning.
Once loosened, jack up the car and securely support it with jack stands. Then, remove all the lug nuts and pull the wheel straight off. Set the wheel aside carefully.
Removing the wheel gives you unobstructed space to inspect, detach, and work on the CV axle. It also guarantees safety and prevents damage to surrounding parts. Don’t skip this step—it’s vital for efficient and safe disassembly.
Loosen and Remove the CV Axle Nut
Where do you start when removing the CV axle nut? First, ensure the vehicle is securely lifted and the wheel is off. Locate the large axle nut at the center of the hub.
Before loosening it, spray some penetrating oil on the nut to ease removal. Use a breaker bar or impact wrench with the appropriately sized socket to loosen the nut, as it’s often torqued very tightly. You might need to prevent the hub from turning; apply the parking brake or have an assistant step on the brake pedal.
Once loosened, remove the nut completely by hand. Keep the nut and any washers or locking mechanisms safe, as you’ll need them during reassembly. With the axle nut off, you’re ready for the next step.
Disconnect Suspension Parts to Free the CV Axle
Before you can remove the CV axle, you’ll need to disconnect several suspension components that hold it in place. Start by detaching the lower ball joint from the steering knuckle. Use a ball joint separator tool to avoid damaging the joint.
Next, remove the sway bar link connected to the control arm to increase mobility. Then, unbolt the tie rod end from the steering knuckle, giving you more clearance to maneuver the axle. Be sure to support the control arm with a jack or stand to prevent it from dropping once disconnected.
Finally, check for any additional brackets or clips securing the axle to the suspension and remove them. Once these parts are free, you’ll have enough play to proceed with removing the CV axle.
Separate the CV Axle From the Hub Assembly
Once you’ve freed the suspension components, you can focus on separating the CV axle from the hub assembly. Start by removing the axle nut, which is often secured with a cotter pin or locking mechanism. Use a breaker bar or impact wrench to loosen it, as it’s usually torqued tightly.
After the nut’s off, grab the CV axle near the hub and carefully slide it out. Sometimes, it might require a few gentle taps with a rubber mallet to loosen it from the splines in the hub. Be cautious not to damage the axle threads or the hub.
If the axle won’t budge, double-check that all necessary bolts and components are removed. Once separated, you’re ready to move on to the next step.
Pry the CV Axle Out of the Transmission or Differential
After you’ve separated the CV axle from the hub assembly, the next step is to carefully pry it out of the transmission or differential. First, locate the point where the axle shaft enters the transmission or differential housing. Use a pry bar or a large flathead screwdriver, placing it gently between the axle flange and the housing.
Apply steady, controlled force to avoid damaging the seals or splines. You may need to wiggle the axle slightly while prying to loosen it. Be cautious not to gouge the housing or bend the axle shaft.
Once the axle pops free, pull it out smoothly by hand. If it resists, double-check for any retaining clips or bolts you might have missed before applying more force.
Disassemble the CV Joint Boot and Remove Components
Although the CV axle is free from the transmission, you’ll need to carefully remove the CV joint boot to access the internal components. Start by loosening the clamps that secure the boot on both ends. Slide the boot away from the joint, being cautious not to damage it.
Once exposed, you can remove the circlip or snap ring holding the joint in place. Afterward, gently separate the CV joint from the axle shaft.
| Step | Tool Needed | Tip |
|---|---|---|
| Loosen clamps | Flathead screwdriver | Avoid cutting the boot |
| Slide off boot | Hands | Work slowly to prevent tears |
| Remove circlip | Snap ring pliers | Keep circlip safe for reuse |
| Separate joint | Rubber mallet | Tap gently to avoid damage |
Inspect and Clean CV Axle and Joint Parts Before Reassembly
With the CV joint separated from the axle shaft and the boot removed, you can now inspect and clean each part thoroughly. Start by checking the axle shaft, joint housing, and bearings for cracks, rust, or excessive wear. Pay close attention to the ball bearings and race surfaces; any scoring or pitting means replacement is necessary.
Use a clean rag to wipe off old grease and debris from all components. For stubborn grime, apply a solvent like brake cleaner and scrub gently with a brush. Avoid using harsh tools that might damage the parts.
Once clean, dry everything completely to prevent contamination when you reapply new grease. Proper inspection and cleaning guarantee the CV axle functions smoothly and extends its lifespan after reassembly.
Frequently Asked Questions
How Often Should I Replace a CV Axle?
You should replace your CV axle every 70,000 to 130,000 miles or if you notice clicking noises, vibrations, or grease leaks.
Regular inspections help, so don’t wait until you experience severe symptoms.
What Are the Signs of a Failing CV Axle?
You’ll notice clicking noises when turning, grease leaking near the axle, vibrations while driving, or a torn CV boot.
These signs mean your CV axle is failing and needs inspection or replacement soon.
Can I Drive With a Damaged CV Axle?
You shouldn’t drive with a damaged CV axle because it can fail completely, causing loss of control or further damage.
Get it inspected and repaired promptly to guarantee your safety and avoid costly repairs down the road.
Do CV Axles Differ Between Front-Wheel and All-Wheel Drive?
Yes, CV axles differ between front-wheel and all-wheel drive. You’ll find variations in length, joint types, and strength since AWD systems have extra axles to power rear wheels, so make sure you get the right one.
How Much Does Professional CV Axle Replacement Typically Cost?
You’ll typically pay between $300 and $800 for professional CV axle replacement—it’s like buying a small spaceship! Prices vary by vehicle and labor rates, so getting a detailed estimate from your mechanic saves surprises.
Make sure to ask for a full breakdown of parts and labor costs. This way, you can better understand what you’re paying for and avoid unexpected fees. Always compare a few quotes before deciding.
Conclusion
Well, now that you’ve expertly taken apart your CV axle—because who doesn’t want a pile of greasy parts and a few extra bolts lying around?
Just remember, putting it all back together is where the real fun begins.
But hey, if you enjoyed turning your car into a puzzle, you’re halfway to being a pro mechanic.
So go ahead, celebrate your newfound knack for disassembly—reassembly is just a minor detail, right?
Mastering how to disassemble a CV axle is a great skill, but don’t forget that proper reassembly and careful handling of all parts ensure your vehicle runs smoothly and safely.

