

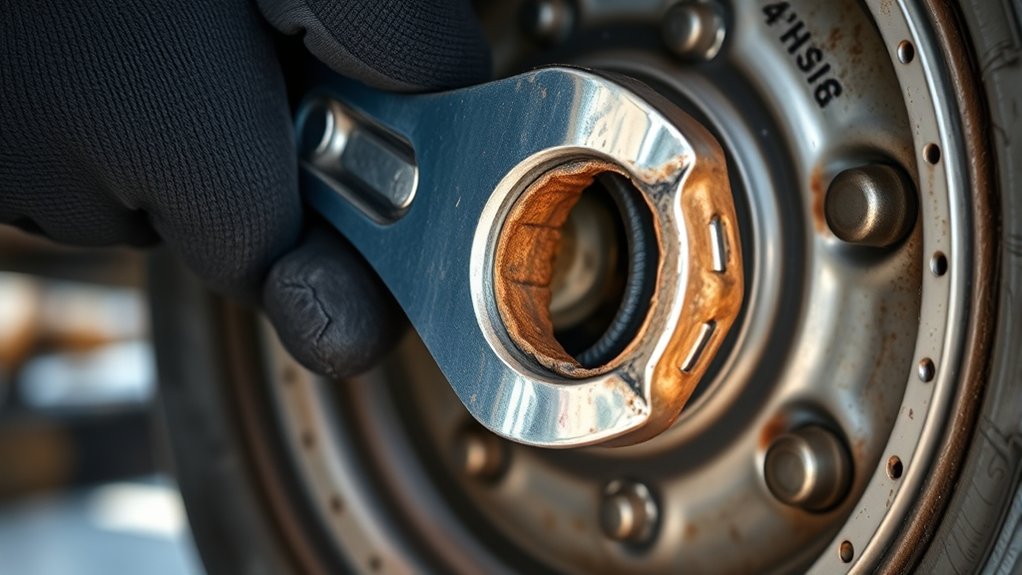
To remove an axle nut in 7 easy steps, start by securing your vehicle on a flat surface to ensure safety. Use wheel chocks to prevent any movement and lift the vehicle safely with jack stands. Having the right tools like a breaker bar, the correct socket size, and a torque wrench is essential for the job.
Next, carefully loosen the axle nut, applying penetrating oil or heat if it is stuck. Remove the nut slowly to avoid damaging the threads.
After removal, inspect nearby parts for any signs of wear or damage.
Finally, reinstall the axle nut using the proper torque specifications to ensure safety and performance.
Follow these steps closely for a smooth, safe, and effective axle nut removal process. Keep reading for helpful tips to make your job easier.
Key Takeaways
- Secure the vehicle on a flat surface, use wheel chocks, and support it with jack stands before starting.
- Use the correct size axle nut socket and a breaker bar for proper leverage during removal.
- Apply penetrating oil and let it soak for 10-15 minutes to help loosen stubborn axle nuts.
- Use steady, controlled force when loosening the nut, and avoid sudden jerks to prevent damage.
- Inspect the axle nut and components for damage after removal before proceeding with reinstallation.
Secure the Vehicle Safely Before Removing the Axle Nut
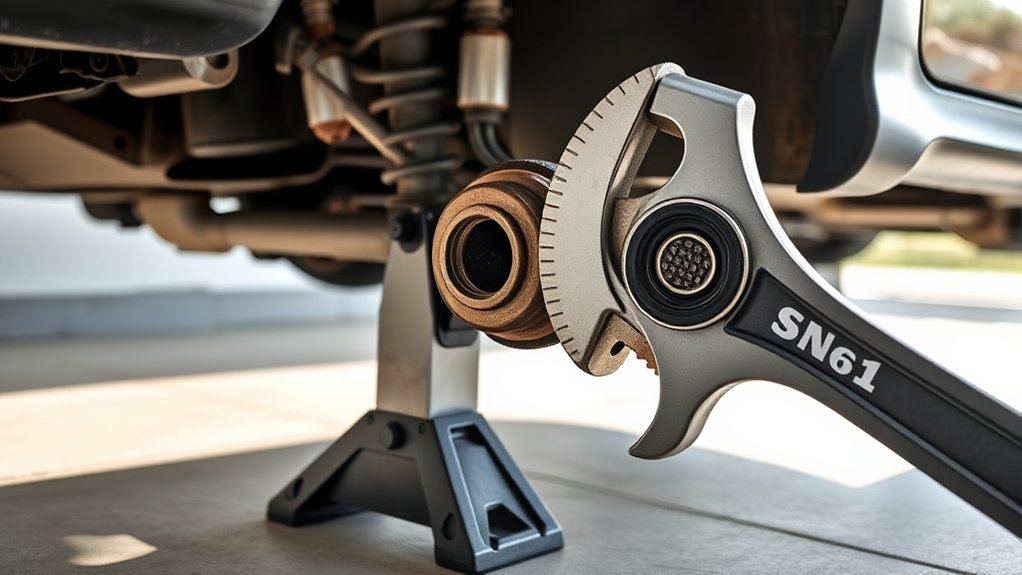
Before you remove the axle nut, make sure the vehicle is securely supported. Start by parking on a flat, stable surface and engage the parking brake to prevent any movement. Use wheel chocks on the opposite side to add extra safety.
Next, lift the vehicle using a reliable jack, positioning it under the manufacturer’s recommended jacking points. Once raised, place jack stands firmly under the frame or suspension components to support the vehicle’s weight. Never rely solely on the jack, as it can fail or slip.
Double-check that the vehicle is stable by gently shaking it before you begin work. Taking these precautions ensures your safety and makes the axle nut removal process smoother and risk-free.
Gather the Right Tools to Remove an Axle Nut
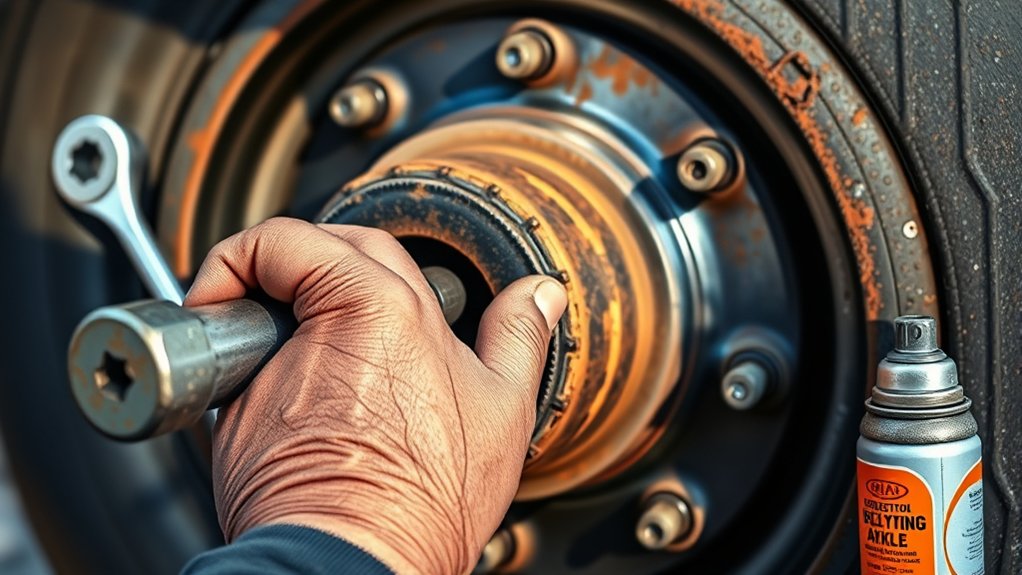
Once your vehicle is securely supported, you’ll need to gather the right tools to remove the axle nut efficiently. Having everything ready will save you time and frustration.
Start by ensuring you have a quality breaker bar or a long-handled ratchet to give you the leverage needed. Next, you’ll want the correct size socket, usually a large 30mm or 32mm socket, specifically designed for axle nuts.
Finally, a torque wrench is essential for reassembly to tighten the nut to the manufacturer’s specifications.
Here’s what you’ll need:
- Breaker bar or long-handled ratchet
- Correct size axle nut socket
- Torque wrench for reinstallation
With these tools in hand, you’re set to remove the axle nut safely and effectively.
How to Loosen a Stubborn Axle Nut Safely
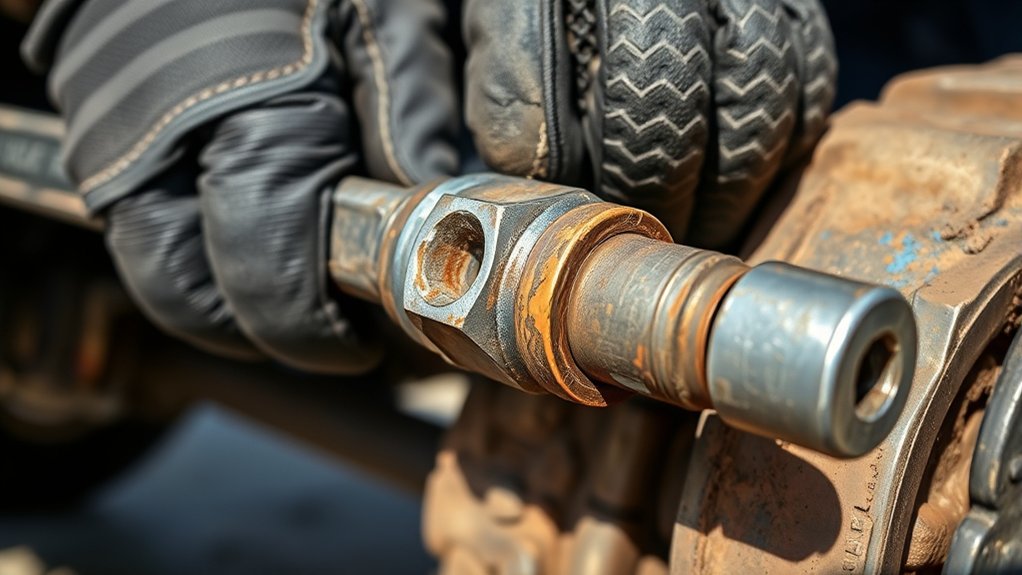
Even if you’ve gathered the right tools, loosening a stubborn axle nut can still be challenging due to rust or tight torque. Start by ensuring your vehicle is securely lifted and supported with jack stands for safety. Use a breaker bar instead of a standard wrench to increase leverage without applying excessive force that could damage components.
Position yourself to pull steadily and avoid sudden jerks, reducing the risk of injury. If the nut won’t budge, tap the wrench gently with a rubber mallet to help break the rust bond without causing harm. Always wear safety glasses and gloves to protect yourself from debris and slipping tools.
Taking these precautions helps you loosen the axle nut safely before moving on to more aggressive methods if necessary.
Use Heat or Oil to Loosen a Stubborn Axle Nut
If the axle nut remains stuck after trying manual methods, applying heat or penetrating oil can help break the rust and corrosion that bind it. Start by spraying a generous amount of penetrating oil around the nut, then let it soak for 10-15 minutes to seep into the threads.
If oil alone doesn’t work, carefully apply heat with a propane torch, focusing on the nut—not the axle—to expand the metal and loosen the bond. Remember to protect nearby components from heat damage.
Keep these tips in mind:
- Use penetrating oil designed for rusted parts.
- Heat the nut evenly to avoid warping.
- Always wear safety gloves and eye protection when using heat or chemicals.
Remove the Axle Nut Without Damaging Threads
After applying heat or penetrating oil to loosen a stubborn axle nut, you’ll want to remove it carefully to avoid damaging the threads. First, use the correct size socket and a breaker bar or impact wrench for steady, controlled force. Avoid using worn or mismatched tools, as they can strip the nut or threads.
Turn the nut slowly and steadily, stopping if you feel excessive resistance. If the nut won’t budge, don’t force it; apply more penetrating oil or heat and try again. Once loose, back the nut off by hand if possible to prevent cross-threading.
Keep the threads clean by wiping away debris and oil before fully removing the nut. This careful approach preserves the threads for reassembly and ensures a smooth removal process.
Inspect the Axle Nut and Nearby Components After Removal
Once you’ve removed the axle nut, you should carefully inspect it and the surrounding components for signs of wear or damage. This step helps catch potential issues before they worsen. Check the axle nut threads for stripping or deformation to verify a secure fit next time.
Examine the axle shaft for any cracks or corrosion that could compromise safety. Also, inspect the wheel bearing and hub assembly for looseness or unusual wear patterns that might indicate the need for replacement.
Check the axle shaft and wheel bearing for cracks, corrosion, or wear to ensure vehicle safety.
Look out for:
- Damaged or worn threads on the axle nut
- Cracks, rust, or pitting on the axle shaft
- Excessive play or roughness in the wheel bearing and hub assembly
Thorough inspection keeps your vehicle safe and reliable.
Reinstall the Axle Nut With Proper Torque and Care
Now that you’ve inspected the parts, it’s time to reinstall the axle nut with the correct torque specifications. Make sure you tighten it securely to prevent any movement or damage.
Using a torque wrench will help you achieve the precise tightness needed for safety and performance.
Correct Torque Specifications
How tightly should you secure the axle nut to guarantee safety and performance? Getting the torque right is essential. Over-tightening can damage the axle or bearings, while under-tightening risks the nut loosening during driving.
Always use a calibrated torque wrench and follow the manufacturer’s specifications.
Keep these points in mind:
- Refer to your vehicle’s service manual for exact torque values.
- Apply torque gradually, tightening in stages if necessary.
- Re-check torque after driving a short distance to ensure it hasn’t loosened.
Securing Nut Properly
Why does securing the axle nut properly matter so much? Because it ensures your wheel stays safely attached and prevents damage to the axle and bearings. When reinstalling the nut, start by threading it on by hand to avoid cross-threading.
Then, use a torque wrench to tighten it to the manufacturer’s specified torque. Over-tightening can strip threads or cause premature wear, while under-tightening risks loosening during driving. After achieving the correct torque, double-check that the nut is secure and the cotter pin (if applicable) is properly installed to lock it in place.
Taking these steps guarantees your axle nut holds firm, maintaining your vehicle’s safety and performance every time you hit the road.
Frequently Asked Questions
What Causes an Axle Nut to Become Stuck or Seized?
You’ll find an axle nut stuck or seized because of rust, corrosion, or dirt buildup. Over-tightening or using the wrong tools can also cause it to bind, making removal much tougher than usual.
Can I Reuse an Old Axle Nut After Removal?
You shouldn’t reuse an old axle nut because it may have stretched or weakened. Always replace it with a new one to guarantee proper torque and safety.
Reusing risks damage and potential failure while driving.
How Often Should Axle Nuts Be Checked or Replaced?
You should check axle nuts every 12,000 miles or during routine maintenance. Replace them if you notice damage, corrosion, or if they loosen.
Staying proactive helps prevent wheel issues and keeps your vehicle safe on the road.
What Are the Signs of a Damaged Axle or Hub Assembly?
You’ll notice vibrations, clicking noises when turning, or uneven tire wear if your axle or hub assembly is damaged. You might also feel looseness in the wheel or hear grinding sounds while driving. Check these signs promptly.
Is It Necessary to Remove the Axle Nut for Brake Repairs?
Think of the axle nut like the lock on a safe—usually, you don’t need to crack it to access the brakes. You don’t have to remove the axle nut for most brake repairs, so don’t worry.
Conclusion
Now that you’ve learned how to remove an axle nut safely and effectively, you might wonder if it’s really as tricky as some say. The truth is, with the right tools and steps, it’s straightforward—no special tricks needed.
By securing your vehicle, loosening the nut carefully, and avoiding damage, you’ll save time and frustration. These simple steps ensure a smooth process without complications.
So don’t hesitate; follow these steps confidently and keep your vehicle running smoothly. Properly removing an axle nut is key to maintaining your vehicle’s performance and safety.

