

To adjust the clutch on your Harley Davidson, start by checking if the clutch lever feels too tight or too loose. Notice if shifting gears is rough or inconsistent, as this can indicate clutch issues. Proper clutch adjustment is essential for smooth gear control and optimal bike performance.
Gather the necessary tools, including metric wrenches, a screwdriver, and a feeler gauge.
Begin by measuring the clutch cable free play, aiming for a range of 10-20 mm. This ensures the clutch engages and disengages correctly.
Next, loosen the locknut and turn the adjuster nut to set the correct tension. Once adjusted, secure the locknut to hold the setting in place.
Finally, test the clutch response during a ride and address any slipping or tightness. Keep practicing these steps to master smooth gear control and effective troubleshooting.
Key Takeaways
- Inspect clutch lever free play and measure the slack, ensuring it is within 10-20 mm for proper engagement.
- Loosen the clutch cable locknut and turn the adjuster nut to increase or decrease cable tension.
- Tighten the locknut securely after adjusting to maintain the correct cable tension.
- Test clutch operation by pulling the lever to confirm smooth engagement without slipping or excessive resistance.
- Ride the bike in a safe area to verify gear shifts are smooth and clutch response is consistent.
How to Know When Your Harley Clutch Needs Adjustment
Although you might not notice it immediately, your Harley’s clutch will show clear signs when it needs adjustment. You’ll feel the clutch lever either engaging too close to the handlebar or requiring excessive pull, making gear shifts rough or delayed.
If your bike slips during acceleration or you experience a burning smell, it’s a strong indicator that the clutch isn’t grabbing properly. You might also hear unusual noises when you engage or disengage the clutch.
Pay attention if you feel a jerky or uneven response while riding, as this often signals clutch wear or misalignment. By recognizing these symptoms early, you can avoid further damage, maintain smooth performance, and assure your Harley stays reliable on the road.
Tools Needed for Harley Clutch Adjustment
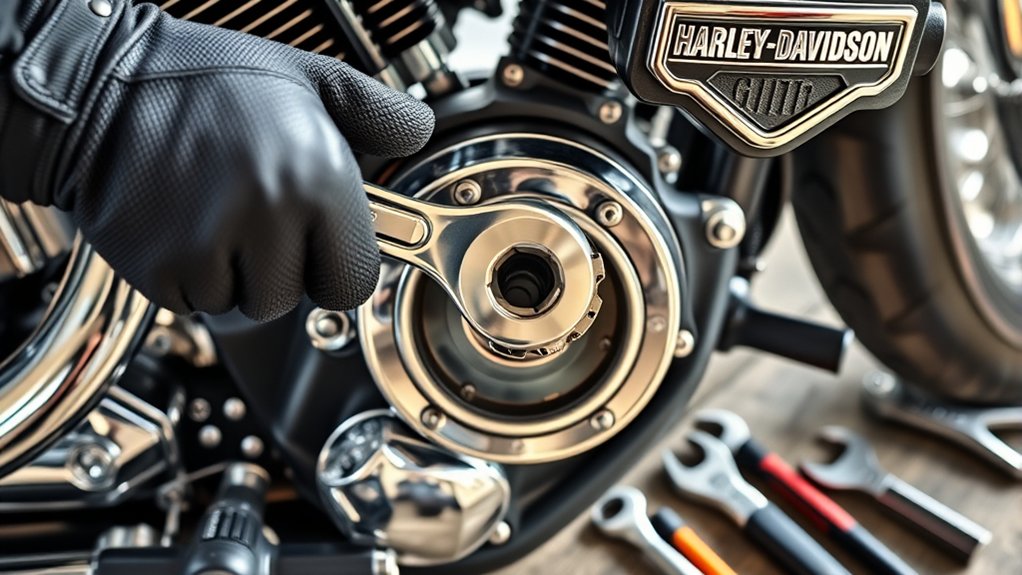
Before you start adjusting your Harley’s clutch, you’ll need the right tools to guarantee the job goes smoothly. First, grab a set of metric wrenches, especially a 5/16-inch and 3/8-inch, which are commonly used on Harley clutches. A screwdriver, preferably flathead, is essential for adjusting the clutch cable.
You’ll also need a torque wrench to ensure bolts are tightened to the manufacturer’s specifications. Keep a pair of needle-nose pliers handy for handling small clips or springs. A feeler gauge helps measure the clutch cable free play accurately.
Finally, have a clean rag or shop towel nearby to wipe down parts and keep the workspace tidy. Having these tools ready will save you time and prevent damage during the adjustment process.
Getting Your Harley Ready for Clutch Adjustment
Before you start adjusting the clutch, make sure your workspace is clean, well-lit, and organized. Gather all the tools you’ll need so you don’t waste time searching for them mid-job. Having everything ready will help the process go smoothly and safely.
Preparing Your Workspace
To guarantee a smooth clutch adjustment on your Harley Davidson, you’ll want to clear a well-lit, organized workspace where you can easily access all your tools and parts. Start by ensuring the area is free of clutter to prevent losing small components. Good lighting is essential, so consider using a portable lamp if natural light is limited.
Make sure the floor is clean and dry to avoid slipping or damaging parts. Set up a sturdy workbench or table nearby for laying out tools and parts. Keep a rag or shop towels handy to wipe grease or oil.
Here’s what to focus on:
- Clear, flat surface to hold tools and parts
- Adequate lighting to see small adjustments clearly
- Clean, dry floor space for safe movement and stability
Gathering Necessary Tools
With your workspace set up for comfort and efficiency, the next step is gathering the tools you’ll need to adjust your Harley Davidson’s clutch. Having the right tools on hand will make the process smoother and help prevent damage.
Make sure you have everything ready before you begin.
| Tool | Purpose |
|---|---|
| Socket Wrench Set | Loosening and tightening bolts |
| Screwdrivers | Adjusting screws and covers |
| Clutch Cable Lubricant | Ensuring smooth cable movement |
| Feeler Gauge | Measuring clutch lever free play |
| Torque Wrench | Applying correct bolt tension |
Collect these tools to keep your adjustment precise and hassle-free.
How to Adjust the Clutch Cable Free Play Correctly
To adjust the clutch cable free play correctly, start by measuring the gap at the clutch lever. You’ll want to make certain there’s just enough tension to avoid slipping but not so tight that it drags.
Making precise adjustments here keeps your Harley running smoothly and your clutch responsive.
Measuring Clutch Cable Free Play
Although adjusting the clutch cable might seem straightforward, measuring the clutch cable free play accurately guarantees your Harley Davidson shifts smoothly and prevents premature wear. To measure correctly, first locate the clutch lever on the handlebar and identify the cable’s free play—the amount of lever movement before resistance is felt.
Follow these steps to measure free play precisely:
- Use a ruler or caliper to measure the lever’s movement from rest to the point resistance begins.
- Compare this measurement to your Harley’s specified free play, usually between 10-20 mm.
- Check the cable at the clutch release arm for slack to ensure consistency.
Accurate measurement helps maintain clutch performance and extends cable life, so take your time getting it right.
Adjusting Clutch Lever Tension
Once you’ve measured the clutch cable free play and confirmed it falls within the recommended range, you can start adjusting the clutch lever tension. Begin by locating the adjustment nuts on the clutch cable near the lever. Loosen the locknut, then turn the adjuster nut to either increase or decrease tension as needed.
Turning the adjuster outwards will reduce free play, tightening the lever feel, while turning it inwards increases free play, softening the lever. Aim for about 1/8 to 1/4 inch of free play at the lever’s tip for smooth operation. After adjusting, tighten the locknut to secure the setting.
Finally, pull the lever a few times to ensure it moves freely without binding, and double-check the free play to confirm it remains within spec.
Adjust the Clutch Lever for Smooth Engagement
How can you guarantee your Harley’s clutch lever engages smoothly every time? Start by fine-tuning the lever’s free play to match your riding style and engine responsiveness. You want just enough slack to prevent clutch slippage without making the lever too tight or stiff.
Follow these steps for best adjustment:
- Loosen the locknut on the clutch cable adjuster.
- Turn the adjuster to increase or decrease lever free play until you feel a slight resistance at about 1/8 to 1/4 inch of lever movement.
- Tighten the locknut to secure the setting without altering the adjuster position.
How to Test Your Harley Clutch Adjustment on the Road
Before hitting the road, you’ll want to verify your clutch adjustment feels right under real riding conditions. Start by riding at a low speed in a safe area. Gradually release the clutch lever while applying light throttle.
Your Harley should engage smoothly without jerking or slipping. Shift through the gears, paying attention to how the clutch responds. Make certain the changeover is seamless when you shift up or down.
If the clutch grabs too early or feels loose, note it for further adjustment later. Also, check for any unusual noises or resistance when pulling the lever. Testing in real-world conditions gives you a clear sense of how well your clutch adjustment works and guarantees a safer, more enjoyable ride.
Troubleshooting Slipping and Tight Clutch Issues
If your Harley’s clutch slips or feels too tight, it can affect performance and safety. You’ll want to identify the root cause quickly to avoid damage or accidents. Start by inspecting the clutch cable tension; improper tension can cause slipping or stiffness.
Next, check the clutch plates for wear or oil contamination—both lead to slipping. Finally, verify the clutch basket and hub aren’t warped or damaged, as this impacts engagement.
To troubleshoot effectively:
- Adjust the cable free play according to your model’s specs
- Replace worn or oil-soaked clutch plates promptly
- Inspect and replace damaged clutch components as needed
Frequently Asked Questions
What Type of Oil Is Best for Harley Clutch Maintenance?
You should use Harley-Davidson-approved synthetic or semi-synthetic oil with the proper JASO MA or MA2 rating. This guarantees ideal clutch performance and longevity while preventing slippage and wear in your Harley’s wet clutch system.
Can Clutch Adjustment Affect Fuel Efficiency?
Yes, clutch adjustment can affect fuel efficiency. If your clutch slips or drags, your engine works harder, wasting fuel.
Keeping it properly adjusted helps your Harley run smoothly and saves you money at the pump.
How Often Should Harley Clutch Cables Be Replaced?
Like the heartbeat of your Harley, clutch cables should be replaced every 12,000 to 15,000 miles or when you notice stiffness or fraying. Don’t let worn cables leave you stranded—stay ahead and ride smoothly.
Are There Differences in Clutch Adjustment for Different Harley Models?
Yes, you’ll find differences in clutch adjustment across Harley models due to varying cable types, clutch mechanisms, and design changes.
Always check your specific model’s manual to guarantee you adjust the clutch properly and avoid damage.
Can I Adjust the Clutch Myself Without Mechanical Experience?
You can adjust the clutch yourself, but without mechanical experience, it’s tricky. You’ll need patience, the right tools, and to follow detailed instructions carefully to avoid damage or safety issues.
Consider seeking help if unsure.
Conclusion
Now that you know how to spot clutch issues and adjust your Harley’s clutch cable and lever, you’re ready to ride smoothly.
Remember, proper free play guarantees precise engagement, preventing slipping or a tight clutch. Think of it like tuning a guitar string—too loose or too tight affects the sound, just like clutch tension affects your ride.
Test your adjustments on the road, and don’t hesitate to troubleshoot if something feels off.
You’ve got this! Proper clutch adjustment is key to maintaining your Harley Davidson’s performance and ensuring a safe, enjoyable ride every time.

