


To test your fuel filter in seven simple steps, start by locating the fuel filter along the fuel line, typically near the fuel tank or engine bay. Ensuring your fuel filter is functioning properly is crucial for maintaining engine performance and fuel efficiency. A clogged or damaged fuel filter can lead to poor engine performance and potential damage.
Prepare safely by parking on a flat surface, turning off the engine, and disconnecting the battery. Gather basic tools like a pressure gauge and a container for fuel catchment. Inspect the filter for any visible damage or signs of wear.
Next, check the fuel flow by briefly turning the ignition on without starting the engine. Measure the fuel pressure to ensure it meets the manufacturer’s specifications. If you detect any issues such as low pressure or restricted flow, replacing the fuel filter is essential.
Keep following for deeper insights and helpful tips to maintain your vehicle’s fuel system effectively.
Key Takeaways
- Locate the fuel filter along the fuel line by consulting the vehicle manual or tracing from the tank to the engine.
- Safely prepare the vehicle by parking on a flat surface, turning off the engine, disconnecting the battery, and wearing protective gear.
- Relieve fuel system pressure, disconnect the outlet line, and observe fuel flow into a container by briefly turning the ignition on.
- Use a fuel pressure gauge to measure the fuel pressure and compare it against the manufacturer’s specifications.
- Inspect the fuel filter for cracks, leaks, rust, or debris, and replace it if any signs of failure or contamination are present.
Locate the Fuel Filter in Your Vehicle
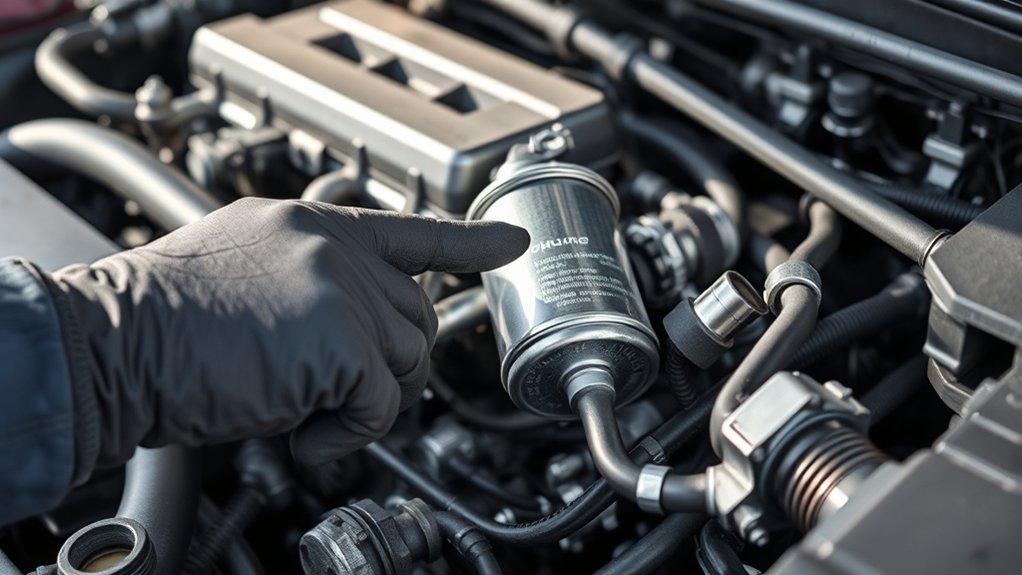
Where exactly is the fuel filter in your vehicle? Typically, you’ll find it along the fuel line, either under the car near the fuel tank, in the engine bay, or inside the fuel tank itself in some modern models. To locate it, start by consulting your vehicle’s manual—it’ll give you the exact spot.
If you don’t have the manual handy, look underneath your car near the fuel tank or trace the fuel line from the tank to the engine. The fuel filter usually looks like a small canister or a cylindrical component with fuel lines connected on both ends.
Knowing its location is essential for testing or replacement, so take your time to identify it clearly before moving forward.
Prepare Your Vehicle Safely for Fuel Filter Testing
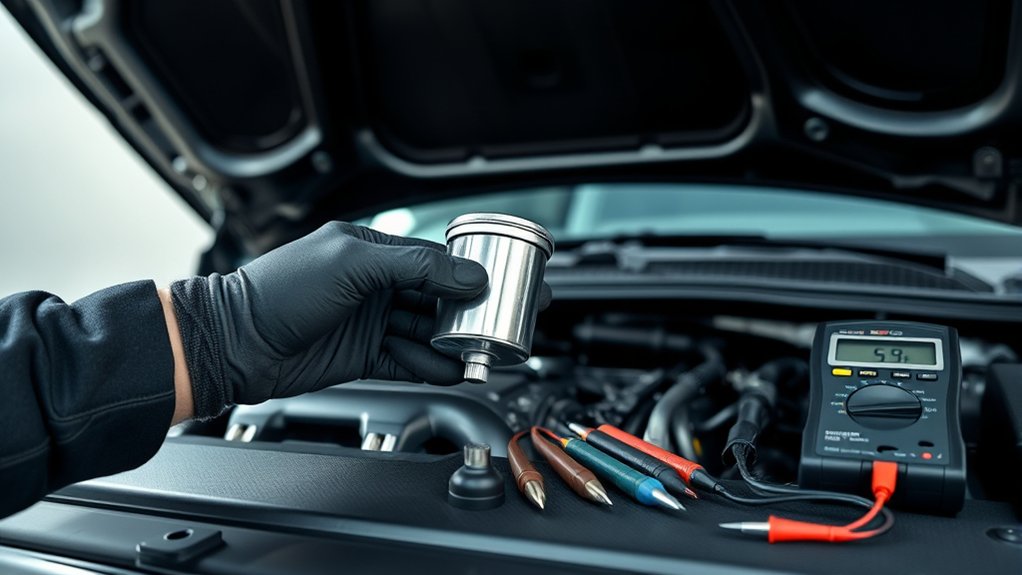
Before you begin testing the fuel filter, make sure your vehicle is parked on a flat surface with the engine turned off and the keys removed to prevent accidental starts. Engage the parking brake to keep the vehicle from moving. Open the hood and allow the engine to cool if it was recently running, as fuel system components can get hot.
Disconnect the negative battery terminal to avoid electrical sparks while working around the fuel system. Work in a well-ventilated area to disperse any fuel vapors safely. Keep a fire extinguisher nearby as a precaution.
Wear protective gloves and safety glasses to guard against fuel splashes. Finally, make sure your workspace is clean and free of any sources of ignition before you proceed with testing the fuel filter.
Gather Tools to Test Your Fuel Filter
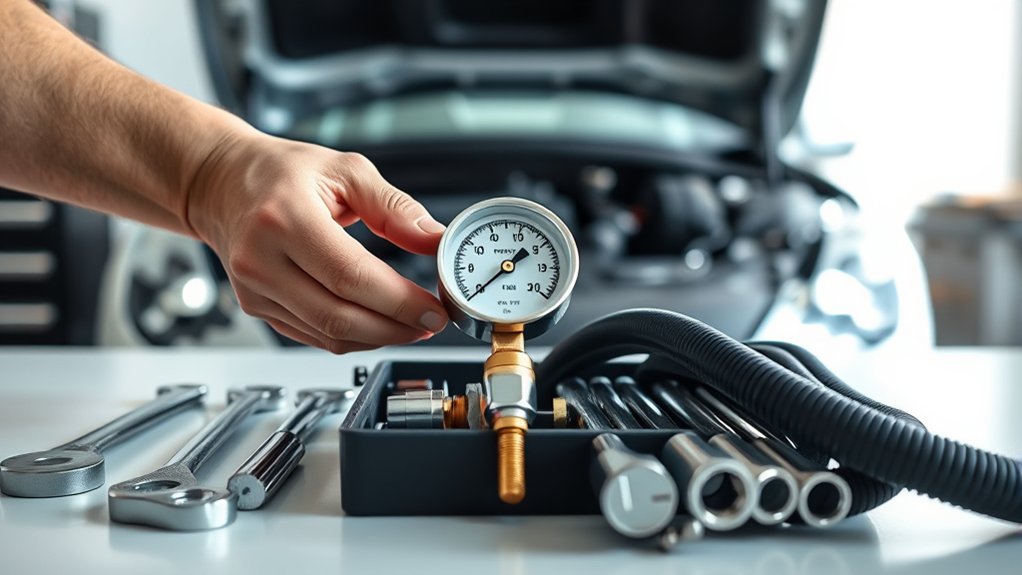
Although testing a fuel filter might seem straightforward, having the right tools on hand will make the process much smoother and safer. First, grab a pressure gauge designed for fuel systems to measure fuel flow accurately. You’ll also need a wrench or socket set to loosen and tighten fittings without damaging them.
Keep a small container or catch pan nearby to collect any fuel that leaks during testing. Don’t forget safety gear, like gloves and safety glasses, to protect yourself from fuel splashes. A flashlight can help you see clearly in tight spaces, and a rag will come in handy for cleaning spills.
Having these tools ready before you start will keep you efficient and safe throughout the fuel filter testing process.
Inspect the Fuel Filter for Visible Damage
Start by closely checking your fuel filter for any cracks that could let dirt or air in. Don’t forget to look for rust, which can weaken the filter’s structure.
Also, inspect the filter for any leaks that might affect performance.
Check For Cracks
When you inspect the fuel filter, check carefully for any cracks or visible damage that could compromise its function. Cracks can let dirt and debris bypass the filter, causing engine problems or fuel leaks. Use good lighting and a magnifying glass if needed to spot even small fractures.
Pay special attention to areas around fittings and seams, as these spots are more prone to damage. Also, gently squeeze the filter housing to detect any weak or brittle spots.
Look for:
- Hairline cracks running along the filter body
- Any breaks near the inlet or outlet connections
- Signs of material fatigue or deformation
If you find any cracks, replace the fuel filter immediately to guarantee your engine runs smoothly and safely.
Look For Rust
Since rust can weaken the fuel filter’s structure, you need to inspect it carefully for any visible corrosion. Start by wiping off any dirt or grime so you can see the surface clearly. Look closely around the metal parts, especially near the connections and seams, where rust tends to form first.
If you spot any reddish-brown flakes or patches, that’s a sign the filter’s metal is deteriorating. Rust can cause tiny holes or weaken the filter, leading to fuel contamination or failure. Even light rust means the filter isn’t in ideal condition and should be replaced.
Don’t ignore rust, as it compromises fuel flow and engine performance. Regularly checking for corrosion helps you maintain a reliable fuel system and avoid costly repairs.
Inspect For Leaks
How can you tell if your fuel filter is leaking? Start by visually inspecting the filter and surrounding areas for any signs of fuel seepage. Leaks often appear as wet spots or stains on the filter housing or nearby connections.
Pay close attention to any cracks, holes, or worn seals that could be the source of a leak. Catching leaks early prevents fuel loss and potential engine problems.
Here’s what to look for during your inspection:
- Wet or shiny areas on or around the fuel filter
- Cracked or brittle filter casing
- Loose or damaged fittings and clamps
If you spot any of these, replace the filter immediately to maintain safe and efficient fuel flow.
Check Fuel Flow for Blockages
Why is checking fuel flow for blockages essential? Because a restricted fuel flow can cause your engine to run poorly or stall. To check fuel flow, first relieve the fuel system pressure.
Then, disconnect the fuel line at the filter’s outlet and place a container underneath. Turn the ignition on briefly without starting the engine to let fuel flow. If fuel sputters or flows weakly, you likely have a blockage either in the filter or the fuel line.
A consistent, strong flow means the filter is probably clear. Remember to watch for debris or discoloration in the fuel, as this can also indicate contamination. Once done, reconnect everything securely to avoid leaks and ensure your fuel system operates smoothly.
Test Fuel Pressure With a Gauge
To test your fuel pressure accurately, you’ll need to choose the right gauge for your vehicle’s system. Make certain you understand the correct pressure range and how to read the gauge properly.
This guarantees you can spot any issues with the fuel filter or pump quickly.
Choosing The Right Gauge
When selecting a fuel pressure gauge, what features should you prioritize to guarantee accurate readings? First, choose a gauge with the right pressure range for your vehicle’s fuel system—too low or too high won’t give reliable results.
Next, check for a gauge with a clear, easy-to-read dial or digital display, so you won’t struggle interpreting measurements. Finally, opt for a gauge made with durable materials that resist fuel corrosion and wear, ensuring it lasts through multiple tests.
Consider these key features:
- Pressure range compatibility with your fuel system (usually 0-100 psi)
- Clear, precise dial or digital display for easy reading
- Robust construction to withstand fuel exposure and rough handling
Picking the right gauge helps you test your fuel filter confidently and accurately.
Reading Fuel Pressure Correctly
How do you guarantee your fuel pressure readings are accurate? First, make certain your gauge is properly connected to the test port or fuel line without leaks. Turn the ignition on but don’t start the engine; this primes the fuel pump and stabilizes pressure.
Read the gauge immediately to avoid fluctuations. If you see a pressure value within your vehicle’s specified range, you’re good. If it’s too low or too high, it indicates a potential issue.
Always refer to the manufacturer’s specs for correct pressure values. After testing, turn off the ignition and carefully remove the gauge to avoid fuel spills. Accurate readings depend on steady pressure and a secure connection—don’t rush or guess.
This precision helps diagnose fuel filter problems effectively.
Interpret Test Results and Know When to Replace Your Fuel Filter
Although testing your fuel filter can seem straightforward, interpreting the results correctly is crucial to maintaining your vehicle’s performance. If your fuel pressure reading is markedly lower than the manufacturer’s specifications, it usually means the filter is clogged and restricting fuel flow.
Accurately interpreting fuel pressure tests is key to diagnosing a clogged fuel filter and ensuring optimal vehicle performance.
Conversely, normal pressure readings indicate your filter is still functioning well. You should replace the fuel filter if you notice any of these signs:
- Consistently low fuel pressure during testing
- Engine hesitation or stalling under load
- Dirty or contaminated filter element when visually inspected
Frequently Asked Questions
How Often Should I Replace My Fuel Filter?
You should replace your fuel filter every 20,000 to 40,000 miles, depending on your vehicle’s recommendations. Check your owner’s manual, and if you notice performance issues, consider replacing it sooner to keep your engine running smoothly.
Can a Clogged Fuel Filter Cause Engine Stalling?
A clogged fuel filter can slam the brakes on your engine, causing stalling. When fuel can’t flow freely, your engine starves and sputters, leaving you stranded.
Keep your filter clean to keep your ride smooth and steady.
Are Fuel Filters the Same for All Vehicle Types?
No, fuel filters aren’t the same for all vehicles. You’ll find different sizes, designs, and specifications depending on your engine type and model, so always check your vehicle’s manual before buying a replacement filter.
What Symptoms Indicate a Failing Fuel Filter?
Like a clogged straw slows your drink, a failing fuel filter causes rough idling, stalling, poor acceleration, and engine misfires.
You’ll notice decreased fuel efficiency and difficulty starting your vehicle, signaling it’s time for a check or replacement.
Can I Clean and Reuse a Fuel Filter?
You generally can’t clean and reuse a fuel filter because it traps tiny debris inside. It’s better to replace it to guarantee proper fuel flow and avoid engine issues.
Cleaning usually won’t restore full function.
Conclusion
Now that you’ve tested your fuel filter, imagine your engine breathing freely, with fuel flowing smoothly like a clear mountain stream. By spotting blockages early and knowing when to replace your filter, you’re giving your vehicle the clean fuel it needs to run strong and efficient.
Stay proactive, and your ride will thank you with better performance and fewer breakdowns. Testing a fuel filter regularly helps maintain optimal engine function and fuel efficiency. Keep your engine’s heart beating healthy—your journey depends on it.

