

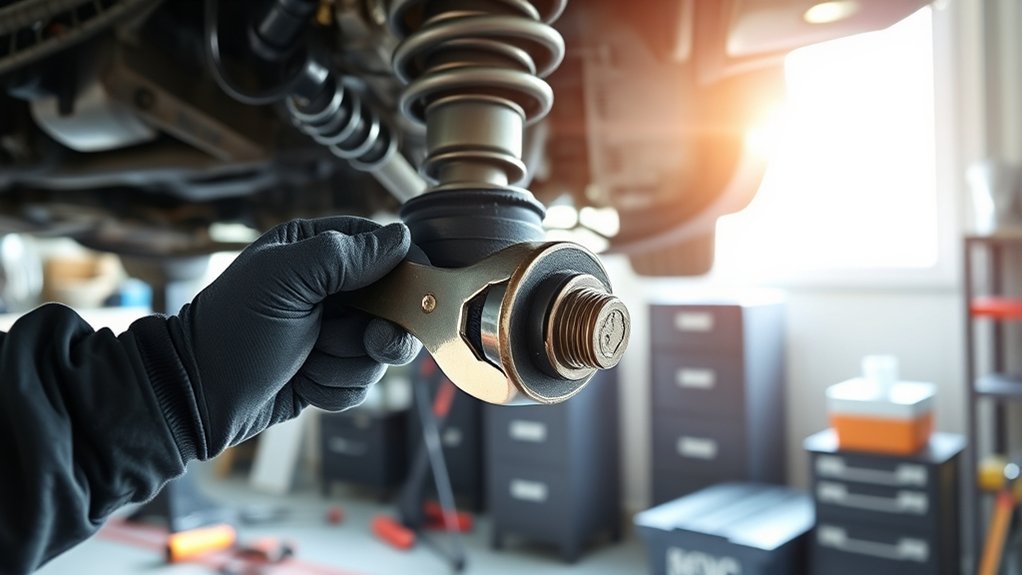
You can expect to spend about one to two hours changing a CV axle, depending on your vehicle and experience. Changing a CV axle involves several key steps that ensure the job is done correctly and safely.
Having the right tools and a clear plan can make the process much smoother and faster.
You’ll start by safely lifting your car and removing the wheel, then detach suspension parts to access the axle.
After removing the old axle, you’ll prepare and install the new one carefully, reassembling everything afterward.
Taking your time and using the right tools helps speed things up.
Keep going, and you’ll get a clear, step-by-step guide to make the process smooth.
Following these instructions will help you avoid common mistakes and get your vehicle back on the road quickly.
Key Takeaways
- Replacing a CV axle typically takes between 1 to 2 hours, depending on vehicle and conditions.
- Removing the wheel, axle nut, and suspension components generally takes 35 to 70 minutes combined.
- Extracting the old axle and installing the new one usually requires 20 to 30 minutes.
- Reassembling parts and tightening bolts can take an additional 15 to 30 minutes.
- Factors like rust, experience, and tool availability can significantly affect total replacement time.
What Is a CV Axle and Why Replace It?
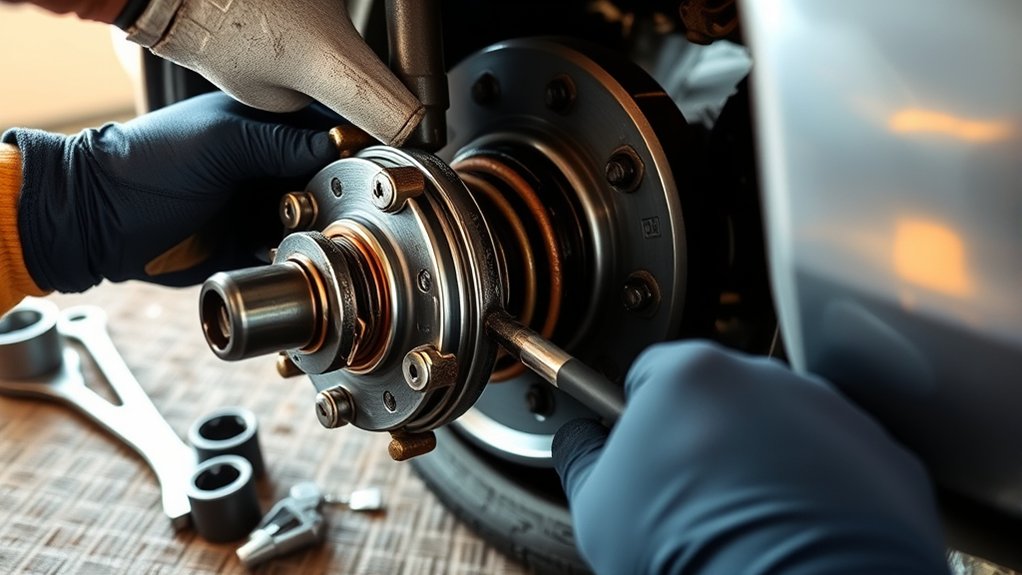
Although you might not notice it every day, the CV axle plays an essential role in your vehicle’s drivetrain by transferring power from the transmission to the wheels. It’s a jointed shaft that allows your wheels to turn smoothly while handling suspension movement.
Over time, the CV axle can wear out due to constant stress, exposure to dirt, and damaged protective boots. When that happens, you might hear clicking noises during turns or experience vibrations while driving.
Replacing a worn or damaged CV axle is vital because a failing axle can lead to loss of control or further damage to your car’s drivetrain. By addressing issues early, you keep your vehicle safe and guarantee smooth, reliable performance on the road.
How Long Does CV Axle Replacement Take?
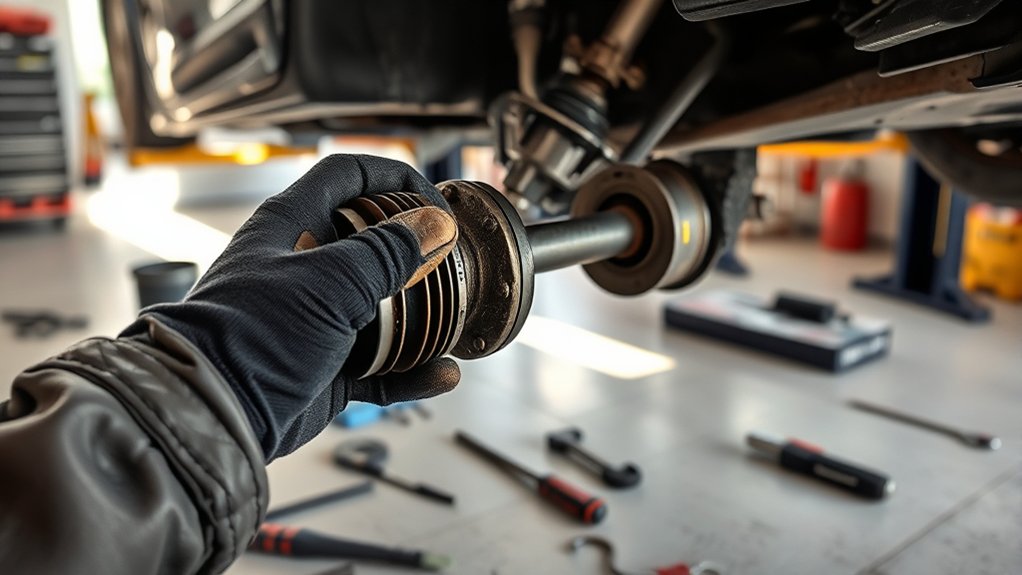
Replacing a CV axle usually takes about one to two hours, but the exact time depends on your vehicle and experience. Some factors, like rusted bolts or additional repairs, can extend the process.
To save time, make sure you have the right tools ready and follow a clear step-by-step guide.
Average Time Estimates
When you plan to change a CV axle, you can generally expect the job to take between one and two hours, depending on your experience and the vehicle model. Here’s a breakdown of how that time often splits:
- Removing the wheel and loosening the axle nut: About 15–30 minutes.
- Detaching suspension components and freeing the axle: Around 20–40 minutes.
- Removing the old CV axle and installing the new one: Roughly 20–30 minutes.
- Reassembling parts and tightening everything: Approximately 15–30 minutes.
If you’re well-prepared and have the right tools, you might complete the replacement closer to one hour. For beginners or complex vehicles, expect it to take longer but stay patient—you’ll get faster with practice.
Factors Affecting Duration
Since every vehicle and situation is different, the time it takes to replace a CV axle can vary widely. Factors like the make and model of your car affect how accessible the axle is and how complex the removal process becomes. If rust or corrosion has set in, you’ll spend extra time loosening stubborn bolts.
Your experience level also plays a big role; seasoned mechanics often finish faster than beginners. The tools you have matter too—specialized equipment can speed up the job. Additionally, whether you’re replacing one axle or both impacts the duration.
Finally, unexpected issues like damaged components or seized parts can extend the process. Knowing these variables helps set realistic expectations before you start your CV axle replacement.
Tips To Save Time
Although the time needed for a CV axle replacement varies, you can speed up the process by preparing your tools ahead, following a clear step-by-step plan, and working methodically.
Here are some tips to save time:
- Organize Your Workspace – Lay out all necessary tools and parts within easy reach.
- Use the Right Tools – Invest in quality wrenches and a breaker bar to loosen stubborn bolts quickly.
- Follow a Checklist – Stick to a detailed guide to avoid backtracking or missed steps.
- Enlist Help – Having an extra pair of hands can make removing and installing the axle smoother and faster.
Tools Needed for Changing a CV Axle
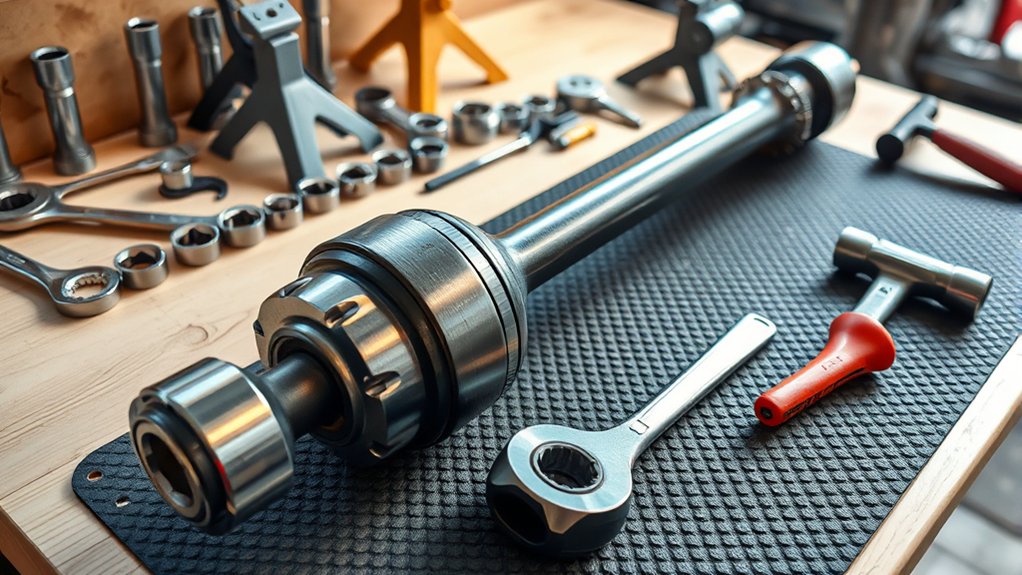
Before you start changing a CV axle, you’ll need a specific set of tools to make the job efficient and safe. First, a socket set with various sizes is essential, especially a large socket for the axle nut. You’ll also want a breaker bar or impact wrench to loosen stubborn nuts.
A torque wrench is vital for tightening bolts to the correct specifications. Don’t forget a pry bar to help remove the old axle from the transmission. Needle-nose pliers come in handy for removing cotter pins.
Additionally, a hammer and punch can assist in freeing stuck components. Ultimately, have a jack and jack stands ready for safely raising and supporting your vehicle, though we’ll cover that in detail later. Having these tools ready will streamline the process and reduce frustration.
Safely Lifting and Securing Your Car
Before you start, make certain you place the jack under the proper lifting points on your car to avoid damage. Never rely on the jack alone—always use jack stands to securely support the vehicle.
This guarantees your safety while you work on changing the CV axle.
Proper Jack Placement
To safely lift your car, you’ll need to identify the proper jack points located along the vehicle’s frame. These points are reinforced areas designed to handle the weight without causing damage. Here’s how to find and use them:
- Look for notches or thick metal sections near the wheels along the frame.
- Consult your owner’s manual to confirm the exact jack locations.
- Position the jack’s saddle directly under these points for stable contact.
- Make sure the jack is on a flat, solid surface to prevent slipping.
Placing the jack correctly ensures your car lifts evenly and stays secure during the CV axle replacement. Never jack from the suspension or body panels, as they can bend or break under pressure. Proper jack placement is the first step to a safe repair.
Using Jack Stands
Once you’ve lifted your car using the proper jack points, you need to secure it with jack stands to guarantee it won’t shift or fall while you work. Position the stands under solid frame parts near the jack points, then slowly lower the car onto them. Never rely on the jack alone—it’s only for lifting, not support.
Here’s a quick checklist to safely use jack stands:
| Step | Tip |
|---|---|
| Placement | Use manufacturer’s recommended spots |
| Stability | Verify stands are on flat, solid ground |
| Securing | Lower car slowly, confirm it rests firmly |
Following these steps keeps your workspace safe and stable for the CV axle replacement.
Removing the Wheel to Access the CV Axle
Although it might seem straightforward, removing the wheel is a crucial step to reach the CV axle safely and efficiently. Here’s how you do it:
- Start by loosening the lug nuts slightly while the car is still on the ground to prevent the wheel from spinning.
- Once the vehicle is securely lifted and supported on jack stands, finish removing the lug nuts completely.
- Carefully pull the wheel straight off the hub, avoiding any damage to the brake components.
- Set the wheel aside where it won’t roll or get damaged.
Removing the wheel gives you the clear access you need to work on the CV axle without obstruction, making the next steps safer and easier.
Disconnecting the Axle From Hub and Transmission
With the wheel removed, you have clear access to the CV axle’s connections. First, loosen the axle nut securing the CV axle to the hub using a socket and breaker bar; it’s often tight and may require significant force. Next, detach any retaining clips or bolts holding the axle to the hub assembly.
Then, move to the transmission side. Depending on your vehicle, you might need to remove a retaining clip or use a pry bar carefully to pop the axle out of the transmission’s differential. Be cautious not to damage the seals.
Keep track of any hardware you remove, as you’ll need it for reinstallation. Once disconnected, the axle should be free from both the hub and the transmission, ready for removal.
Removing the Old CV Axle Without Damage
How do you remove the old CV axle without causing damage? Follow these steps carefully to protect surrounding parts and ensure a smooth removal:
- Support the transmission or differential with a jack or stand to prevent strain when the axle comes out.
- Gently tap the axle flange using a rubber mallet to loosen it from the hub without bending or denting the splines.
- Use a pry bar carefully at the transmission seal to pop the axle out; avoid excessive force to prevent seal damage.
- Slowly pull the axle straight out, checking for resistance.
- If it sticks, tap or wiggle lightly instead of forcing it.
Preparing the New CV Axle for Installation
Where should you start when preparing the new CV axle for installation? Begin by inspecting the new axle thoroughly. Check for any damage, dents, or defects that might have occurred during shipping.
Next, compare it carefully with the old axle to verify it’s the correct part. Pay attention to the splines and the length. Before installing, apply a thin layer of high-quality grease to the splines; this helps with smooth insertion and prevents premature wear.
Also, make sure the CV boots are intact and properly sealed to avoid contamination. Finally, clean the axle shaft and surrounding components to remove dirt or debris. Taking these steps ensures your new CV axle is ready, setting you up for a smooth installation process.
Installing the New CV Axle Step-by-Step
Once you’ve prepped the new CV axle, you’ll start by aligning it carefully with the transmission or differential output shaft. Make sure the splines line up perfectly to avoid damage. Then, follow these steps:
Start by carefully aligning the new CV axle with the transmission or differential splines to prevent damage.
- Gently slide the axle into the transmission until you feel it click into place.
- Confirm the axle is seated fully by pulling lightly; it should stay firmly in position.
- Align the outer CV joint with the wheel hub, guiding the axle through the hub bore.
- Insert the axle nut and tighten it by hand to hold the axle steady.
Taking your time with these steps ensures a smooth fit and prevents leaks or drivetrain issues. Now, your new CV axle is ready for the next phase of reassembly.
Reassembling Suspension and Wheel Components
Before you fully secure everything, make certain the suspension components and wheel assembly are properly aligned to avoid any issues. Start by reconnecting the control arms and tightening the bolts to the manufacturer’s torque specs.
Then, reattach the sway bar links carefully to maintain stability. Next, secure the wheel hub and ensure the brake caliper is properly mounted.
Finally, reinstall the wheel and tighten the lug nuts in a star pattern for even pressure.
| Step | Tip |
|---|---|
| Control Arms | Use torque wrench for bolts |
| Sway Bar Links | Check for worn bushings |
| Wheel Hub & Brake Caliper | Ensure brake pads are aligned |
| Wheel Installation | Tighten lug nuts in star pattern |
Testing Your Car After CV Axle Replacement
Although you’ve reassembled everything carefully, you’ll want to test your car immediately after replacing the CV axle to verify the repair was successful. Start by:
- Inspecting for leaks or loose parts around the axle and wheel area.
- Lowering the car and tightening the lug nuts to the proper torque.
- Taking a slow test drive in a safe area, listening for unusual noises like clicking or clunking.
- Checking for vibrations or pulling during acceleration and turns.
If everything feels smooth and quiet, your CV axle replacement was successful. Should you notice any odd sounds or handling issues, stop and recheck your work to avoid further damage.
Testing confirms your safety and validates the job is done right.
Frequently Asked Questions
Can I Drive With a Damaged CV Axle Temporarily?
You can drive with a damaged CV axle temporarily, but it’s risky. It may cause vibrations, noise, or further damage.
Get it fixed as soon as possible to avoid complete axle failure and unsafe driving conditions.
What Are the Signs of a Failing CV Axle?
You’ll notice clicking noises when turning, vibrations while driving, grease leaking near the wheel, and difficulty steering.
If your CV axle’s failing, don’t ignore these signs—you’ll want to get it checked and fixed promptly.
How Much Does a CV Axle Replacement Typically Cost?
You’ll typically pay between $300 and $800 for a CV axle replacement, depending on your vehicle and labor costs.
Doing it yourself can save money, but professional help guarantees proper installation and safety.
Can a CV Axle Be Repaired Instead of Replaced?
Fixing a CV axle is like patching a cracked phone screen—it’s possible but often not reliable. You usually can’t repair it; replacing the axle guarantees safety and performance, so you’re better off swapping it out.
How Often Should CV Axles Be Inspected or Maintained?
You should inspect your CV axles every 30,000 to 50,000 miles or during regular oil changes. Check for torn boots or leaks, and replace them promptly to avoid costly damage and maintain smooth driving performance.
Conclusion
Changing a CV axle might seem intimidating at first, like stepping into a complex machine’s heart, but with the right tools and steps, it flows smoothly. What once felt like a tangled web becomes a clear path as you lift your car, remove the wheel, and swap parts.
In just a couple of hours, your worn axle transforms into a new, reliable connection—turning frustration into satisfaction and silence back into the hum of the road.
Knowing how long does it take to change a CV axle helps you plan your repair efficiently. With patience and the right guidance, the process becomes manageable and rewarding.

