

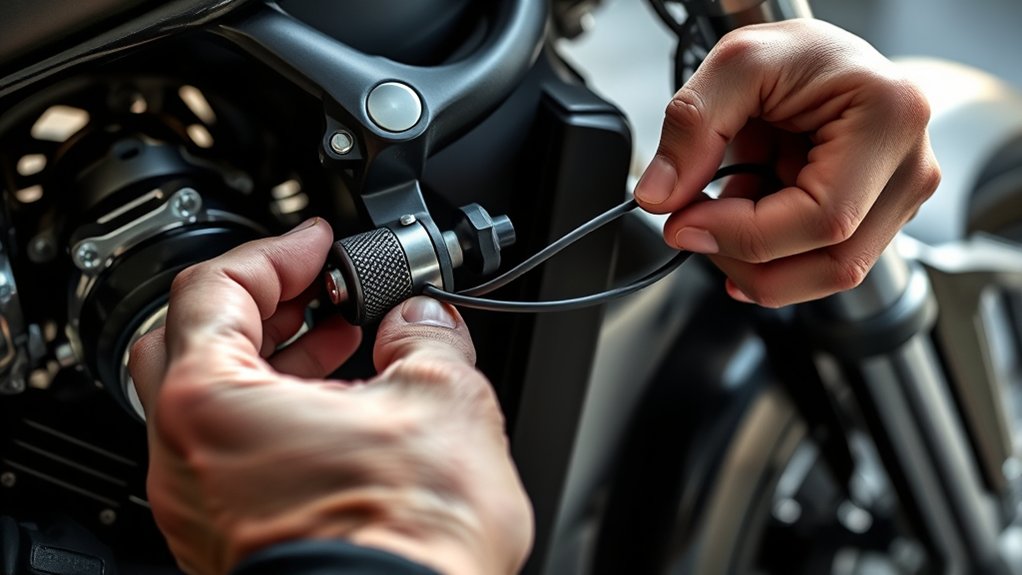
First, inspect your motorcycle clutch cable for any signs of fraying, kinks, or slack to ensure smooth and reliable operation. Proper clutch cable adjustment is essential for optimal performance and safety.
Next, locate and loosen the clutch adjuster locknuts without fully removing them. Adjust the cable tension to achieve the correct free play, usually between 10 to 20mm.
Test the clutch lever’s feel and engagement, then fine-tune the tension using the barrel adjuster for precise control.
Finally, tighten the locknuts securely to maintain the adjustment.
Regularly inspect and maintain your clutch cable to prevent issues and extend its lifespan. Keep going to uncover expert tips for perfect clutch adjustment.
Key Takeaways
- Inspect the clutch cable for wear, fraying, kinks, or slack before adjustment.
- Loosen the clutch adjuster locknuts near the lever without removing them completely.
- Turn the adjuster clockwise to tighten or counterclockwise to loosen clutch cable tension.
- Check clutch lever free play, aiming for 10–20mm, and fine-tune using the barrel adjuster.
- Tighten locknuts securely after adjustment and regularly lubricate the cable for smooth operation.
Check Your Clutch Cable for Fraying, Kinks, and Slack
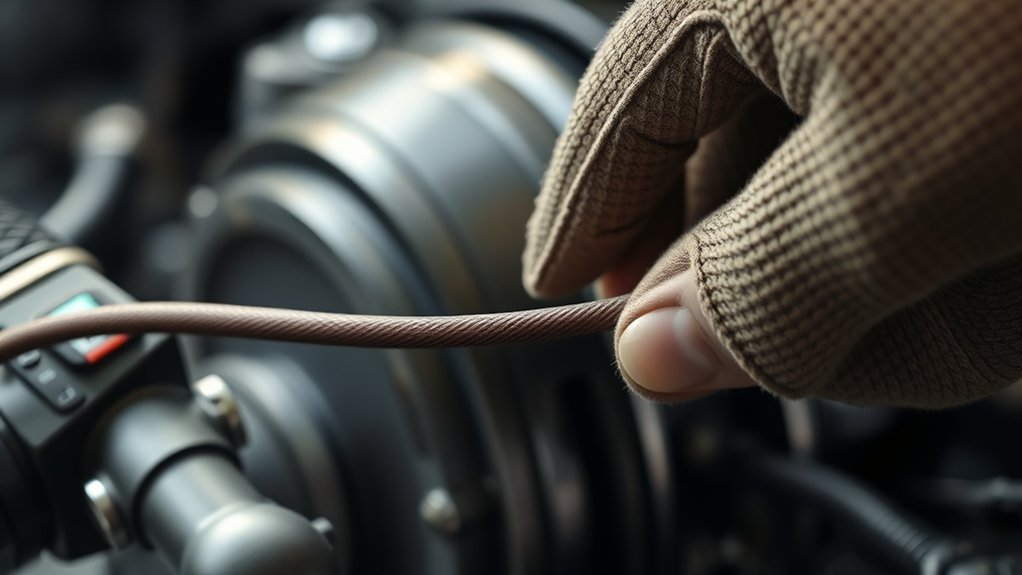
Before adjusting your motorcycle clutch cable, you need to carefully inspect it for any fraying, kinks, or excessive slack. Start by tracing the cable from the clutch lever down to the engine. Look closely for any visible signs of wear, like broken strands or rough spots that could weaken the cable.
Make sure the cable runs smoothly without sharp bends or twists, which can cause premature damage. Check the slack by gently pulling the cable near the lever; there should be a small amount of free play, but not so much that the clutch doesn’t engage properly. Addressing these issues prior to adjustment ensures your clutch operates safely and efficiently.
If you spot any damage, it’s best to replace the cable rather than adjust it.
Find and Loosen the Clutch Adjuster Locknuts
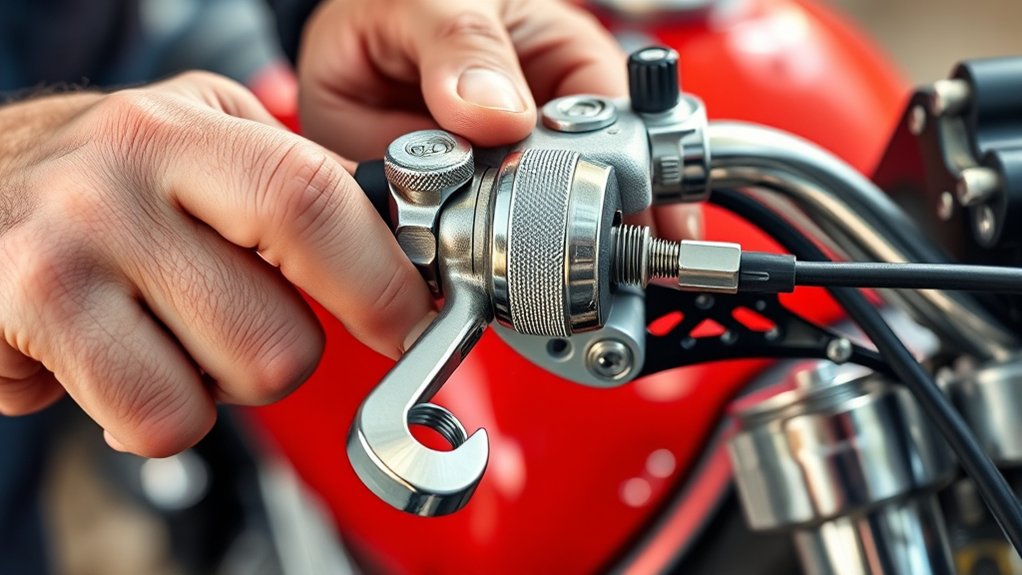
Once you’ve inspected the cable, locate the clutch adjuster locknuts near the clutch lever or along the cable housing. These locknuts secure the adjuster in place and prevent it from moving during rides. Use a suitable wrench or spanner to hold the adjuster steady while you turn the locknuts.
Loosen both locknuts by turning them counterclockwise just enough to free the adjuster, but don’t remove them completely. This step is essential because loosening the locknuts lets you adjust the cable tension smoothly in the next step. Be careful not to overtighten or strip the locknuts when loosening.
Once they’re loose, you’re ready to proceed with adjusting the cable tension to achieve the proper clutch free play.
Adjust the Cable Tension for Proper Free Play
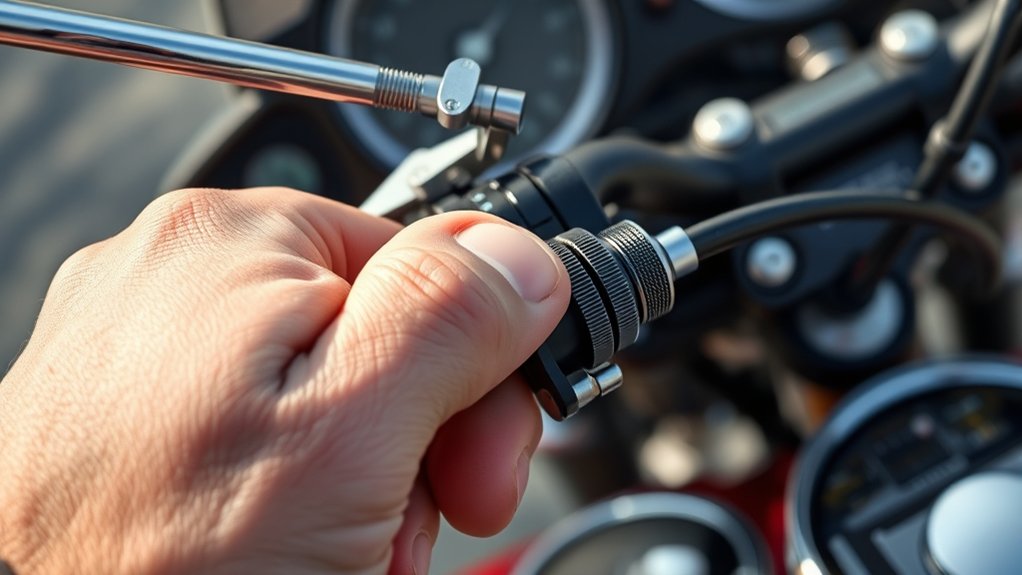
As you turn the clutch adjuster, you’ll notice the cable tension changing—this directly affects the clutch’s free play. Your goal is to achieve the manufacturer’s recommended free play, usually around 10 to 20 millimeters at the clutch lever. To increase free play, turn the adjuster counterclockwise, loosening the cable slightly.
To decrease free play, turn it clockwise, tightening the cable. Make small adjustments, then check the lever’s movement between fully released and the point where the clutch starts to engage. Avoid setting the cable too tight, which can cause clutch slippage, or too loose, which may result in incomplete disengagement.
Once you’ve dialed in the right tension, hold the adjuster in place and tighten the locknuts to keep everything secure.
Test How the Clutch Lever Feels and Engages
Although you’ve adjusted the cable tension, you’ll want to test how the clutch lever feels and engages to guarantee smooth operation. Start by pulling the lever slowly and notice its resistance and travel. It should feel firm but not stiff, with a smooth, consistent pull.
Check that the lever fully disengages the clutch when pulled all the way in, allowing the engine to rev freely without moving the bike. Release the lever smoothly and ensure the clutch engages without any sticking or slipping. If the lever feels too loose, tight, or if engagement isn’t crisp, you may need to revisit your adjustment.
Testing now helps you catch issues early, ensuring your motorcycle shifts gears seamlessly and rides safely.
Fine-Tune the Cable With Barrel Adjuster
If your clutch lever still doesn’t feel quite right after the initial adjustment, you can fine-tune the cable tension using the barrel adjuster. This small, threaded part near the clutch lever lets you make precise changes without tools.
Turn the barrel adjuster out (counterclockwise) to increase cable slack, easing lever pull. Turn it in (clockwise) to reduce slack, making the clutch engage sooner. Make small turns, then test the lever feel.
| Action | Effect on Cable Tension |
|---|---|
| Turn barrel out | Increases slack |
| Turn barrel in | Decreases slack |
| Small turns | Allows precise adjustments |
| Located near lever | Easy access |
| Adjust, then test | Ensures proper feel |
Use this to get your clutch lever feeling just right.
Tighten the Locknuts to Secure Your Adjustment
Once you’ve fine-tuned the cable tension with the barrel adjuster, you need to tighten the locknuts to keep everything securely in place. This step is essential because loose locknuts can cause your clutch adjustment to slip, leading to poor performance or even dangerous situations.
Grab your wrench and firmly tighten the locknuts without overdoing it—too much force can damage the threads. Make sure both locknuts are snug against each other to lock the adjustment effectively.
Remember, securing the locknuts means:
- Your clutch response stays consistent
- You avoid unexpected clutch slippage
- Riding feels safe and reliable
- Maintenance intervals extend longer
- You gain confidence every time you hit the road
Don’t skip this step—it seals the work you’ve done perfectly.
Inspect and Maintain Your Clutch Cable to Prevent Damage
Regularly inspecting and maintaining your clutch cable helps you catch wear and damage before they cause serious problems. Check the cable for fraying, kinks, or rust, which can lead to failure if ignored. Make sure the cable moves smoothly without sticking or binding, as rough movement indicates it needs cleaning or lubrication.
Use a suitable lubricant to keep the cable flexible and prevent corrosion. Also, inspect the adjuster nuts and cable ends to ensure they’re tight and secure. Replace the cable immediately if you spot any significant damage or excessive wear.
Frequently Asked Questions
How Often Should I Replace My Motorcycle Clutch Cable?
You should replace your motorcycle clutch cable every 12,000 to 15,000 miles or if you notice fraying, stiffness, or slipping.
Regularly check it to avoid sudden failures and guarantee smooth clutch operation.
Can a Damaged Clutch Cable Cause My Bike to Stall?
A damaged clutch cable can stall your bike, but it’s more about losing control than engine failure. If the clutch doesn’t disengage properly, your bike struggles to shift or move smoothly, causing unexpected stalls.
What Tools Do I Need to Adjust a Clutch Cable?
You’ll need a wrench or pliers to loosen the adjuster locknuts, and sometimes a screwdriver to fine-tune the adjuster. Having gloves helps protect your hands while you work on tightening or loosening the clutch cable.
Make sure to have a clean rag handy to wipe off any dirt or grease. This keeps the cable mechanism clean and ensures smooth operation.
Using the right size tools prevents damage to the locknuts and adjuster components. Taking your time will help you make precise adjustments.
Is It Safe to Ride With a Partially Broken Clutch Cable?
Don’t throw caution to the wind—you shouldn’t ride with a partially broken clutch cable. It can fail suddenly, leaving you stranded or causing an accident.
Fix it promptly to keep your ride smooth and safe.
Can I Adjust the Clutch Cable Without Mechanical Experience?
Yes, you can adjust the clutch cable without mechanical experience by following clear instructions carefully. Just take your time, use basic tools, and double-check your work to guarantee safety and proper clutch function before riding.
Conclusion
By following these seven easy steps, you’ll keep your clutch cable in top shape, ensuring smooth rides every time. Don’t let a frayed cable be the “Achilles’ heel” of your motorcycle adventures. With just a little care and regular maintenance, you’re set to enjoy the open road with confidence.
Remember, a well-adjusted clutch isn’t just about performance—it’s about safety and peace of mind, today and down the road. Proper clutch cable adjustment enhances your bike’s responsiveness and extends the life of your clutch components. Regularly checking and adjusting the clutch cable is key to maintaining optimal motorcycle performance and rider safety.

