

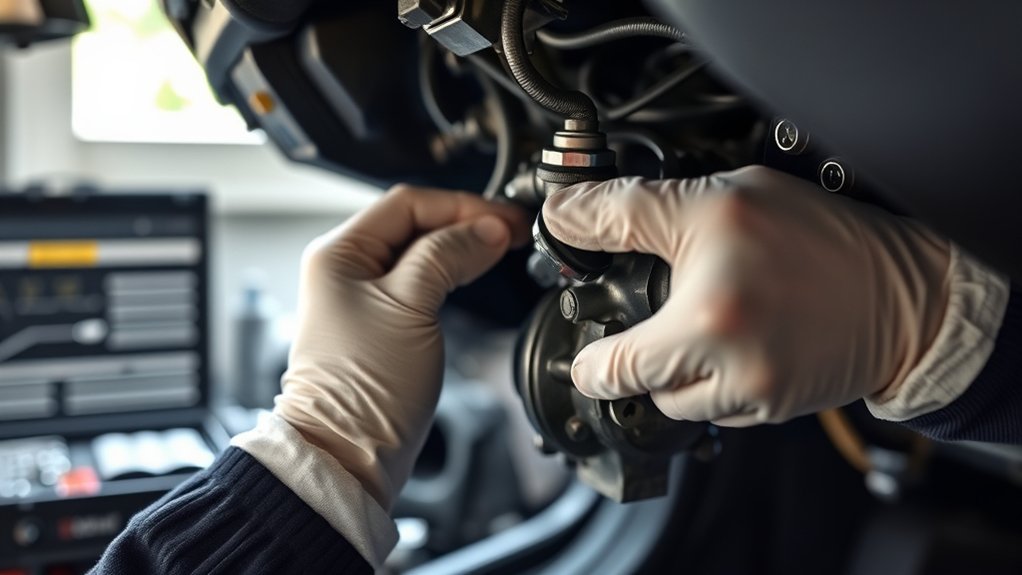
To change your clutch master cylinder in 7 easy steps, start by recognizing common failure signs like a spongy or soft pedal. Understanding these symptoms is crucial for timely replacement and smooth clutch operation.
Gather the necessary tools and locate the clutch master cylinder, typically found near the firewall in the engine bay.
Next, disconnect the hydraulic lines and any electrical connectors attached to the cylinder. Carefully drain the clutch fluid to prevent spills and contamination.
Remove the old clutch master cylinder and prepare for installation of the new unit.
Install the new clutch master cylinder securely, making sure all connections are tight and properly aligned.
Finally, bleed the clutch hydraulic system thoroughly to remove all trapped air. This ensures a firm pedal feel and restores proper clutch function.
Follow along for detailed tips on each step and avoid common mistakes during replacement.
Key Takeaways
- Identify clutch master cylinder failure by checking for a spongy pedal, fluid leaks, or difficulty shifting gears.
- Remove components blocking access, then disconnect hydraulic lines and electrical connectors from the old master cylinder.
- Drain brake fluid from the reservoir and hydraulic lines, then unbolt and remove the old clutch master cylinder.
- Install the new master cylinder by securing mounting bolts, reconnecting hydraulic lines, and plugging in electrical connectors.
- Bleed the clutch system to remove air, check for leaks, and ensure the clutch pedal feels firm before testing.
How to Tell If Your Clutch Master Cylinder Needs Replacement
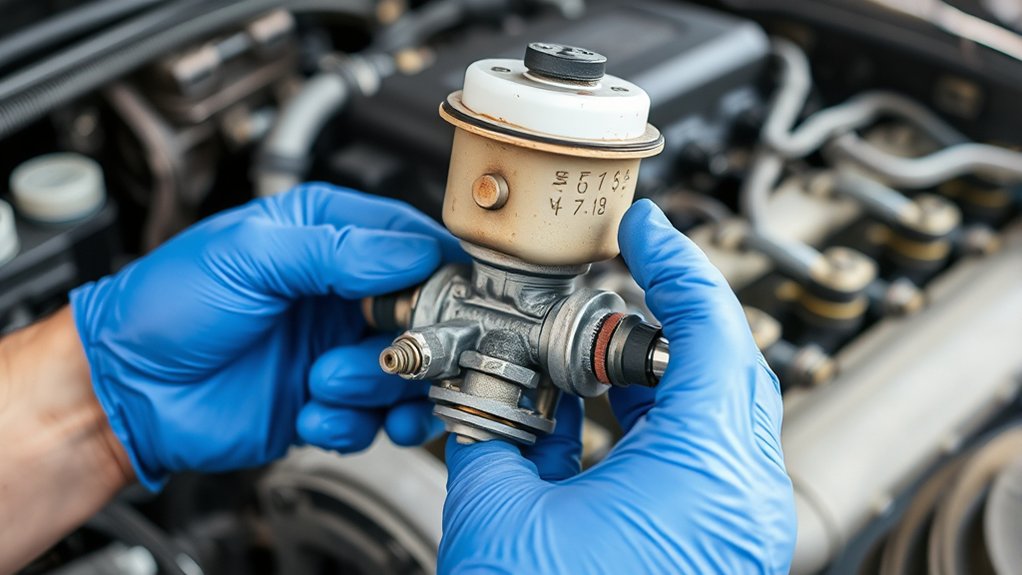
If you notice your clutch pedal feels spongy or sinks to the floor without resistance, your clutch master cylinder might be failing. You should also watch for difficulty shifting gears or the clutch not fully disengaging. Check under the dashboard and near the firewall for fluid leaks, as a leaking master cylinder often leaves a visible trail of brake fluid.
If you spot a low fluid level in the clutch master cylinder reservoir repeatedly, it’s a clear sign of a problem. Additionally, if you experience a burning smell or hear unusual noises when pressing the clutch, don’t ignore them. These symptoms together suggest it’s time to replace the clutch master cylinder to avoid further damage and maintain safe driving.
Gather Your Tools and Materials
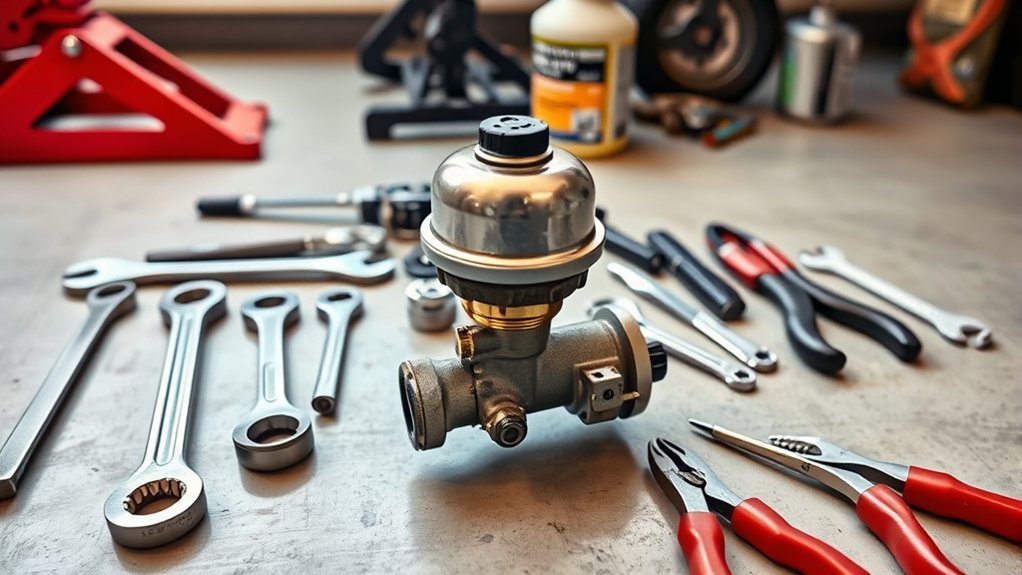
Before you begin replacing the clutch master cylinder, make sure you have all the necessary tools and materials on hand. You’ll need a new clutch master cylinder compatible with your vehicle, brake fluid, and a wrench set, including a line wrench for the hydraulic lines. Have a flathead screwdriver and pliers ready for removing clips or connectors.
Don’t forget a container to catch any leaking fluid and some shop towels for cleanup. Additionally, keep safety gloves and eye protection nearby to prevent injury from brake fluid exposure. Having a bleed kit or a clear hose will help when you bleed the system after installation.
Gathering these tools and materials beforehand saves time and helps the job go smoothly without interruptions.
Locate and Access the Clutch Master Cylinder
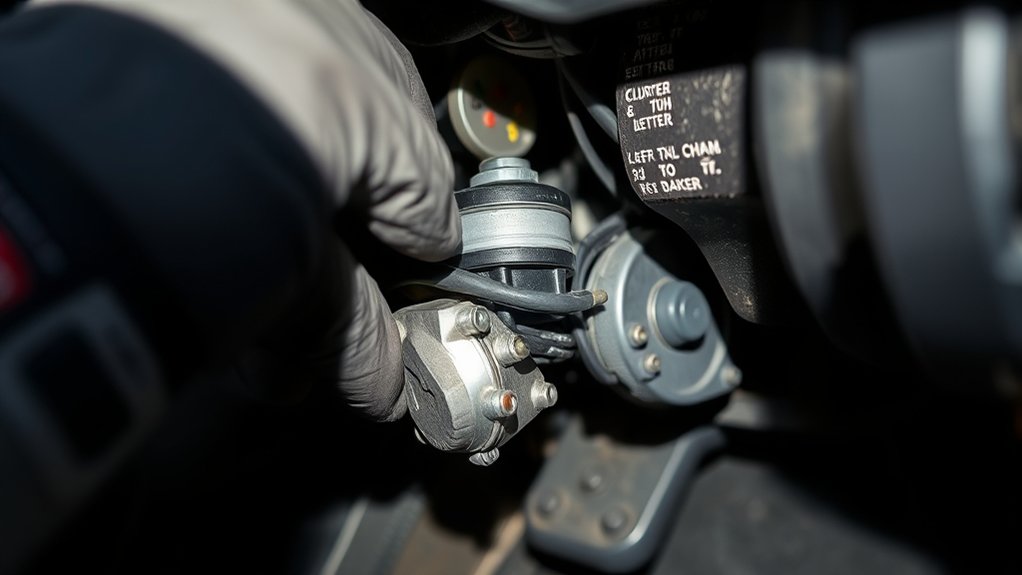
While working under the hood, you’ll find the clutch master cylinder mounted on the driver’s side firewall, typically near the brake master cylinder. It’s a small, cylindrical component connected to the clutch pedal inside the car. To access it, open the hood fully and locate the firewall area behind the engine bay.
You might need to remove or reposition any components blocking your view, such as the air intake or battery, depending on your vehicle’s layout. Use a flashlight to spot the reservoir tank attached to the cylinder, which stores the hydraulic fluid. Make sure you have enough space to work comfortably and reach the mounting bolts.
Once you’ve located and accessed the clutch master cylinder, you’re ready for the next steps in the replacement process.
Disconnect the Hydraulic Lines and Electrical Connectors
Now that you’ve located the clutch master cylinder, find the hydraulic line connections and prepare to disconnect them carefully. Make sure to safely unplug any electrical connectors to avoid damage.
Take precautions to prevent fluid leakage as you work.
Locate Hydraulic Line Connections
Where exactly do you find the hydraulic lines connected to the clutch master cylinder? Typically, the hydraulic line attaches to a metal or rubber connector on the side of the master cylinder, often near the firewall inside the engine bay. Look closely for a small threaded fitting where the hydraulic hose screws in.
This connection carries the brake fluid that actuates your clutch system. Before disconnecting, clean around the fitting to prevent dirt from entering the system. Use a flare nut wrench to loosen the hydraulic line carefully, avoiding damage to the fittings.
Identifying this connection precisely will make removing the old master cylinder easier and prevent leaks once you install the new part. Take your time to ensure you spot every related hydraulic connection.
Safely Disconnect Electrical Connectors
Before disconnecting the hydraulic lines, make sure you safely disconnect any electrical connectors attached to the clutch master cylinder. First, locate the connectors, which are usually clipped near the cylinder. Press the release tab on each connector to avoid damaging the locking mechanism.
Gently pull the connector away from the sensor or switch—don’t yank or force it. If the connector feels stuck, wiggle it slightly while pressing the tab. It’s important to handle these connectors carefully, as damaged wiring can cause clutch system malfunctions.
Once disconnected, secure the connectors away from the work area to prevent accidental reconnection or damage. After ensuring all electrical connections are safely detached, you’re ready to move on to disconnecting the hydraulic lines without risking electrical issues.
Prevent Fluid Leakage Tips
Although disconnecting the hydraulic lines and electrical connectors is necessary, you’ll want to take steps to prevent fluid leakage during the process. First, use a clean rag or shop towel to catch any dripping fluid immediately. Before loosening the hydraulic lines, place a small drip pan or container beneath the master cylinder to catch excess fluid.
You can also plug or cap the open lines quickly to minimize spills. Be sure to work slowly and carefully when disconnecting to avoid sudden fluid release. Additionally, wear gloves to protect your skin from brake fluid, which is corrosive.
Finally, have extra brake fluid on hand to top off the reservoir after reassembly, ensuring the system stays properly filled and free of air bubbles.
Drain the Clutch Master Cylinder Fluid
Since the clutch master cylinder holds hydraulic fluid, you’ll need to drain it completely to prevent spills and guarantee a smooth replacement. Start by locating the fluid reservoir under the hood. Use a turkey baster or a syringe to carefully extract as much fluid as possible from the reservoir.
Next, place a container underneath the vehicle to catch any remaining fluid. Loosen the hydraulic line fitting on the master cylinder with a wrench, allowing the fluid to drain out fully. Be ready to catch drips and keep rags handy to wipe any spills immediately.
Once drained, tighten the fitting back up to avoid contamination. Properly dispose of the old fluid according to local regulations. This step assures a cleaner workspace and prevents old fluid from mixing with the new system.
Remove and Install the New Clutch Master Cylinder
Now, you’ll disconnect the hydraulic lines carefully to avoid fluid spills.
Next, remove the mounting bolts that hold the old master cylinder in place.
Finally, install the new cylinder and secure it tightly before reconnecting everything.
Disconnect Hydraulic Lines
How do you safely disconnect the hydraulic lines when removing the clutch master cylinder? First, make sure the engine is cool and you’ve relieved any pressure in the system by pumping the clutch pedal a few times. Place a catch pan or container underneath the master cylinder to collect any fluid that might leak.
Use a line wrench to carefully loosen the hydraulic line fittings—this prevents rounding off the nuts. Gently twist and pull the lines free, avoiding any excessive force that could damage the hoses. Cap or plug the open lines immediately to keep dirt and moisture out.
Keep a rag on hand to wipe any spilled brake fluid, as it can damage paint and components. Taking these steps guarantees a clean, safe disconnection before you proceed with the next steps.
Remove Mounting Bolts
Before you remove the clutch master cylinder, make sure all hydraulic lines are disconnected and any spilled fluid is cleaned up. Locate the mounting bolts securing the cylinder to the firewall or bracket. These bolts are usually accessible from the engine bay, but you might need a flashlight or mirror for better visibility.
Use the appropriate socket or wrench to loosen and remove each bolt carefully. Hold the cylinder steady as you remove the last bolt to prevent it from falling or damaging nearby components. Once all bolts are out, gently pull the clutch master cylinder away from its mounting point.
Set the old cylinder aside in a safe place, ready for disposal or rebuilding. This step completes the removal process before you move on to installing the new unit.
Install And Secure Cylinder
Once you’ve removed the old clutch master cylinder, position the new unit carefully against the mounting point, confirming the alignment matches the bolt holes. Insert the mounting bolts and tighten them securely, but avoid over-tightening to prevent damage.
Next, reconnect the hydraulic line, making sure the fitting is snug to prevent leaks. If your vehicle has an electrical connector for the clutch switch, plug it back in. After securing everything, check that the push rod engages properly with the clutch pedal.
Finally, inspect all connections for tightness and confirm nothing is loose. This step completes the installation of the new clutch master cylinder, preparing you for the next phase: bleeding the system to remove air and restore proper clutch function.
Bleed the Clutch Master Cylinder to Remove Air
To guarantee your clutch master cylinder works properly, you need to bleed it to remove any trapped air. Air in the system can cause a spongy clutch pedal and poor performance. Start by filling the reservoir with fresh brake fluid.
Attach a clear hose to the bleeder valve on the slave cylinder, and place the other end in a container. Have a helper press the clutch pedal slowly. Open the bleeder valve to release air and fluid, then close it before your helper releases the pedal.
Repeat until no air bubbles appear.
| Step | Action |
|---|---|
| 1 | Fill reservoir with brake fluid |
| 2 | Attach hose to bleeder valve |
| 3 | Press clutch pedal slowly |
| 4 | Open valve, release air/fluid |
Frequently Asked Questions
What Causes a Clutch Master Cylinder to Fail Prematurely?
You’ll face premature clutch master cylinder failure if you use contaminated fluid, ignore leaks, or let air enter the system. Overheating and worn seals also cause issues, so regular maintenance keeps it working smoothly.
Can I Use Brake Fluid Instead of Clutch Fluid?
Like oil and water, you can’t interchange brake fluid with clutch fluid. While many clutches use DOT brake fluid, always check your manual.
Using the wrong fluid risks damage and leaks, so don’t cut corners.
How Long Does a Clutch Master Cylinder Replacement Take?
You’ll usually spend about 1 to 2 hours replacing a clutch master cylinder, depending on your experience and tools.
It’s best to take your time to avoid mistakes and guarantee everything’s properly bled and sealed.
Is It Safe to Drive With a Faulty Clutch Master Cylinder?
No, you shouldn’t drive with a faulty clutch master cylinder. It can cause clutch failure, making shifting difficult or impossible, which risks accidents and further damage.
Get it repaired promptly for your safety and vehicle reliability.
What Are the Symptoms of a Leaking Clutch Master Cylinder?
You’ll notice a soft or spongy clutch pedal, difficulty shifting gears, and fluid leaks under your car.
Your clutch might stick or fail to disengage properly.
These signs indicate a leaking clutch master cylinder.
Conclusion
Changing your clutch master cylinder is like tuning a delicate musical instrument—precision and patience make all the difference. Just as a single wrong note can ruin a melody, a missed step can affect your clutch’s performance.
Remember, with the right tools and a steady hand, you’ll get your clutch working smoothly again. Think of it as giving your car a fresh breath of life—clear, responsive, and ready to hit the road with confidence.
By following these steps to change your clutch master cylinder, you ensure a reliable and efficient clutch system. Proper maintenance helps avoid future issues and keeps your vehicle performing at its best. Taking the time to replace the clutch master cylinder correctly guarantees smoother gear shifts and a safer driving experience.

