

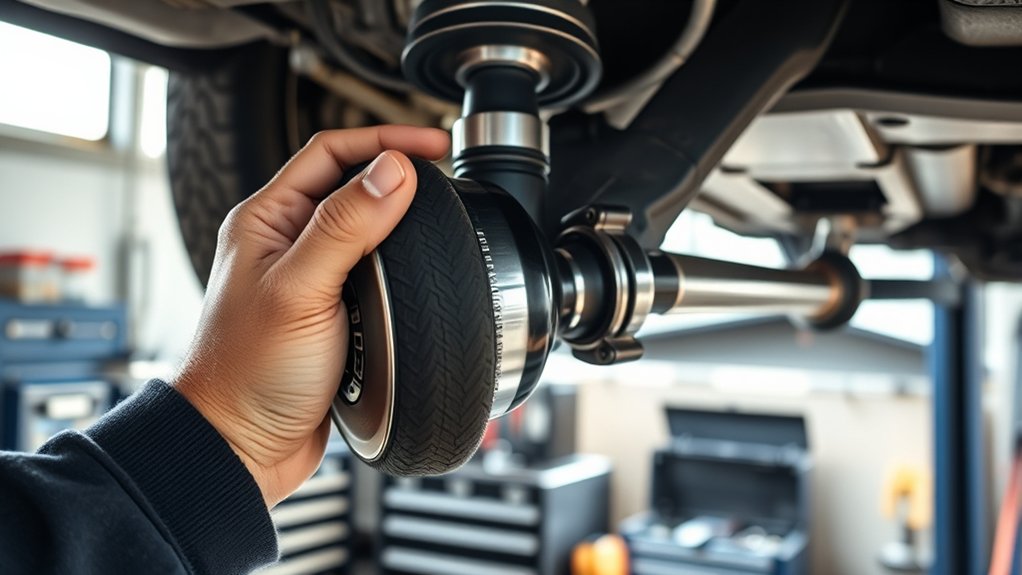
You can check your CV axle in seven simple steps to ensure your vehicle runs smoothly and safely. Listening for clicking noises or feeling vibrations while driving can help identify potential issues early. Gathering essential tools like a jack stand, socket set, and flashlight prepares you for a thorough inspection.
Safely lift your vehicle using proper jack points and secure it with stands. Inspect the CV boot carefully for any tears or grease leaks that could indicate damage.
Then, check for axle looseness by wiggling it near the joints to detect any play.
Turn the wheels to listen for clicking sounds or feel resistance, which may signal a problem.
If any issues persist after these checks, replacement of the CV axle may be necessary.
Discover more tips to keep your axle in top shape and maintain your vehicle’s performance.
Key Takeaways
- Safely lift the vehicle using jack stands and secure it with wheel chocks before starting the inspection.
- Check the CV boot for cracks, tears, or grease leaks indicating potential joint damage.
- Wiggle the axle near the joints to detect looseness or excessive play.
- Turn the wheels fully while listening for clicking or popping noises during movement.
- Inspect for vibrations or resistance during driving, replacing the axle if symptoms persist.
Recognize Signs of a Bad CV Axle
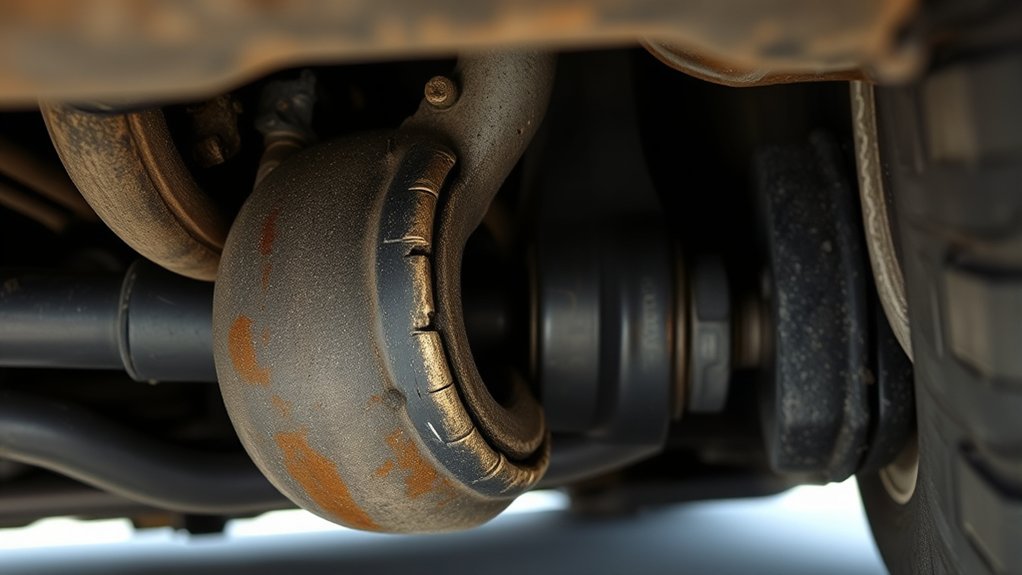
Although CV axles are built to last, you’ll notice clear signs when they start to fail. One of the most common symptoms is a clicking or popping noise when you turn your vehicle sharply. This noise usually means the CV joint is worn out.
You might also feel vibrations coming from the axle area while driving, especially during acceleration. Another sign is grease leaking from torn CV boots, which exposes the joint to dirt and moisture, leading to damage.
If you experience difficulty steering or notice uneven tire wear, your CV axle could be the culprit. Catching these signs early helps you avoid more costly repairs and keeps your car running smoothly and safely on the road.
What Tools You Need to Check Your CV Axle
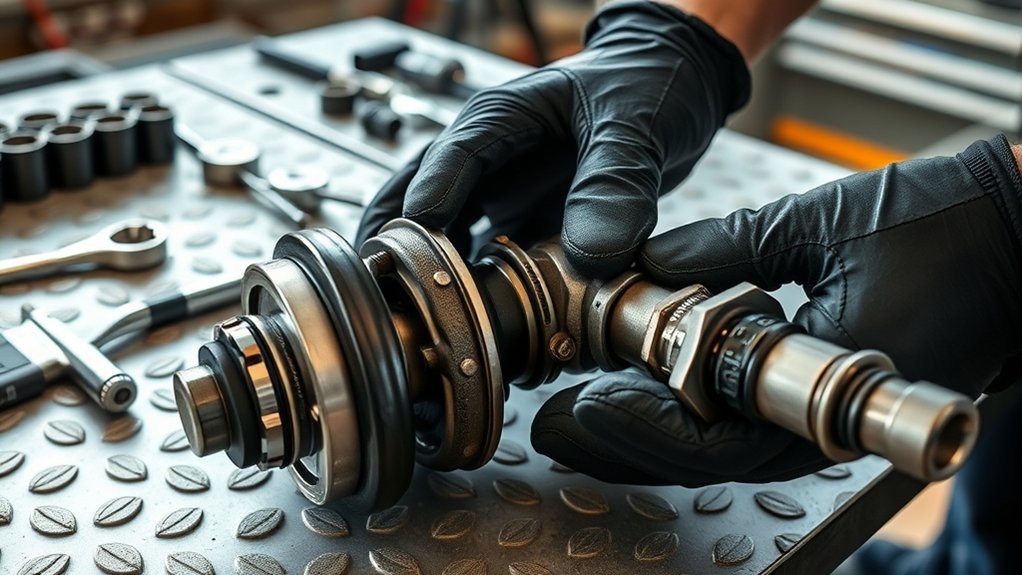
Before you start checking your CV axle, gather the right tools to make the job easier and safer. Having the proper equipment helps you inspect thoroughly and prevents damage or injury.
Here’s a list of essential tools you’ll need:
| Tool | Purpose |
|---|---|
| Jack stand | Supports the vehicle securely |
| Socket set | Removes axle nuts and bolts |
| Pry bar | Helps separate the axle |
| Flashlight | Illuminates tight spaces |
| Gloves | Protects your hands |
With these tools ready, you can confidently proceed with your inspection. Make sure each item is in good condition before starting your work. Proper preparation safeguards your work process and ensures a smoother CV axle check.
How to Safely Lift Your Vehicle to Check the CV Axle
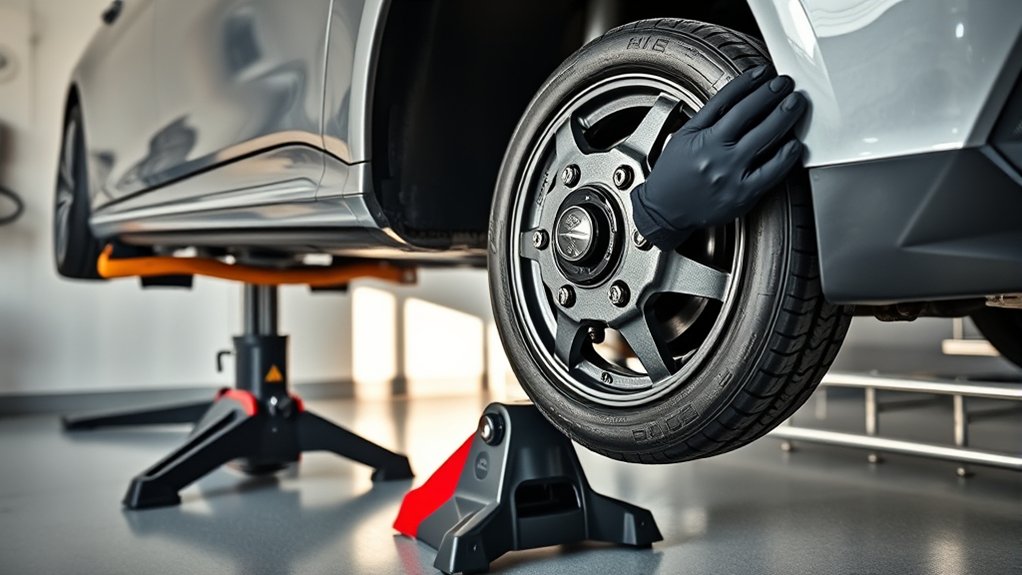
Before you start, make sure you select the proper jack points to avoid damaging your vehicle. Always use jack stands to support the car securely once it’s lifted.
Double-check that the vehicle is stable before you begin inspecting the CV axle.
Selecting Proper Jack Points
When you lift your vehicle to check the CV axle, choosing the right jack points is essential for safety and stability. Look for reinforced areas under the car frame or near the wheels, usually indicated in your owner’s manual. Avoid lifting on plastic parts or the exhaust system to prevent damage.
Use the table below as a quick reference for common jack points:
| Vehicle Type | Recommended Jack Points | Avoid Lifting On |
|---|---|---|
| Sedan | Pinch welds near front/rear wheels | Plastic trim |
| SUV | Frame rails or solid metal spots | Exhaust pipe |
| Truck | Heavy-duty frame near wheels | Gas tank |
| Compact Car | Front subframe and pinch welds | Suspension components |
| Minivan | Reinforced rocker panels | Brake lines |
Selecting proper jack points guarantees your vehicle stays steady while you inspect the CV axle.
Using Jack Stands Safely
After identifying the proper jack points, you’ll need to securely support your vehicle with jack stands to prevent accidents. First, position the jack stands under the recommended support locations near the wheels you’re lifting. Slowly lower the vehicle onto the stands, ensuring they make solid contact with the frame or designated points.
Never rely on the jack alone, as it can fail or slip. Double-check that each stand is stable and firmly in place before working underneath. Avoid uneven surfaces; always use jack stands on flat, hard ground to maintain stability.
Keep the parking brake engaged and wheel chocks on the opposite wheels to add extra security. Following these steps helps you lift your vehicle safely, making it easier and safer to check the CV axle.
Ensuring Vehicle Stability
Although lifting your vehicle might seem straightforward, ensuring its stability is essential to prevent accidents while checking the CV axle. Start by parking on a flat, solid surface and engaging the parking brake. Use wheel chocks to block the wheels remaining on the ground.
After lifting with a jack, always place jack stands securely under the manufacturer’s recommended lift points. Never rely solely on the jack.
Visualize the setup:
| Element | Purpose | Tip |
|---|---|---|
| Flat Surface | Prevents shifting | Avoid slopes or soft ground |
| Wheel Chocks | Stops rolling | Use on opposite wheels |
| Jack Stands | Supports weight safely | Position near lift points |
Following these steps keeps your vehicle stable, making your CV axle inspection safer and easier.
Inspect the CV Axle Boot for Damage
How can you tell if your CV axle boot needs attention? Start by closely examining the rubber boot surrounding the joint. Look for any visible cracks, tears, or holes that could let grease escape or dirt inside.
A damaged boot compromises the joint’s protection, leading to costly repairs. Check for these signs when inspecting:
- Grease splattered around the wheel well or suspension parts
- Dry, brittle, or hardened rubber on the boot surface
- Deep cracks or splits along the folds of the boot
- Dirt or debris visibly stuck inside or around the boot area
If you spot any of these issues, it’s essential to replace the boot promptly to prevent further damage to the CV axle.
Check Your CV Axle for Looseness and Wear
Why should you check your CV axle for looseness and wear? Because a loose or worn axle can cause vibrations, noise, and even loss of control while driving.
To check, grab the axle near the joints and try to move it up and down or side to side. If you notice excessive play, the axle may be worn out and need replacement.
| Symptom | What to Look For |
|---|---|
| Looseness | Excessive movement when you wiggle the axle |
| Wear | Visible rust, cracks, or uneven surfaces |
| Noise (preview) | Clicking or clunking sounds when turning (covered next) |
Regularly checking helps you catch problems early and stay safe on the road.
Test the CV Axle While Turning the Wheels
After checking your CV axle for looseness and wear, the next step is to test it while turning the wheels. This helps identify any clicking or popping noises that indicate joint issues. To do this, turn your steering wheel fully to one side, then slowly rotate the wheel back and forth while listening carefully.
Focus on these key points during the test:
- Listen for clicking or clunking sounds from the axle area
- Feel for unusual resistance or binding when turning
- Notice any vibrations or shuddering in the steering wheel
- Check if noises increase when accelerating while turning
Perform this test on both the driver and passenger sides to ensure thorough inspection. Catching problems here lets you address them before they worsen.
When to Replace Your CV Axle
You’ll want to replace your CV axle as soon as you notice persistent clicking noises, excessive vibration, or grease leaking near the axle boots. These symptoms indicate the joint is wearing out or the boot has torn, allowing dirt and moisture in, which accelerates damage.
If you feel vibration when accelerating or notice difficulty steering, it’s another sign the CV axle is failing. Don’t ignore these warning signs, as a broken CV axle can leave you stranded and cause further damage to your vehicle.
It’s best to replace the entire axle rather than just the boot, ensuring long-term reliability. Always consult a professional mechanic if you’re unsure, but acting quickly will keep your vehicle safe and running smoothly.
Frequently Asked Questions
What Is a CV Axle and How Does It Work?
A CV axle transfers power from your car’s transmission to the wheels, allowing them to turn and move. It flexes with suspension and steering, so you’ll notice smooth, consistent motion even on turns or bumps.
Can a Damaged CV Axle Affect Fuel Efficiency?
You wouldn’t expect a damaged CV axle to hurt your fuel efficiency, but it does. When it’s compromised, your engine works harder, wasting fuel.
Fixing it saves money and keeps your ride smooth and efficient.
How Much Does It Typically Cost to Replace a CV Axle?
Replacing a CV axle typically costs between $300 and $800, depending on your vehicle and labor rates. You’ll spend more on luxury or all-wheel-drive cars, but it’s worth fixing promptly to avoid further damage.
Prompt replacement can prevent additional issues, saving you money in the long run. Always consider getting a professional diagnosis to confirm the need for replacement. Prices can vary based on parts and service locations.
Are All CV Axles Universal or Vehicle-Specific?
You might think all CV axles fit any car, but they don’t. Each one’s designed for specific vehicles, so you’ll need the exact match to avoid issues.
Don’t risk it—always check compatibility first.
Can I Drive Safely With a Damaged CV Axle?
You shouldn’t drive safely with a damaged CV axle because it can fail suddenly, causing loss of control. Get it inspected and repaired promptly to avoid breakdowns and dangerous situations on the road.
Conclusion
Checking your CV axle is like tuning a guitar—neglect it, and the whole performance suffers. Just last month, a friend ignored a clicking noise until his car wouldn’t move, costing him triple the repair.
By following these simple steps, you’ll catch problems early and keep your ride smooth. Remember, a little care now saves you from a costly breakdown later, ensuring your journey stays steady and safe every mile.
Regular CV axle inspections help maintain vehicle stability and prevent unexpected failures. Use these 7 simple steps to check your CV axle and keep your car running reliably. Early detection is key to avoiding expensive repairs and ensuring your car’s longevity.

