

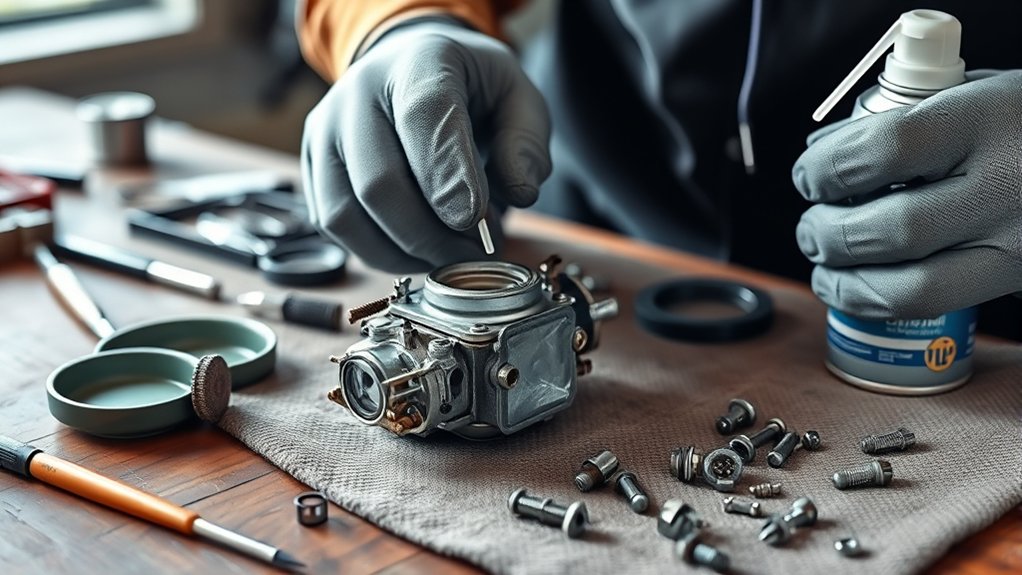
To clean a carburetor in seven easy steps, start by gathering your tools and safety gear. Proper preparation is essential for a smooth and efficient carburetor cleaning process.
Carefully remove the carburetor from your engine, ensuring you don’t damage any parts.
Next, disassemble the carburetor, keeping all parts organized to avoid confusion later.
Soak and clean the components thoroughly, inspecting each for wear or damage. This step is crucial to restore optimal engine performance.
Reassemble the carburetor precisely, making sure all parts fit correctly.
Reinstall it on the engine and check all connections to prevent leaks.
Finally, test the engine and adjust settings for smooth running.
Follow this process to master carburetor cleaning and improve your engine’s reliability.
Key Takeaways
- Remove the carburetor carefully, disconnecting fuel lines and mounting bolts, then place it on a clean workspace.
- Disassemble the carburetor by removing the float bowl, jets, needle valve, and keep parts organized for cleaning.
- Soak parts in carburetor cleaner for 30 minutes to 1 hour, then rinse and dry thoroughly to remove grime and deposits.
- Reassemble the carburetor ensuring all components fit correctly, linkages move smoothly, and gaskets are properly seated.
- Reinstall the carburetor, reconnect fuel and linkage lines securely, then test and adjust idle and mixture for smooth engine operation.
Gather Tools and Safety Gear
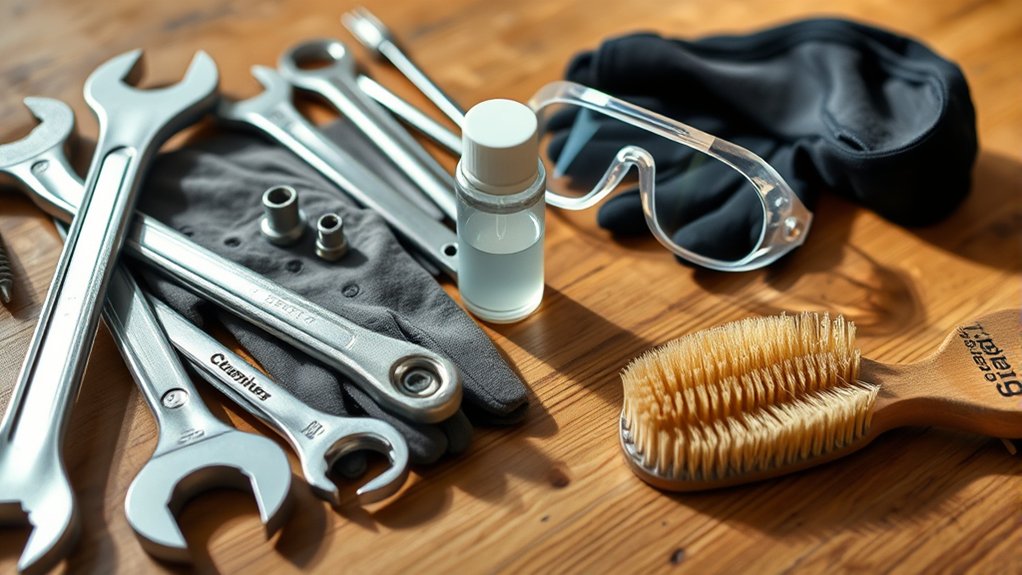
Before you begin cleaning your carburetor, make sure you have all the necessary tools and safety gear on hand. You’ll need a set of screwdrivers, both flathead and Phillips, to remove screws and components. A small wrench or socket set will help with bolts.
Don’t forget a carburetor cleaner spray for effective cleaning, along with a small brush or toothbrush to scrub away grime. Safety is key, so wear gloves to protect your hands from harsh chemicals and safety goggles to shield your eyes. It’s also a good idea to work in a well-ventilated area or outdoors to avoid inhaling fumes.
Having a clean workspace with a tray or container ready will help keep small parts organized and prevent losing anything during the process.
Remove the Carburetor From Your Engine
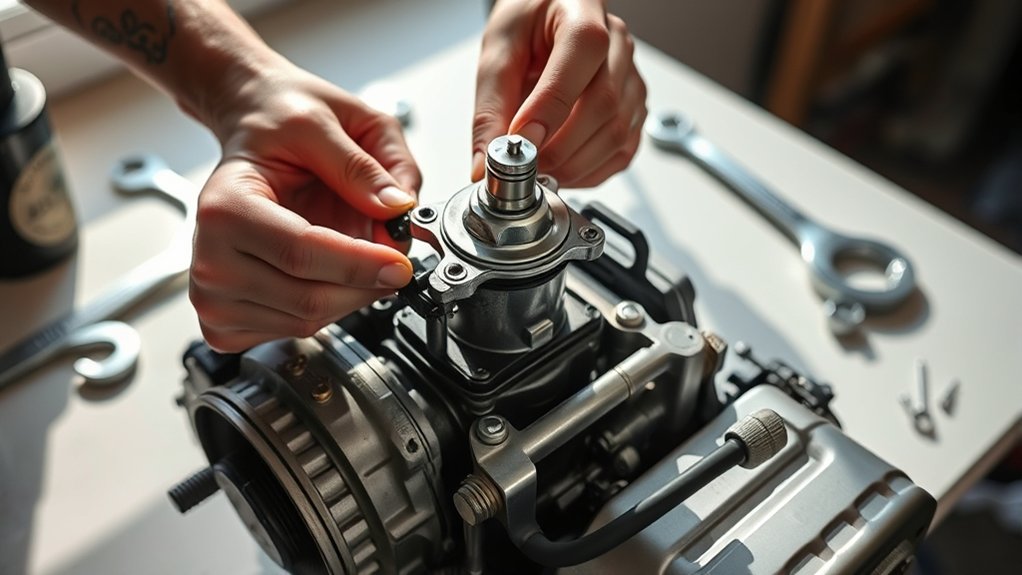
First, make sure you have the necessary tools ready to remove the carburetor safely. Next, disconnect the fuel lines carefully to avoid spills. Finally, detach the mounting bolts to free the carburetor from the engine.
Gather Necessary Tools
Although removing the carburetor may seem intimidating, having the right tools ready makes the process much smoother. Before you start, gather a basic toolkit including screwdrivers (both flathead and Phillips), a set of wrenches or socket set, and pliers. You’ll also need a clean container to hold screws and small parts so nothing gets lost.
A rag or shop towel is helpful to clean any spills or dirt around the engine. Wearing gloves protects your hands from grease and fuel residue. Having a flashlight or work light ensures you can see tight spaces clearly.
Disconnect Fuel Lines
Two fuel lines typically connect to your carburetor, and you’ll need to disconnect both carefully to avoid spills or damage. Before you begin, make sure the engine is off and cool. Place a container or rag underneath to catch any leaking fuel.
Then, follow these steps to safely disconnect the fuel lines:
- Use pliers to loosen any clamps securing the lines.
- Gently twist and pull the lines off the carburetor fittings.
- Cap or plug the lines to prevent dirt from entering.
- Dispose of or store any spilled fuel properly.
Handling the fuel lines with care prevents leaks and keeps your workspace clean, setting you up for the next step in removing the carburetor.
Detach Mounting Bolts
Once you’ve disconnected the fuel lines, you can move on to detaching the mounting bolts that secure the carburetor to the engine. Locate the bolts holding the carburetor in place—usually two or four—and choose the correct wrench or socket. Turn each bolt counterclockwise to loosen and remove them carefully.
Keep track of the bolts and any washers to avoid losing them. As you remove the last bolt, gently lift the carburetor away from the engine. If it feels stuck, wiggle it slightly without forcing to prevent damage.
Place the carburetor on a clean surface where you’ll work on cleaning it next. Removing the mounting bolts properly ensures you can safely remove the carburetor without harming any connected parts.
Disassemble the Carburetor for Cleaning
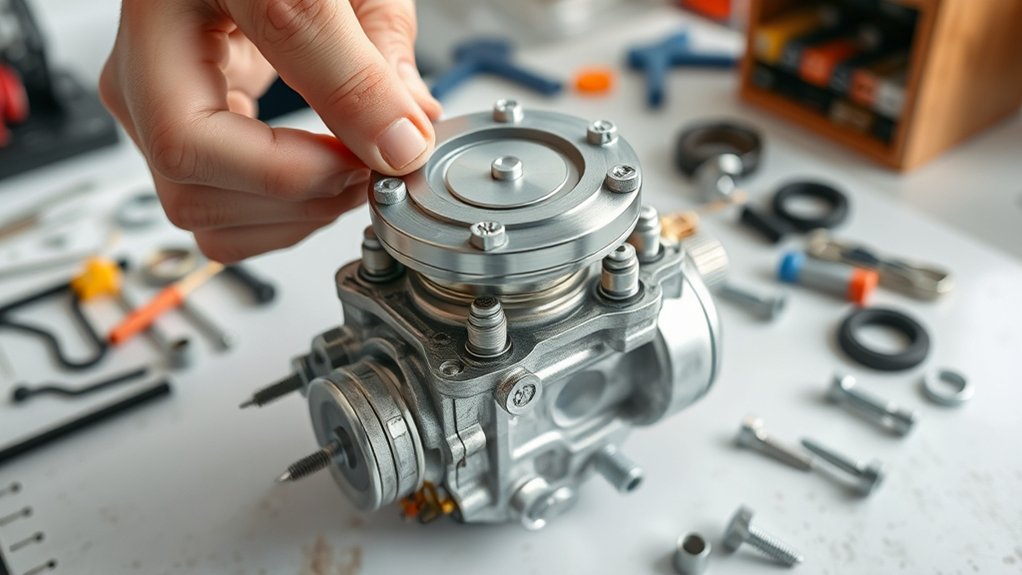
Before you start cleaning, you’ll need to carefully disassemble the carburetor to access all its parts. Take your time and keep track of everything as you go. Begin by removing the float bowl, then detach the float and needle valve.
Next, take out the jets—both the main and pilot jets. Be gentle to avoid damaging any components.
Here’s a quick checklist to help you disassemble smoothly:
- Remove the float bowl screws and lift off the bowl.
- Detach the float and needle valve carefully.
- Unscrew and remove the main and pilot jets.
- Keep all small parts organized in a container or on a magnetic tray.
Disassembling properly sets you up for a thorough cleaning in the next step.
Clean Carburetor Parts Properly
Now that you’ve taken the carburetor apart, it’s time to soak the components in a cleaner to remove built-up grime. Make sure you inspect each part carefully for any signs of wear or damage.
Proper cleaning and inspection will help your carburetor work smoothly when you put it back together.
Disassemble Carburetor Components
Although disassembling a carburetor may seem intimidating at first, you can handle it efficiently by following a systematic approach. Start by gathering the right tools and working in a clean, organized space. Carefully remove screws, springs, and other small parts, keeping track of everything.
Label parts if needed to avoid confusion during reassembly. Here’s how to get started:
- Remove the carburetor bowl and gasket gently
- Detach the float and needle valve carefully
- Unscrew the jets and keep them separate
- Take out the throttle and choke plates without forcing them
Soak Parts in Cleaner
How long you soak your carburetor parts can make a big difference in how clean they get. Use a carburetor cleaner solution and submerge metal parts, avoiding rubber or plastic components that might degrade. Generally, soaking for 30 minutes to 1 hour works well.
Agitate the parts occasionally to help loosen grime. After soaking, rinse with water or compressed air to remove residue.
| Part Type | Soak Time | Notes |
|---|---|---|
| Float Bowl | 30-45 minutes | Metal only |
| Jets | 30-60 minutes | Clean internal passages |
| Throttle Body | 45-60 minutes | Focus on carbon buildup |
| Screws | 20-30 minutes | Prevent rust |
| Linkages | 15-20 minutes | Inspect after soaking |
This method guarantees thorough cleaning without damaging parts.
Inspect For Wear Damage
A thorough inspection of your carburetor parts guarantees they’re in good condition before reassembly. After soaking, take a close look for any signs of wear or damage that could affect performance. Check parts carefully—you don’t want anything faulty slipping back in.
Focus on these key areas during your inspection:
- Cracks or fractures in the body and float bowl
- Worn or torn gaskets and O-rings
- Deformed or clogged jets and needles
- Corrosion or rust on metal surfaces
If you spot any damage, replace the part to avoid future issues. Catching problems now saves you from headaches later and keeps your carburetor running smoothly. Taking the time to inspect thoroughly ensures your cleaning effort pays off perfectly.
Inspect and Replace Worn Carburetor Parts
Before you start reassembling your carburetor, you need to carefully inspect each part for wear or damage. Check gaskets, seals, and O-rings for cracks or brittleness, as these can cause leaks. Examine the throttle shaft and butterfly valve for excessive play or corrosion, which affects performance.
Look closely at the float and needle valve for any signs of wear that might lead to fuel flooding or starvation. If you spot any damaged or worn components, replace them with exact matches to guarantee proper function. Don’t overlook small parts like jets and screws; even minor damage can impact fuel flow.
Taking the time to replace worn parts now will save you headaches and keep your carburetor running smoothly.
Reassemble the Carburetor Step-by-Step
Once you’ve replaced any worn parts, you can start reassembling the carburetor. Take your time to ensure each component fits perfectly. Begin by placing the float and needle valve back into the bowl, making sure they move freely.
Then, attach the diaphragm and gasket carefully to avoid leaks. Next, secure the carburetor body by tightening screws evenly to maintain a proper seal.
Keep these tips in mind:
- Handle small parts gently to avoid damage.
- Align linkages and springs as they were originally.
- Double-check that the choke and throttle plates operate smoothly.
- Use the diagram or photos you took during disassembly for reference.
Following these steps will help you put the carburetor back together correctly and ready for the next phase.
Reinstall and Test the Carburetor
After carefully reassembling the carburetor, you’ll want to reinstall it onto your engine, making sure all connections are secure and properly aligned. Begin by mounting the carburetor back in place, tightening bolts evenly to avoid leaks. Reattach the fuel line, throttle linkage, and any vacuum hoses exactly as they were.
Double-check all connections to prevent air or fuel leaks. Once installed, turn on the fuel valve and prime the carburetor if needed. Start the engine and let it idle, listening for smooth operation.
Adjust the idle speed and mixture screws according to your engine’s specifications to optimize performance. If the engine runs rough or stalls, recheck your work for loose connections or misalignments. Testing ensures your carburetor functions correctly and your engine runs reliably.
Frequently Asked Questions
What Causes a Carburetor to Get Clogged Frequently?
You get frequent carburetor clogs because dirty fuel, old gasoline, or debris build up inside. Also, moisture and varnish from evaporation can cause blockages, so you should use clean fuel and regularly maintain your carburetor.
Can I Use Carburetor Cleaner on Other Engine Parts?
You can use carburetor cleaner on some engine parts like throttle bodies and intake valves, but avoid rubber, plastic, or painted surfaces since it can damage them.
Always check the product instructions before applying it anywhere.
How Often Should I Clean My Carburetor for Optimal Performance?
You should clean your carburetor every 12,000 to 15,000 miles or annually, depending on usage.
If you notice rough idling or poor performance, clean it sooner to keep your engine running smoothly and efficiently.
What Are the Signs of a Failing Carburetor?
You’ll notice rough running, reduced responsiveness, and recurring stalling.
Sputtering sounds, smoky smells, and slow starts also signal a struggling carburetor.
Catch these clues early to keep your engine humming happily and hassle-free.
Is Professional Carburetor Cleaning Worth the Cost?
Yes, professional carburetor cleaning is worth it if you want thorough, precise work and to avoid mistakes.
You’ll save time and prevent further damage, especially if you’re not confident handling delicate parts yourself.
Conclusion
Now that you’ve gathered your tools, removed and disassembled the carburetor, cleaned and inspected every part, and reassembled it carefully, you’re ready to reinstall and test your work.
By following each step with care and patience, you’ll restore your engine’s performance, save money, and gain confidence in your skills.
Keep these steps in mind, trust the process, and enjoy the satisfaction of a job well done. Cleaning a carburetor properly is key to maintaining engine efficiency and prolonging its life.

