

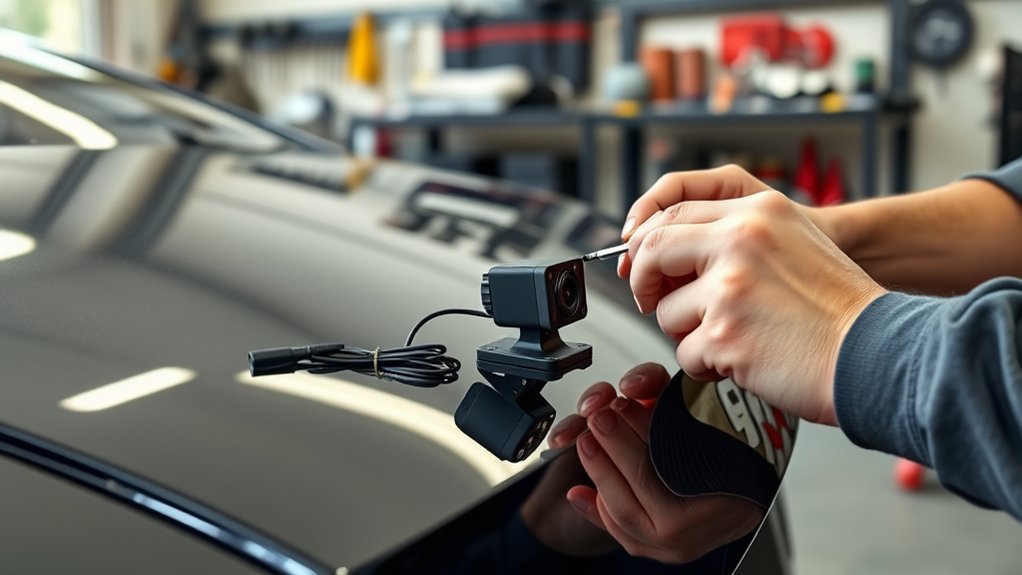
To install a reverse camera in your car, first pick one that fits your vehicle size and offers good resolution. Choosing the right reverse camera is essential for clear visibility and safety when backing up.
Gather tools like screwdrivers, wire strippers, and a multimeter to prepare for the installation process.
Mount the camera near the rear bumper, aiming for a clear, wide view.
Connect its power wires to your reverse light circuit and secure all wiring safely to avoid any electrical issues.
Finally, install the monitor inside and test the camera by shifting into reverse.
Follow these steps, and you’ll discover tips to perfect the setup, ensuring your reverse camera works efficiently every time you back up.
Key Takeaways
- Choose a compatible reverse camera based on your vehicle size and display system before starting installation.
- Mount the camera near the rear bumper or license plate, adjusting the angle for a clear, wide rear view.
- Connect the camera power wires to the reverse light wires using a multimeter to identify correct polarity.
- Route and secure all wiring safely, avoiding moving parts and insulating connections to prevent shorts.
- Test the system by shifting into reverse, verifying the image quality in various lighting conditions and adjusting as needed.
Choose the Right Reverse Camera for Your Car
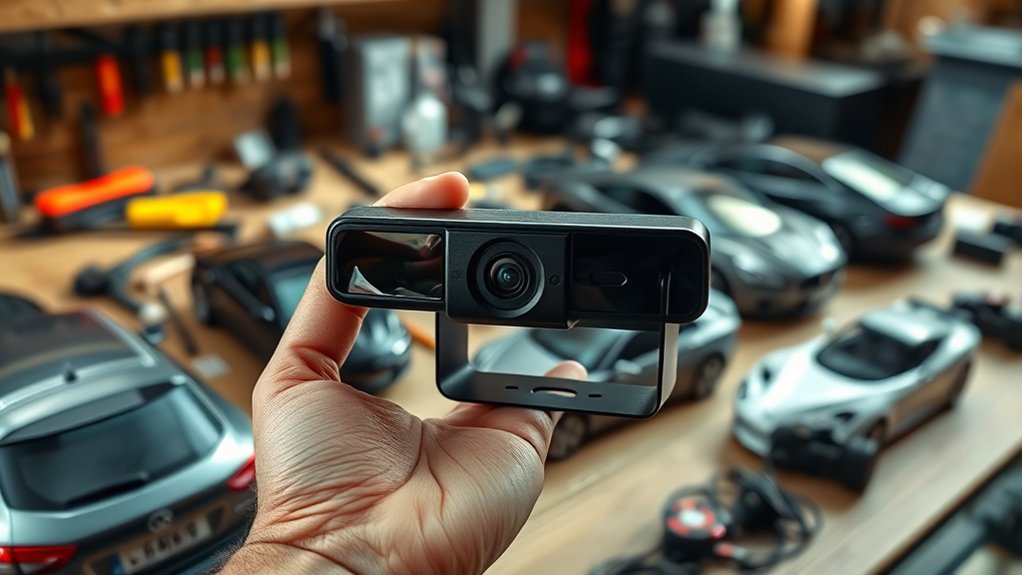
Before you begin installing, you need to pick the right reverse camera for your car. Start by considering your vehicle’s size and design. Compact cars might benefit from smaller, discreet cameras, while larger vehicles like trucks may need wider-angle lenses for better visibility.
Decide between wired and wireless models; wired cameras offer a stable connection, but wireless ones are easier to install. Check the camera’s resolution—higher resolution means clearer images. Also, look for night vision capabilities to guarantee safety in low light.
Compatibility matters too; make sure the camera works with your car’s display system or plan to install a compatible monitor. Finally, review user feedback and warranty options to avoid low-quality products. Choosing wisely sets you up for a smooth installation and reliable performance.
Gather Essential Tools and Set Up Your Workspace for Reverse Camera Installation
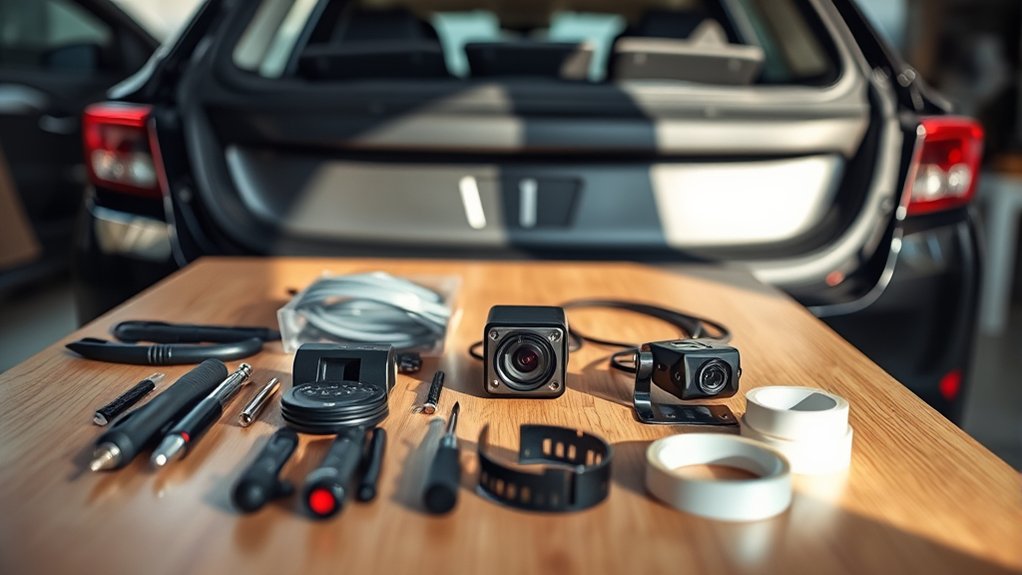
Once you’ve selected the right reverse camera for your vehicle, gather the necessary tools to assure a smooth installation process. Having everything ready before you start will save time and prevent frustration.
Set up a clean, well-lit workspace with easy access to your car’s rear area and dashboard. Organize your tools and components in one spot to avoid misplacing anything.
Here’s a quick list of essential tools and materials you’ll need:
| Tool | Purpose | Tips |
|---|---|---|
| Screwdrivers | Mounting camera, panels | Use both Phillips & flathead |
| Wire strippers | Prepare wires for connection | Work gently to avoid damage |
| Electrical tape | Secure and insulate wires | Use quality tape |
| Drill | Make mounting holes | Check drill bit size |
| Multimeter | Test electrical connections | Ensure proper voltage |
Locate the Best Mounting Spot for Your Reverse Camera
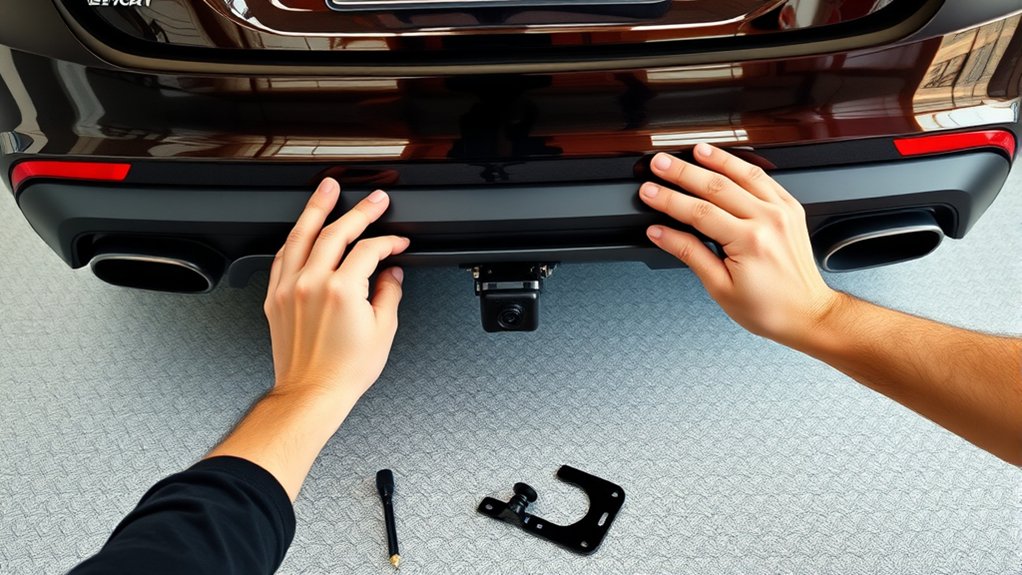
Although selecting the right camera is crucial, choosing the best mounting spot guarantees you get a clear, unobstructed view behind your vehicle. To find the perfect location, consider these steps:
- Center it horizontally – Aim for the middle of your rear bumper or license plate area for a balanced view.
- Avoid obstructions – Make sure no parts like the spare tire or trailer hitch block the camera’s line of sight.
- Check height – Mount it high enough to capture a wide angle but low enough to see close obstacles.
- Protect from elements – Choose a spot shielded from mud, water spray, and direct sunlight to keep the lens clear.
Following these tips helps guarantee your reverse camera performs at its best every time you back up.
Connect the Camera to Your Car’s Reverse Light Power Supply
Since your reverse camera needs power only when you’re backing up, you’ll connect it to your car’s reverse light circuit. First, locate the reverse light wires behind your car’s tail light assembly. Use a multimeter to identify the positive and negative wires.
Then, splice the camera’s power wires into these, guaranteeing a secure connection. This setup allows the camera to activate only when you shift into reverse.
| Step | Action | Tip |
|---|---|---|
| 1. Locate Wires | Find reverse light wires | Use a multimeter for accuracy |
| 2. Splice Wires | Connect camera power wires | Use wire taps or solder joints |
| 3. Secure Connection | Insulate with electrical tape | Prevent short circuits |
This method guarantees your camera powers on precisely when needed.
Route and Secure Your Reverse Camera Wiring Safely
After connecting your reverse camera to the reverse light power supply, you’ll need to route the wiring carefully to avoid damage and interference. Follow these steps to secure everything neatly:
- Plan Your Path: Trace a route from the camera to the car’s interior, avoiding moving parts like wheels and suspension.
- Use Existing Channels: Whenever possible, tuck the wire into factory wiring channels or under door seals to keep it hidden and safe.
- Secure with Clips or Zip Ties: Fasten the cable using clips or zip ties every few inches to prevent it from sagging or getting caught.
- Protect Against Abrasion: Wrap the wire in electrical tape or conduit where it might rub against metal edges to prevent wear over time.
This ensures your wiring stays secure and functional for the long haul.
Install the Monitor and Connect It to the Reverse Camera
When you’ve secured your wiring, the next step is to install the monitor inside your car and connect it to the reverse camera. First, choose a convenient spot on your dashboard or windshield where the monitor won’t obstruct your view but remains easily visible. Use the mounting bracket or adhesive provided to secure the monitor firmly.
Next, connect the video cable from the reverse camera to the monitor’s video input port. If your monitor requires power, tap into your car’s fuse box or an accessory power source, ensuring you use the correct voltage.
Finally, neatly tuck away any excess cables to prevent interference or damage. With the monitor installed and connected, you’re ready to move on to testing the system and adjusting the view.
Test the Reverse Camera and Adjust the View
Now it’s time to test your reverse camera and make certain the image quality is clear. Adjust the camera angle so you get the best possible view behind your car.
Don’t forget to check visibility during both day and night to ensure safety at all times.
Verify Camera Image Quality
How clearly can you see the area behind your car through the reverse camera? Verifying the image quality ensures you have a reliable view when backing up. Follow these steps to check and optimize the camera feed:
- Inspect the Display – Look for sharpness, brightness, and color accuracy on your monitor.
- Check for Distortion – Ensure there’s no blurriness, static, or lag in the image.
- Test in Different Lighting – View the feed in daylight and at night to confirm consistent clarity.
- Clean the Camera Lens – Remove any dirt or moisture that might obscure the view.
If the image isn’t clear, double-check your connections and clean the lens before proceeding to adjust the camera angle.
Adjust Camera Angle Properly
Although you’ve verified the image quality, you’ll need to test the reverse camera’s angle to guarantee it captures the ideal view behind your car. Start by shifting your car into reverse and observing the screen. If the view is too high or low, adjust the camera accordingly.
Tilt it downward to capture more of the ground or tilt upward to see further back. Make small adjustments and check repeatedly until you get a balanced perspective. Use this guide to help you fine-tune the angle:
| Camera Angle | Effect on View |
|---|---|
| Tilt Up | Sees further distance |
| Tilt Down | Shows ground closer |
| Level | Balanced view |
| Slight Left | Covers left side |
| Slight Right | Covers right side |
This guarantees a safe and thorough rear view.
Test Night and Day Visibility
Since lighting conditions vary greatly between day and night, you’ll want to test your reverse camera’s visibility in both settings to guarantee a clear and reliable image. Start by checking the camera feed during daylight, making sure the image is sharp and the angle covers the blind spots.
Then, test it at night with your car’s lights on to see if the view remains clear and free of glare or dark spots. If you notice any issues, adjust the camera angle or clean the lens.
Follow these steps to test and adjust effectively:
- Park in a well-lit area and observe the daytime image quality.
- Move to a dimly lit spot and check the nighttime feed.
- Adjust the camera angle if parts of the view are obstructed or dark.
- Clean the lens to remove dust or smudges affecting clarity.
Frequently Asked Questions
Can a Reverse Camera Improve My Car’s Resale Value?
Yes, adding a reverse camera can boost your car’s resale value. Buyers appreciate enhanced safety and convenience features, so installing one makes your vehicle more appealing and competitive in the market, increasing its overall worth.
Are Reverse Cameras Compatible With All Car Models?
You might be surprised, but reverse cameras aren’t universally compatible with all car models. You’ll usually find they fit newer vehicles easily, but older or unique designs might need special adapters or professional installation to work properly.
How Do I Clean and Maintain the Reverse Camera Lens?
You should gently wipe the reverse camera lens with a soft microfiber cloth and mild soapy water. Avoid harsh chemicals and abrasive materials to prevent scratches.
Regularly check for dirt or moisture to keep the view clear.
Can I Install a Reverse Camera Without Professional Help?
Yes, you can install a reverse camera without professional help if you’re comfortable with basic tools and wiring. Just follow clear instructions, take your time, and double-check connections to make certain everything works safely and correctly.
What Are the Legal Regulations for Reverse Camera Use?
You’ll need to check local laws since regulations vary by state or country. Many places require cameras to meet safety standards and be properly installed to avoid obstructing view or causing distractions while driving.
It’s important to ensure your reverse camera complies with these rules to stay safe and legal on the road. Always verify the specifications and installation guidelines in your area before use. This helps prevent any potential fines or safety issues.
Conclusion
Now that you’ve installed your reverse camera, you can enjoy safer, stress-free parking. Many think it’s complicated, but following these simple steps proves it’s quite doable. You don’t need to be a pro to improve your car’s safety and convenience.
Just take your time, double-check connections, and adjust the view for the best angle. With your new reverse camera, backing up will feel easier and more confident every time you drive. Installing a reverse camera enhances your vehicle’s safety and makes parking much more convenient.

