

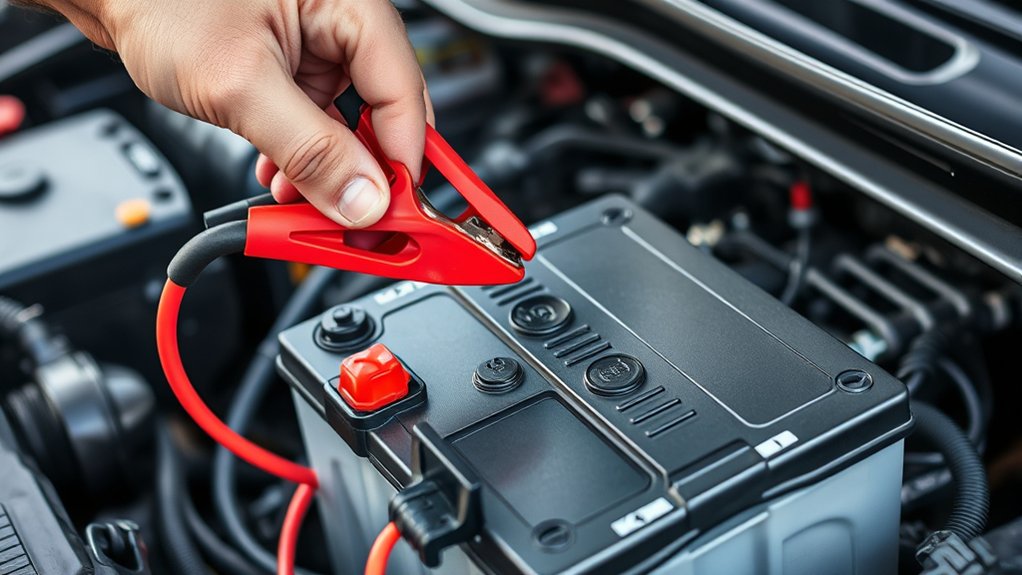
To hook up a battery charger safely and effectively, it’s essential to follow a clear, step-by-step process. Using a battery charger correctly ensures efficient charging and extends battery life.
In this guide, we’ll walk you through how to hook up a battery charger in 7 easy steps, covering everything from safety gear to proper connections.
First, gather gloves, goggles, and your battery charger. Identify the positive (+, red) and negative (–, black) terminals on your battery.
Always wear safety gear and inspect the battery for any signs of damage before proceeding.
Connect the positive charger cable to the positive terminal. Then, attach the negative cable to a metal surface away from the battery.
Set the charger voltage and mode according to your battery’s requirements.
Start charging and monitor the process closely.
When charging is complete, disconnect the negative clamp first.
Follow these steps closely, and you’ll guarantee safe, efficient charging with confidence.
Key Takeaways
- Wear gloves and safety goggles and work in a well-ventilated area to protect against sparks, acid, and harmful fumes.
- Identify the battery terminals, connecting the positive cable to the positive terminal first.
- Attach the negative cable to a clean, unpainted metal surface away from the battery to avoid sparks.
- Set the charger to the correct voltage and battery type before starting the charge.
- Monitor the charging process and disconnect the negative clamp first after fully charging the battery.
Gather Essential Tools and Safety Gear for Charging
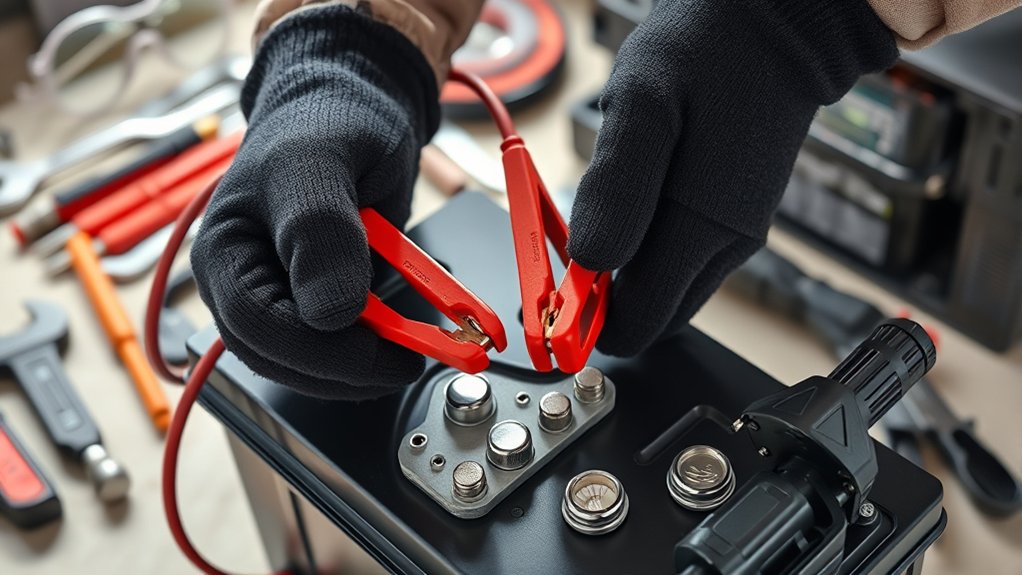
Before you begin charging your battery, make sure you have all the essential tools and safety gear on hand. You’ll need gloves to protect your hands from acid and sparks, and safety goggles to shield your eyes. A well-ventilated area is vital to avoid inhaling harmful fumes.
Grab a battery charger compatible with your battery type and a multimeter to check voltage before and after charging. Keep a wire brush handy to clean battery terminals if needed. Have a wrench ready if you need to loosen terminal clamps.
Avoid wearing loose clothing or jewelry that could get caught or cause a short circuit. Staying prepared with these tools and gear helps you work safely and efficiently when charging your battery.
Find Your Battery’s Positive and Negative Terminals

Once you locate your battery, identify its positive and negative terminals to guarantee proper connection. Look closely at the battery; the positive terminal usually has a plus sign (+) and is often marked with red. The negative terminal typically shows a minus sign (–) and is marked with black or blue.
Terminals may also differ in size—the positive one is often slightly larger. If your battery’s labels are worn or unclear, check your vehicle’s manual for confirmation. Make certain you can easily access both terminals without obstructions.
Properly identifying these terminals is essential because connecting the charger incorrectly can damage your battery or cause sparks. Take your time to verify you’re connecting to the right spots before moving on.
Review Safety Steps Before Connecting the Charger
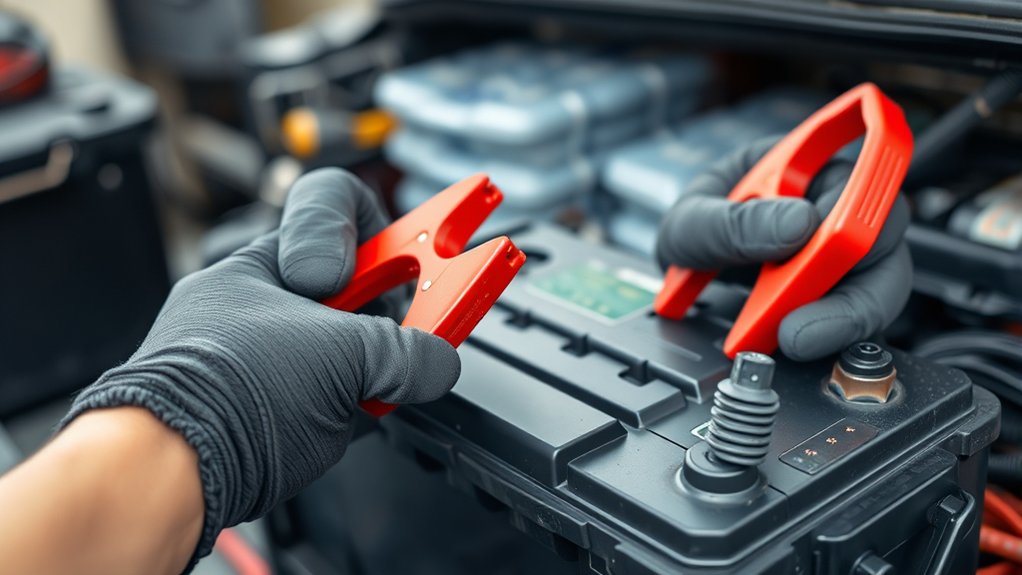
Although connecting a battery charger might seem straightforward, you should always take key safety precautions to protect yourself and your vehicle. First, wear safety goggles and gloves to shield your eyes and hands from sparks or acid. Make sure the charger is unplugged before you touch the cables.
Check your battery for cracks, leaks, or corrosion—if you spot damage, don’t proceed. Work in a well-ventilated area to avoid inhaling harmful gases. Remove any metal jewelry to prevent accidental short circuits.
Keep flames, sparks, and cigarettes away from the battery since it can emit explosive hydrogen gas. Finally, read your charger’s manual thoroughly to understand any specific warnings or instructions prior to connecting the charger. Taking these steps reduces risk and ensures a safer experience.
Connect the Charger Cables in the Correct Order
First, make sure you correctly identify the positive and negative terminals on your battery.
You’ll want to connect the positive cable before attaching the negative cable last.
Following this order helps prevent sparks and guarantees a safe connection.
Identify Positive And Negative
Before connecting the charger cables, you need to clearly identify the positive and negative terminals on both the battery and the charger. Mixing these up can cause sparks, damage, or even injury.
Look for the plus (+) sign or red color for positive, and the minus (–) sign or black color for negative. Double-check both battery and charger terminals before proceeding.
| Terminal | Emotion to Feel |
|---|---|
| Positive | Confidence in safety |
| Negative | Caution and awareness |
| Red | Alertness and focus |
| Black | Calm and steady control |
Identifying these correctly keeps you safe and ensures your battery charges properly without harm. Always take a moment to verify—you’ll thank yourself later.
Connect Positive Cable First
Now that you’ve identified the positive and negative terminals, connect the positive cable to the positive terminal on the battery first. This cable usually has a red clamp or marking, making it easy to spot. Firmly attach the clamp to guarantee a secure connection—loose connections can cause sparks or prevent the charger from working properly.
Take care not to touch the clamp to any metal parts of the vehicle to avoid short circuits. Once the positive cable is connected, you’re ready to move on to the negative cable. Connecting the positive cable first minimizes the risk of accidental grounding, keeping you safe during the charging process.
Always double-check that the clamp is solidly attached before proceeding.
Secure Negative Cable Last
Although you’ve connected the positive cable, you still need to attach the negative cable carefully to complete the circuit. Securing the negative cable last reduces the risk of sparks and short circuits.
Here’s how to do it right:
- Identify the negative terminal on the battery or vehicle chassis.
- Attach the negative clamp securely to a clean, unpainted metal surface away from the battery.
- Double-check that the clamp is tight and won’t slip during charging.
- Avoid connecting the negative clamp directly to the negative battery terminal to prevent sparks.
Set Battery Charger to the Correct Voltage and Mode
Since different batteries require specific settings, you’ll need to adjust your charger to the correct voltage and mode to guarantee safe and effective charging. First, check your battery’s label or manual to confirm whether it’s a 6-volt or 12-volt battery. Most automotive batteries are 12 volts, but some smaller ones might be 6 volts.
Set your charger accordingly to avoid damaging the battery or causing safety hazards. Next, select the charging mode based on your battery type—standard lead-acid, AGM, or gel cell—since each needs a different charge profile. Many chargers offer modes like slow charge, fast charge, or trickle charge; pick the one that fits your battery’s condition and size.
Proper settings ensure your battery charges efficiently without overheating or overcharging.
Start Charging and Monitor for Proper Operation
Before you start charging, double-check that all connections are secure and that the charger is set correctly. Once everything looks good, plug in or switch on the charger to begin the charging process.
As it runs, keep an eye on it to verify proper operation. Follow these steps to monitor effectively:
- Watch the charger’s indicator lights or display for any error messages or unusual readings.
- Feel the battery and charger to make sure they’re not overheating.
- Listen for any strange noises coming from the charger or battery area.
- Periodically check the battery voltage with a multimeter to confirm steady charging progress.
Monitoring these points helps you catch issues early and guarantee a safe, efficient charge.
Disconnect the Charger Safely When Charging Is Complete
Once the battery has reached a full charge and you’ve confirmed the charger is operating correctly, it’s time to disconnect the charger safely. First, turn off the charger to stop the electrical current.
Then, remove the negative (black) clamp before the positive (red) clamp to reduce spark risk. Avoid touching the clamps together or letting them contact metal surfaces.
Here’s a quick checklist to help you disconnect safely:
| Step | Action | Tip |
|---|---|---|
| 1 | Turn off the charger | Use the power switch |
| 2 | Remove negative clamp first | Prevent sparks |
| 3 | Remove positive clamp last | Keep clamps apart |
| 4 | Store charger properly | Avoid damage or moisture |
Frequently Asked Questions
How Long Does a Typical Battery Charge Take?
A typical battery charge takes about 4 to 24 hours, depending on the battery size and charger type.
You’ll want to monitor it to avoid overcharging and guarantee you get a full, safe recharge.
Can I Charge a Frozen or Damaged Battery?
You shouldn’t charge a frozen battery, as it risks explosion. Curiously, 40% of battery failures stem from damage or freezing.
If your battery’s damaged, it’s safer to replace it than attempt charging.
What Should I Do if the Charger Sparks When Connected?
If your charger sparks when connected, immediately disconnect it to avoid damage or injury. Check for loose connections, corrosion, or reversed polarity.
Clean terminals and reconnect carefully, ensuring correct polarity before turning the charger back on.
Is It Safe to Charge a Battery Indoors?
Charging a battery indoors is like walking a tightrope—you need caution. You can do it safely if the area is well-ventilated to prevent gas buildup. Always avoid sparks and keep flammable materials away.
How Often Should I Charge My Car Battery?
You should charge your car battery every few weeks if you don’t drive often. Regular charging prevents it from losing power, especially in cold weather.
Keep an eye on battery health to avoid unexpected issues.
Conclusion
Charging your battery is like fueling a race car before the big race—you’ve got to do it right to win the day. By following these seven simple steps, you’ll guarantee your battery gets the power it needs safely and efficiently. Just like a pit crew, your careful attention to safety and proper connection will keep everything running smoothly.
So, gear up, stay alert, and get ready to power on with confidence! Remember, knowing how to hook up a battery charger properly is key to maintaining battery health. Following these steps ensures a safe and effective charging process every time.

