

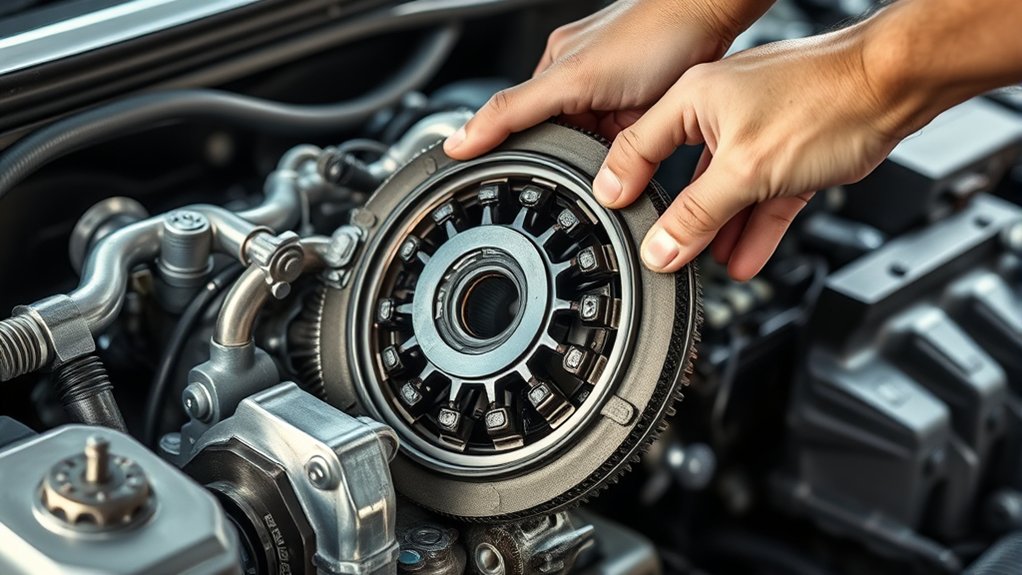
You’ll start by gathering quality tools and replacement parts essential for clutch replacement on your 2010 Honda. Proper preparation ensures a smooth and efficient process.
Then, safely lift and secure your vehicle to maintain stability throughout the repair.
Disconnect the battery and support the transmission before removing its bolts. Slide the transmission back carefully to access the clutch assembly inside.
Inspect all components for wear or damage to determine what needs replacement.
Next, align and install the new clutch precisely. Reinstall the transmission, making sure all connections are secure.
Adjust the clutch linkage or hydraulics for optimal performance.
Finally, test for smooth engagement to confirm the clutch operates correctly.
Follow these steps closely, and you’ll handle the job with confidence while uncovering helpful tips along the way.
Key Takeaways
- Safely lift and support the vehicle with jack stands, then disconnect the negative battery terminal before starting clutch replacement.
- Remove the transmission by unbolting and supporting it with a jack to access the clutch assembly attached to the flywheel.
- Inspect the clutch disc, pressure plate, release bearing, and flywheel for wear, cracks, or damage before installation.
- Align the new clutch disc with the flywheel using a clutch alignment tool, then evenly tighten the pressure plate in a crisscross pattern.
- Reinstall the transmission, adjust the clutch linkage or hydraulic system, and test for smooth engagement and proper pedal feel.
Understanding When to Replace a 2010 Honda Clutch
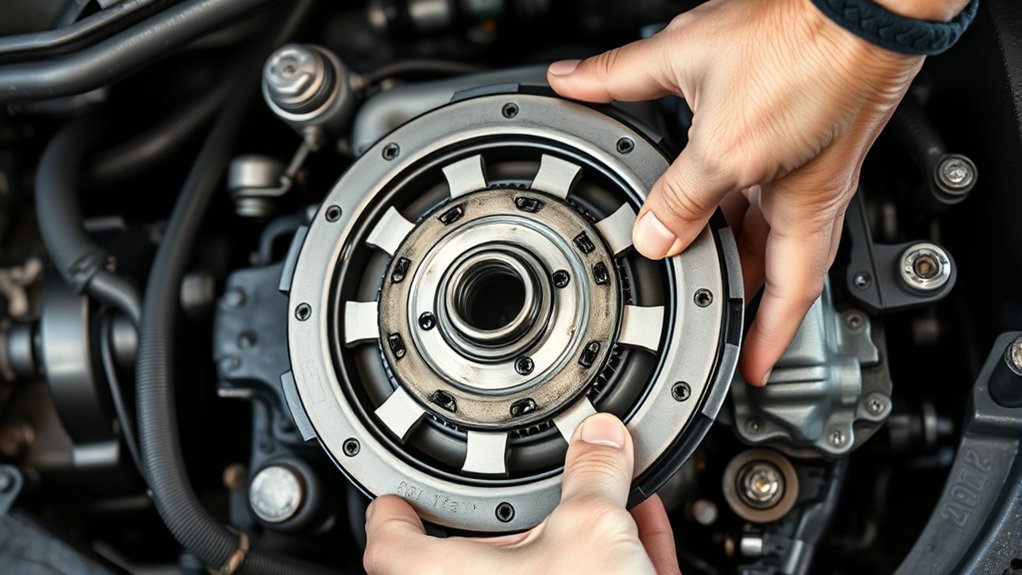
Although you might not notice it right away, your 2010 Honda’s clutch will show signs when it’s time for a replacement. You’ll feel it slipping if the engine revs increase without a corresponding rise in speed. If the clutch pedal feels soft, spongy, or harder to press, that’s another clue.
Grinding noises when shifting gears or a burning smell can also signal wear. You might experience difficulty shifting, or the clutch might engage very high on the pedal’s travel. These symptoms mean the clutch components, like the friction disc or pressure plate, are worn out.
Catching these signs early helps you avoid further damage and costly repairs. Paying attention to how your clutch behaves keeps your Honda running smoothly and safely.
Tools and Parts Needed for 2010 Honda Clutch Replacement
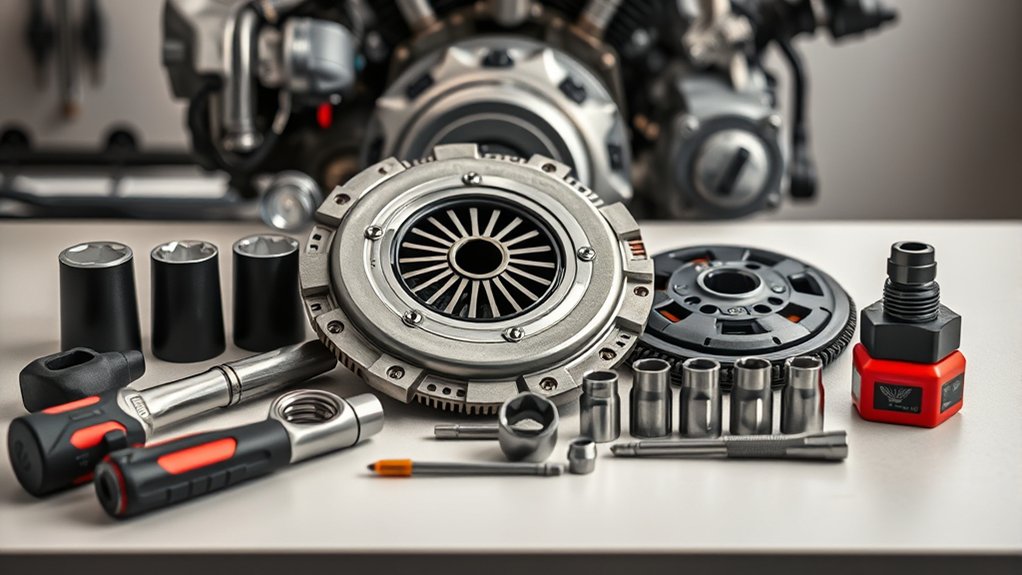
Before you start, make sure you have the essential tools like a socket set, clutch alignment tool, and jack stands. You’ll also need replacement parts such as the clutch disc, pressure plate, and release bearing.
Having everything ready will make the job smoother and prevent delays.
Essential Tools Overview
To replace the clutch on your 2010 Honda, you’ll need a specific set of tools and parts to guarantee a smooth and efficient process. Having the right tools assures you can safely and effectively complete each step without damage or delay.
Here’s a quick overview of the essential tools you’ll need:
| Tool | Purpose |
|---|---|
| Socket Set | Remove bolts and fasteners |
| Torque Wrench | Tighten bolts to spec |
| Clutch Alignment Tool | Align clutch during installation |
| Jack and Jack Stands | Safely lift and support vehicle |
Make sure your tools are in good condition and rated for automotive use. This preparation will help you work confidently and avoid common pitfalls during the clutch replacement.
Required Replacement Parts
When replacing the clutch on your 2010 Honda, you’ll need specific replacement parts to guarantee a reliable and lasting repair. Using the right components ensures smooth operation and prevents premature failure.
Here are the essential parts to have on hand:
- Clutch disc – the friction surface that engages and disengages the engine power.
- Pressure plate – applies pressure to the clutch disc, allowing power transfer.
- Release bearing (throw-out bearing) – helps disengage the clutch smoothly.
- Pilot bearing or bushing – supports the transmission input shaft.
Make sure to get OEM or high-quality aftermarket parts to maintain performance. Inspect the flywheel for damage and resurface or replace it if necessary before installing the new clutch components.
Preparing Your 2010 Honda for Clutch Removal
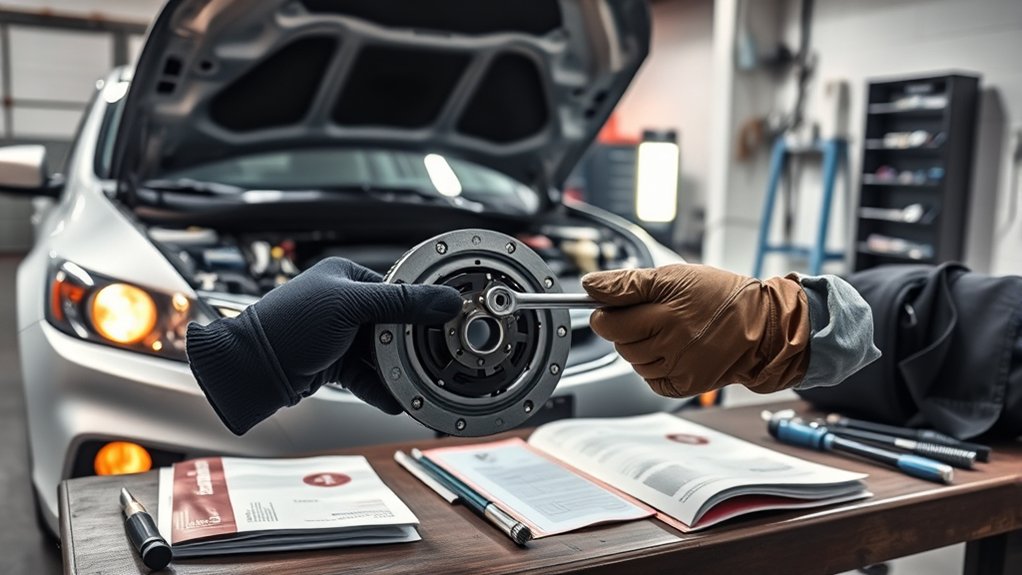
Before you start removing the clutch, make sure you follow a safety precautions checklist to protect yourself and your vehicle. Gather all the necessary tools and materials to avoid interruptions during the job.
Taking these steps will help you work efficiently and safely on your 2010 Honda.
Safety Precautions Checklist
Although replacing the clutch on your 2010 Honda is a straightforward process, you’ll need to follow essential safety precautions to protect yourself and your vehicle. Before you start, make certain you’re working in a well-ventilated area with plenty of light. Always disconnect the battery to prevent electrical hazards.
Use sturdy jack stands to securely lift and support the car—never rely solely on a jack. Wear gloves and safety glasses to protect your hands and eyes from debris and fluids. Follow this checklist:
- Disconnect the negative battery terminal to avoid electrical shocks.
- Use proper lifting equipment and secure the vehicle on jack stands.
- Wear protective gloves and safety glasses at all times.
- Keep your workspace clean and free of flammable materials.
These steps will keep you safe and your Honda protected.
Tools And Materials Needed
Gathering the right tools and materials guarantees your clutch replacement goes smoothly and efficiently. You’ll need a complete socket set with extensions, a torque wrench, and a clutch alignment tool specific to your 2010 Honda. Don’t forget a floor jack and sturdy jack stands to safely lift and support your vehicle.
Have a breaker bar handy for stubborn bolts, plus screwdrivers and pliers for smaller components. You’ll also want a clutch kit, including the clutch disc, pressure plate, and release bearing. Keep a drain pan ready for transmission fluid and some rags for cleanup.
Finally, grab some high-temperature grease for the release bearing and thread locker for bolts. Having everything on hand before you start will save time and prevent frustration.
Removing the Transmission and Accessing the Clutch
Once you’ve disconnected all necessary components, you can start removing the transmission to access the clutch.
Begin by supporting the transmission with a jack to prevent it from dropping. Then, follow these steps:
- Remove the bolts that secure the transmission to the engine block.
- Carefully slide the transmission backward, away from the engine.
- Lower the transmission slowly with the jack and set it aside.
- Locate the clutch assembly attached to the flywheel.
Make sure to keep track of all bolts and components during removal. Avoid forcing the transmission, as this could damage the input shaft or other parts.
With the transmission out of the way, you’ll have clear access to the clutch for removal and replacement.
Inspecting Clutch Components and Choosing a Replacement
Before you install a new clutch, you need to carefully inspect all the existing clutch components for wear or damage. Check the clutch disc for cracks or excessive wear, and examine the pressure plate for hot spots or warping. The release bearing should spin smoothly without noise.
Also inspect the flywheel surface for scoring or heat damage.
Use the table below to guide your inspection and replacement decisions:
| Component | Inspection Tip |
|---|---|
| Clutch Disc | Look for worn friction material |
| Pressure Plate | Check for cracks and warping |
| Release Bearing | Spin for smooth, noise-free operation |
| Flywheel | Inspect for scoring or heat spots |
Choose replacement parts that match OEM specifications for best performance and durability.
Installing the New 2010 Honda Clutch
Although installing the new clutch requires careful attention, you’ll find the process straightforward if you follow the correct steps. Begin by aligning the clutch disc with the flywheel using an alignment tool to guarantee proper fitting.
Next, position the pressure plate over the clutch disc and secure it loosely with bolts. Then, tighten the bolts evenly in a crisscross pattern to avoid warping the pressure plate.
Finally, reinstall the transmission carefully, making sure it mates correctly with the engine.
- Align clutch disc with flywheel using an alignment tool.
- Place pressure plate over clutch disc.
- Loosely insert and then evenly tighten pressure plate bolts.
- Reinstall transmission, ensuring proper engagement with the engine.
Testing and Adjusting Your New Clutch for Smooth Operation
After installing your new clutch, you’ll want to test its engagement and adjust the linkage to guarantee smooth operation. Start by pressing the clutch pedal several times to ensure it feels firm and consistent. With the engine off, shift through the gears to check for smooth progression without grinding.
If the pedal feels too loose or tight, adjust the clutch cable or hydraulic linkage according to your vehicle’s specifications. Next, start the engine and slowly release the clutch pedal while applying light throttle to confirm the clutch engages smoothly without slipping or grabbing. Fine-tune the pedal free play if needed to achieve the right balance.
Proper testing and adjustment will help extend your clutch’s life and assure a safe, comfortable driving experience.
Frequently Asked Questions
How Long Does a Clutch Replacement Take on a 2010 Honda?
You can expect a clutch replacement to take about 4 to 6 hours, depending on your experience and tools.
It’s a detailed job, so don’t rush and make sure you follow all safety steps carefully.
Can I Drive My Honda With a Slipping Clutch?
Sure, you can drive with a slipping clutch—if you enjoy the thrilling scent of burning rubber and unexpected stalls.
But don’t fool yourself; it’ll only get worse and cost you more.
Fix it soon!
What Are Common Signs of Clutch Failure in a 2010 Honda?
You’ll notice slipping, difficulty shifting gears, a burning smell, or a spongy clutch pedal.
If your Honda vibrates or the engine revs without acceleration, those are common signs your clutch is failing and needs attention.
Is It Cheaper to Replace the Clutch Myself or Hire a Mechanic?
It’s usually cheaper to replace the clutch yourself since you avoid labor costs, but you’ll need tools and time. If you’re inexperienced, hiring a mechanic saves frustration and guarantees quality—balancing cost versus convenience.
How Often Should I Check My Clutch Fluid Levels?
Don’t wait until the cows come home—check your clutch fluid every month. Keeping an eye on it helps you avoid sudden issues and keeps your ride smooth,
so you won’t get caught with your pants down on the road.
Conclusion
Replacing the clutch on your 2010 Honda might seem like a big task, but with patience and the right steps, it’s a smooth ride ahead.
Think of it as giving your car a fresh handshake – a little maintenance that keeps things running effortlessly. Once you’ve wrapped up the install and fine-tuned the feel, you’ll enjoy that satisfying connection every time you hit the road.
You’ve got this! Following these simple instructions will make clutch replacement on your 2010 Honda straightforward and successful.

