

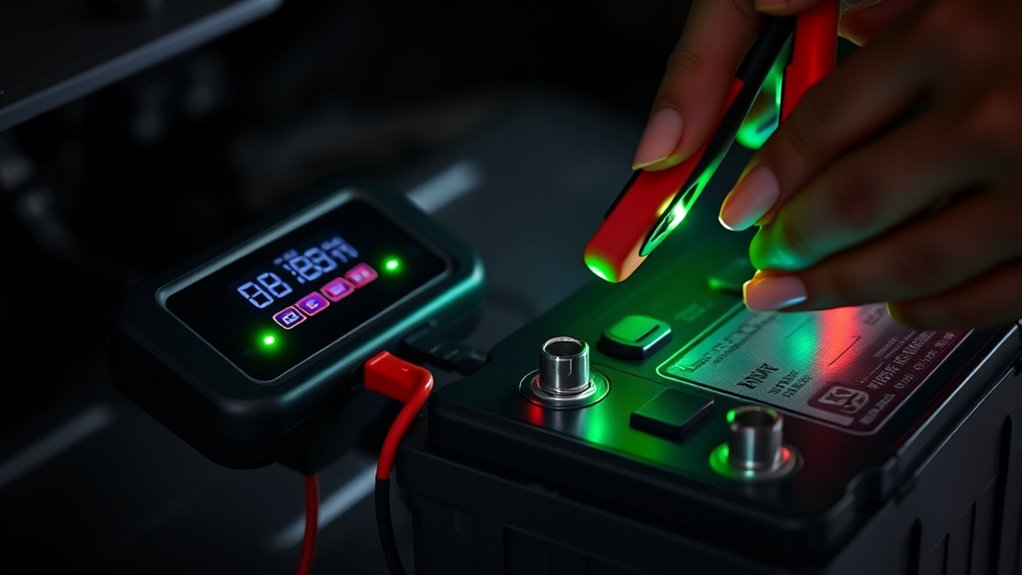
To use a trickle battery charger in 10 easy steps, start by verifying your battery and charger compatibility. Ensuring you have the right charger for your battery type is crucial for safe and effective charging.
Proper preparation of your vehicle and work area is the next important step. Clear clutter and ventilate the area to avoid any hazards.
Connect the positive clamp to the battery’s positive terminal, then attach the negative clamp to a clean metal ground.
Setting the correct voltage and charging mode on the charger follows.
Power on the charger and monitor the charging process closely. Watch the indicators to know when the battery is fully charged.
Finally, disconnect the charger safely to prevent any damage.
Following these steps will help you maintain your battery effectively while avoiding common issues. There’s more to learn about keeping your battery healthy and safe.
Key Takeaways
- Verify the battery type and voltage match the trickle charger’s specifications before use.
- Connect the positive clamp to the battery’s positive terminal and the negative clamp to a grounded metal surface.
- Select the correct voltage and charging mode on the charger, typically float or maintenance mode for trickle charging.
- Plug in and turn on the charger, then monitor charging status via indicator lights or a multimeter.
- Once fully charged, turn off the charger, unplug it, and disconnect clamps starting with the negative terminal.
Check Your Battery and Trickle Charger Compatibility
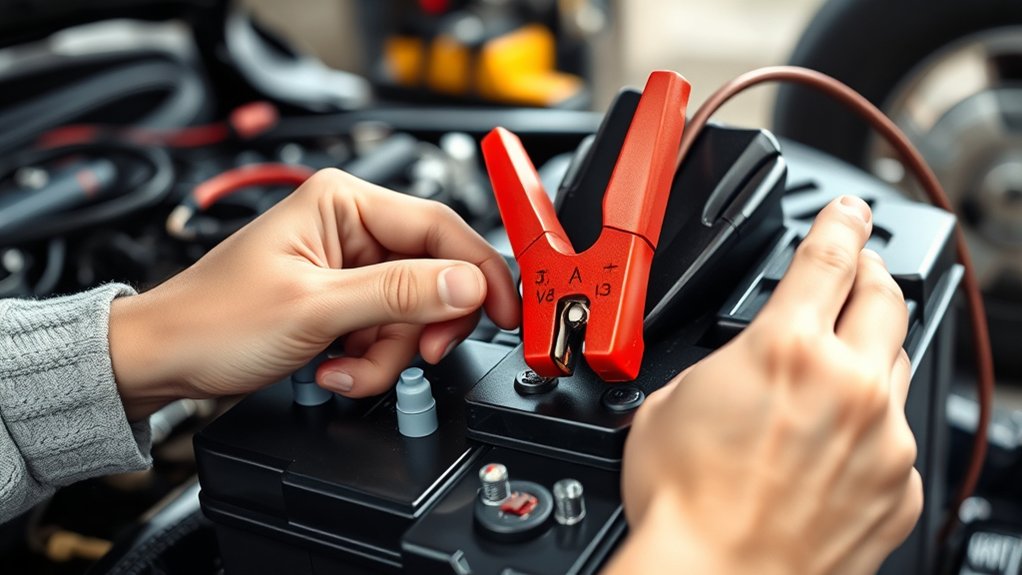
Before you connect your trickle charger, make sure your battery and charger are compatible. Check the battery type first—most trickle chargers work with lead-acid batteries, including flooded, AGM, and gel cell types. If you have a lithium-ion battery, verify that your charger supports it, as not all do.
Match the charger’s voltage to your battery’s voltage, usually 12 volts for cars and motorcycles. Using the wrong voltage can damage your battery or charger. Also, confirm that the charger’s amperage suits your battery size; trickle chargers typically provide low amperage for slow charging, which is ideal for maintenance.
Reading the manufacturer’s instructions for both devices prevents mishaps and guarantees safe, effective charging. Taking these steps helps protect your battery and extends its lifespan.
Prepare Your Vehicle and Work Area for Safe Charging
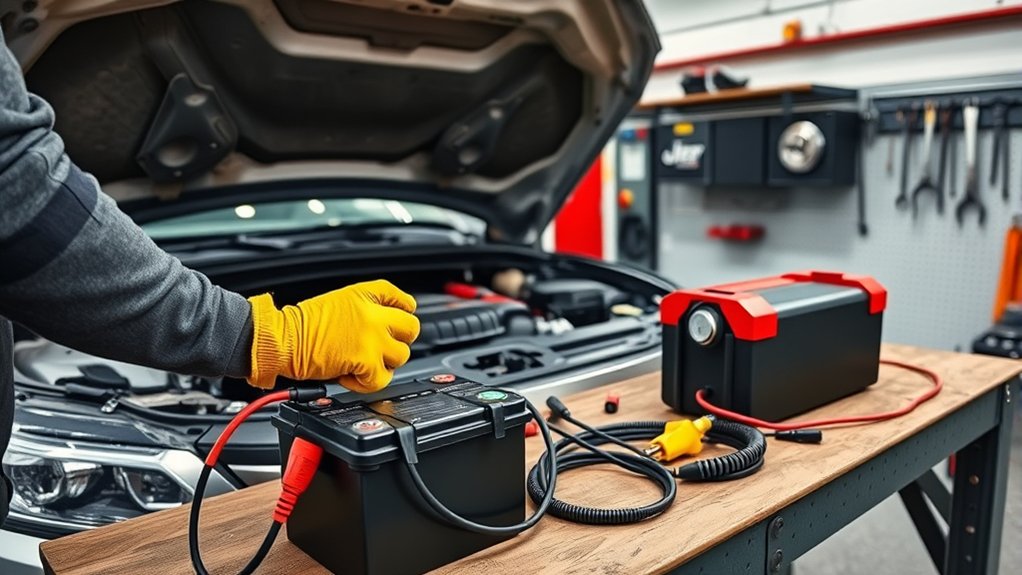
Before you start charging, make sure you clear and ventilate the area around your vehicle to avoid any buildup of harmful gases. Check your battery for cracks, leaks, or corrosion to guarantee it’s safe to charge.
Taking these steps helps protect you and your vehicle during the charging process.
Clear and Ventilate Area
While setting up your trickle battery charger, you’ll want to make sure the area around your vehicle is clear of any flammable materials and well-ventilated to prevent the buildup of harmful gases. Remove items like paper, rags, or fuel containers nearby to reduce fire risks.
If you’re working in a garage, open doors and windows to allow fresh air to circulate. This helps disperse any potentially explosive hydrogen gas that batteries can emit during charging. Avoid enclosed spaces without airflow since these gases can accumulate quickly.
Position your vehicle so you have easy access to the battery and charger cables without obstacles. Taking these precautions guarantees a safer environment for both you and your vehicle during the charging process.
Inspect Vehicle Battery
Once you’re sure the area is safe, take a close look at your vehicle’s battery to identify any visible damage or leaks. Check for cracks, bulges, or corrosion on the terminals and casing. If you spot any leaks or severe corrosion, avoid charging the battery—these issues can be hazardous.
Make sure the battery terminals are clean and free from debris; use a wire brush if necessary. Also, confirm that the battery is securely mounted to prevent movement during charging. If your battery has removable caps, carefully open them to check the electrolyte levels, topping up with distilled water if needed.
Ensuring your battery is in good condition before charging helps prevent accidents and improves charging efficiency.
Connect the Positive Clamp to the Battery
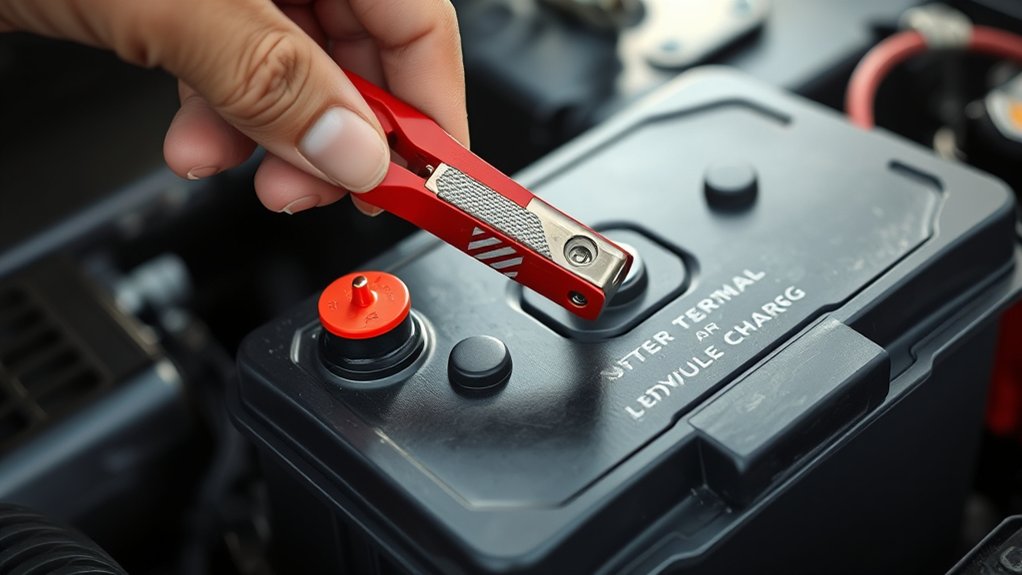
First, locate the positive terminal on your battery, usually marked with a plus sign or red cover. Next, attach the positive clamp securely to this terminal to guarantee a good connection.
Make sure the clamp is tight and won’t slip during charging.
Identify Positive Battery Terminal
Before connecting the positive clamp, you need to locate the positive terminal on your battery. Look for a plus sign (+) or the letters “POS” near one of the battery posts. The positive terminal usually has a red cover or red cable attached to it, making it easier to spot.
If you’re unsure, consult your battery’s manual or look closely at the battery itself for clear markings. Identifying the positive terminal correctly is crucial because connecting the clamp to the wrong terminal can cause sparks or damage your vehicle’s electrical system. Always double-check to ensure you’re attaching the positive clamp to the right post before moving on to the next step.
This careful attention keeps the charging process safe and effective.
Secure Clamp Firmly
After identifying the positive terminal, firmly attach the positive clamp to guarantee a secure connection. Make sure the clamp grips the metal part of the terminal tightly without slipping. A loose connection can cause poor charging or sparks, so double-check that it’s stable before proceeding.
Avoid touching the clamp to any other metal parts to prevent short circuits. If the terminal or clamp is dirty or corroded, clean it first with a wire brush for better contact. Once the positive clamp is secure, you can move on to connecting the negative clamp.
Taking these precautions assures your trickle charger works effectively and safely, extending your battery’s life without causing damage or hazards.
Connect the Negative Clamp Carefully to Prevent Sparks
When you connect the negative clamp, take extra care to avoid sparks that could ignite flammable gases near the battery. Follow these steps to connect it safely:
- Attach Last: Always connect the negative clamp after the positive one is securely attached to reduce spark risks.
- Choose Ground Point: Clamp the negative lead to an unpainted metal part of the vehicle’s chassis, away from the battery. This acts as a grounding point and minimizes spark danger.
- Avoid Battery Terminals: Never connect the negative clamp directly to the battery’s negative terminal, as this increases the chance of sparks near the battery.
Choose the Right Voltage and Charging Mode
Once you’ve connected the clamps safely, you need to select the correct voltage and charging mode for your battery. Most trickle chargers offer settings for 6V or 12V batteries, so make sure you match the charger’s voltage to your battery’s specifications. Using the wrong voltage can damage the battery or charger.
Next, choose the appropriate charging mode. Some chargers provide a simple trickle charge, while others include modes like maintenance or float charging. For long-term use, float mode is ideal as it prevents overcharging by supplying a low, steady current.
If your charger has an automatic mode, it can adjust charging based on battery condition, which is convenient and safer. Always double-check your settings before proceeding to avoid any issues.
Plug In and Power On the Charger
First, find a nearby power source that matches your charger’s requirements. Then, plug the charger securely into the outlet.
Finally, switch the charger on to begin the charging process.
Locate Power Source
Where should you plug in your trickle charger to get started? First, find a reliable power source that’s close to your vehicle or battery. This guarantees you won’t have to stretch the charger’s cord too far, which could be unsafe.
Follow these steps:
- Choose a grounded electrical outlet, preferably a standard 120-volt socket, to avoid electrical hazards.
- Make sure the outlet is dry and free from any moisture or debris for safety.
- Confirm the outlet’s circuit can handle the charger’s power requirements to prevent overloads or tripping breakers.
Activate Charger Switch
Before plugging in your trickle charger, double-check that the clamps are securely connected to the battery terminals. Once you’re sure of the connections, plug the charger’s power cord into the designated power source you located earlier. Make sure the outlet is properly grounded to avoid any electrical hazards.
After plugging it in, turn on the charger by flipping its power switch or pressing the “on” button, depending on your model. You should see indicator lights or a display confirming the charger is active and delivering a low, steady current to the battery. If your charger has adjustable settings, verify they’re set correctly before activation.
Now, your trickle charger is working to maintain your battery’s charge safely and efficiently.
Monitor Charging Progress and Check Battery Health
Although a trickle charger works slowly to replenish your battery, you’ll want to keep an eye on the charging progress to make certain it’s working effectively and not overcharging.
Here’s how you can do it:
- Check Indicator Lights: Most trickle chargers have LED indicators that show charging status—green means fully charged, while red or yellow indicates charging in progress.
- Measure Voltage: Use a multimeter to monitor your battery’s voltage periodically. A healthy, charging battery will show a steady increase toward the recommended voltage level.
- Inspect Battery Condition: Look for signs of swelling, leaks, or corrosion around terminals. These can signal battery health issues that charging alone won’t fix.
Know When Charging Is Complete
Once your battery reaches its full charge, you’ll want to recognize the signs that indicate the trickle charger has completed its job to avoid overcharging and potential damage. Most trickle chargers have an indicator light or display that changes color or switches off when the battery is fully charged. Pay attention to these signals as they provide a clear cue.
Additionally, the charger may switch to a maintenance mode, supplying just enough current to keep the battery topped off without overcharging. If your charger lacks these features, check the battery voltage with a multimeter; a fully charged 12-volt battery typically reads around 12.6 to 12.8 volts. By knowing these signs, you can guarantee your battery stays healthy and ready for use.
Disconnect the Charger Safely After Charging
When your battery has reached full charge, you’ll want to disconnect the trickle charger carefully to prevent sparks or damage. Follow these steps to do it safely:
- Turn off the charger – Always switch off the charger before unplugging it from the battery to cut power flow and avoid sparks.
- Disconnect the negative clamp first – This reduces the risk of short circuits or electric shock because the negative terminal is connected to the vehicle’s chassis.
- Remove the positive clamp next – Once the negative clamp is off, safely remove the positive clamp from the battery terminal.
After disconnecting both clamps, unplug the charger from the power outlet. Following this sequence protects both you and your battery from potential harm.
Troubleshoot Common Trickle Charger Problems
If your trickle charger isn’t working as expected, don’t worry—you can usually identify and fix common issues quickly. First, check all connections to verify the clamps are firmly attached to the battery terminals and free of corrosion.
If the charger won’t turn on, confirm it’s plugged into a functioning outlet and the fuse isn’t blown. Sometimes, the battery itself might be the problem; test it with a multimeter to see if it holds a charge.
If the charger’s indicator light is flashing or off, refer to the manual for specific error codes. Make sure the charger is compatible with your battery type.
Frequently Asked Questions
Can a Trickle Charger Overcharge My Battery?
No, a trickle charger won’t overcharge your battery if it has an automatic shutoff feature. It supplies a low, steady current, keeping your battery topped off without causing damage or overcharging.
How Long Does a Trickle Charger Take to Fully Charge?
You’ll find that a trickle charger gently takes its time, usually around 12 to 24 hours, to fully charge your battery. It’s designed to nurture, not rush, ensuring your battery gets a slow, steady boost.
This slow process helps maintain battery health over the long term. By charging at a low, consistent rate, it prevents overcharging and damage.
The result is a fully charged battery that lasts longer and performs better.
Is a Trickle Charger Safe to Use on All Battery Types?
No, you shouldn’t use a trickle charger on all battery types. It’s safe mainly for lead-acid and some sealed batteries.
Always check your battery’s specifications to avoid damage or unsafe conditions when charging.
Can I Leave a Trickle Charger Connected Overnight?
Yes, you can leave a trickle charger connected overnight because it supplies a low, steady charge that prevents overcharging.
Just make sure your charger has an automatic shut-off or float mode for safety and battery health.
Do Trickle Chargers Work With Lithium-Ion Batteries?
Trickle chargers don’t usually work with lithium-ion batteries because they require specific charging profiles. You’ll want a charger designed for lithium-ion to avoid damaging the battery or reducing its lifespan.
Always check compatibility first.
Conclusion
Using a trickle battery charger might feel like rocket science, but with these simple steps, you’re basically a charging wizard! Imagine never facing a dead battery drama again—your car’s power will be unstoppable.
Just follow the process, stay safe, and watch your battery come back to life like magic. Trust me, mastering this trickle charger will make you the hero of every road trip, emergency, and daily drive!
By using a trickle battery charger correctly, you ensure your battery stays healthy and reliable. This simple tool is essential for maintaining battery life and avoiding unexpected breakdowns. Embrace these steps to become confident with your trickle battery charger and enjoy worry-free journeys.

