

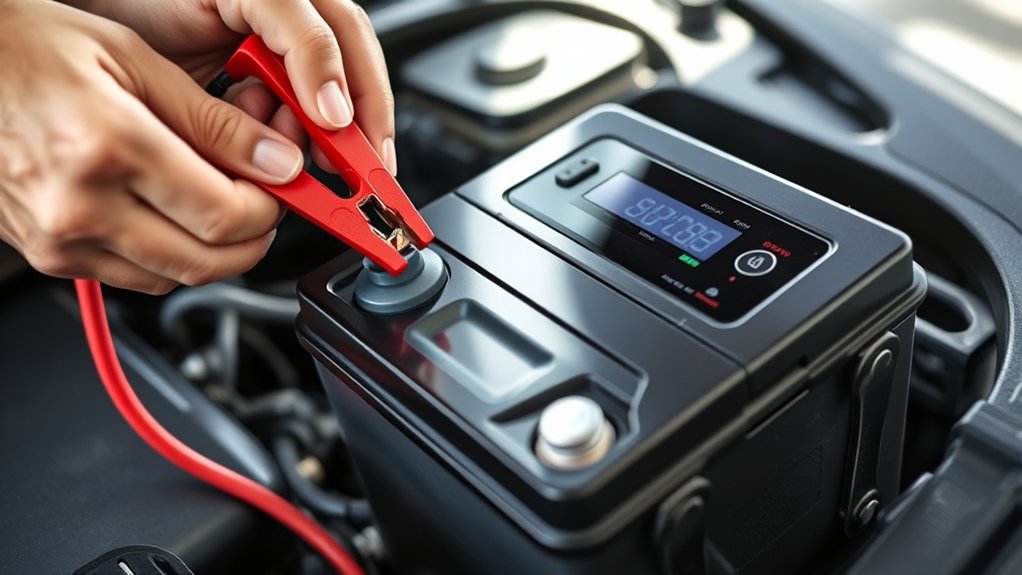
To use an auto battery charger in seven easy steps, start by parking your car safely in a well-ventilated area. Preparing the battery and charger is essential, so clean the terminals and inspect the cables for any damage before proceeding.
Next, identify the positive and negative terminals on the battery accurately. Set the charger to the correct battery type and voltage to ensure safe and effective charging.
Attach the clamps properly—positive to positive and negative to negative—and then start the charging process.
Monitor the progress regularly to avoid overcharging. Once the battery is fully charged, disconnect the clamps carefully in the reverse order.
Finally, test the battery’s charge and overall health to confirm it is ready for use. Keep reading for tips on charging safely and efficiently.
Key Takeaways
- Park the car, turn off the engine, and clean battery terminals before connecting the charger.
- Identify and confirm positive (+) and negative (–) battery terminals to avoid incorrect connections.
- Set the charger to match battery type and voltage, then securely attach clamps to correct terminals.
- Plug in and turn on the charger, monitor charging progress, temperature, and listen for unusual sounds.
- After charging, turn off and unplug the charger, remove clamps starting with negative, then test battery voltage.
Prepare Your Car and Charger Safely Before Charging
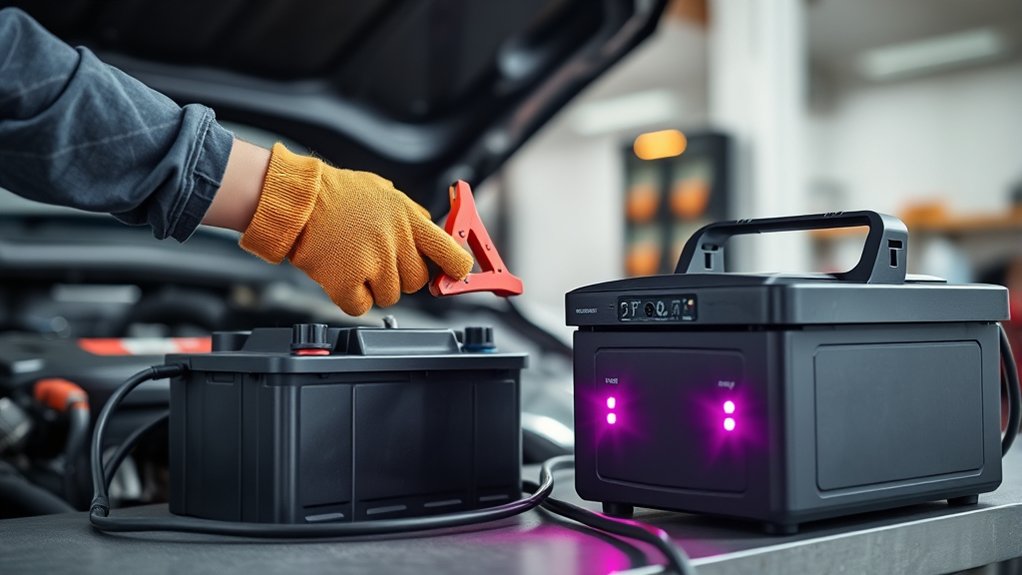
Before you connect the charger, make sure your car is parked in a well-ventilated area and the engine is off. This helps prevent dangerous gas buildup and guarantees your safety.
Next, open the hood and locate your battery. Clean any corrosion or dirt on the battery terminals using a wire brush or cloth to ensure a good connection. Check the charger and its cables for damage—frayed wires or cracks can cause hazards or malfunction.
Make sure your charger’s voltage matches your battery’s specifications. Finally, keep any flammable materials away from the battery and charger during the process. Taking these steps prepares you to connect the charger safely and efficiently, minimizing risks and guaranteeing a smooth charging experience.
Identify Your Battery’s Positive and Negative Terminals
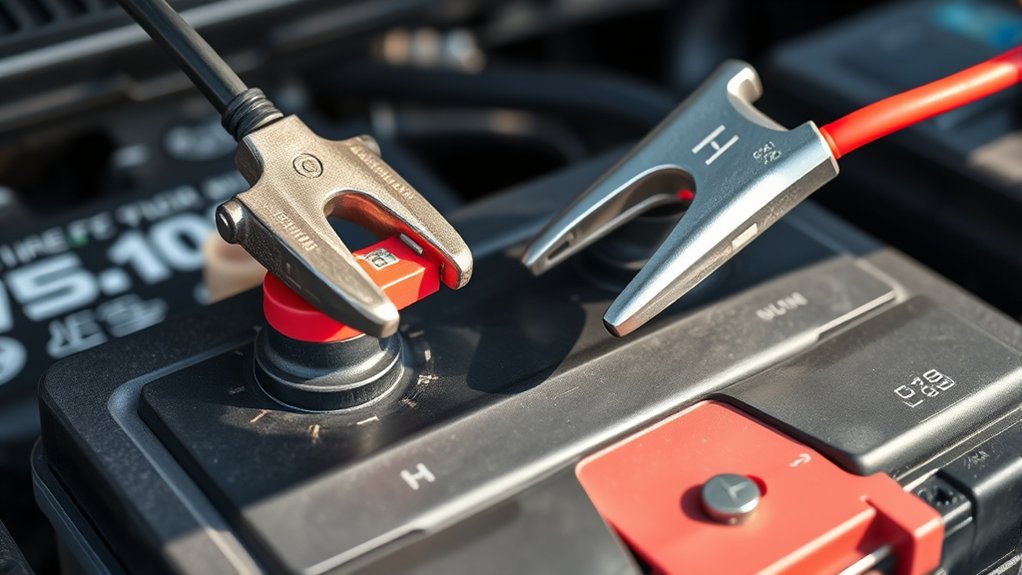
Once your car and charger are ready, the next step is to identify the battery’s positive and negative terminals. Look closely at the battery; the positive terminal is usually marked with a plus sign (+) and often has a red cover or cable. The negative terminal is marked with a minus sign (–) and typically has a black cover or cable.
If the markings are worn or unclear, check the battery case for labels or ask your vehicle’s manual for guidance. Identifying these terminals correctly is essential because connecting the charger clamps to the wrong terminals can damage your vehicle’s electrical system or cause sparks. Always double-check before attaching the charger to guarantee a safe and effective charging process.
Set Your Auto Battery Charger for Battery Type and Voltage
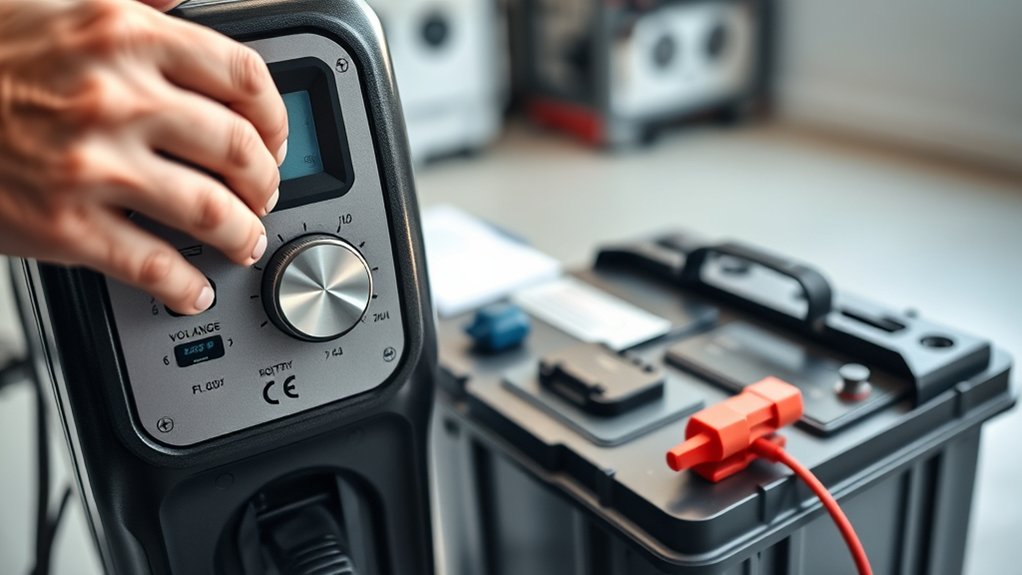
Although it might seem straightforward, setting your auto battery charger to the correct battery type and voltage is essential for safe and efficient charging. First, check your battery’s label or manual to find its voltage—most car batteries are 12 volts, but some vehicles use 6 or 24 volts.
Next, identify the battery type: flooded, AGM, gel, or lithium-ion. Many chargers have settings or switches that let you choose the right type; selecting the wrong one can damage the battery or reduce its lifespan.
Adjust the voltage selector to match your battery’s voltage precisely to avoid overcharging or undercharging. Taking these careful steps guarantees your charger works effectively without risking harm to your battery or vehicle’s electrical system.
Connect the Charger Clamps to the Battery Correctly
After setting your charger to the correct battery type and voltage, you’ll want to connect the clamps properly to guarantee a safe and effective charge. First, identify the positive clamp, usually red, and attach it to the battery’s positive terminal marked with a “+.” Make sure it’s secure and free from corrosion.
Next, take the negative clamp, usually black, and connect it to the negative terminal marked with a “–.” If your charger or vehicle manual advises, you can attach the negative clamp to a metal ground away from the battery to reduce sparks. Double-check that both clamps have a firm grip and aren’t touching each other or any metal parts.
Proper clamp connection ensures safety and maximizes charging efficiency.
Start Charging and Monitor the Auto Battery Charger
Once you’ve connected the clamps securely, plug in the charger and switch it on to start charging.
Keep an eye on the charger’s indicators to track the progress and guarantee everything’s running safely.
If you notice any unusual signs, turn off the charger immediately to prevent damage.
Connecting Charger Safely
How do you guarantee a safe connection when starting to charge your auto battery? First, ensure the charger is unplugged before attaching any clamps. Connect the positive (red) clamp to the battery’s positive terminal.
Then, attach the negative (black) clamp to a clean, unpainted metal part of the vehicle’s frame or engine block—away from the battery—to prevent sparks near flammable gases. Double-check that the clamps are secure and won’t slip off during charging.
Once connected properly, plug in the charger and switch it on according to your charger’s instructions. Avoid touching the clamps together or letting them contact other metal parts. Following these steps keeps you safe and protects your vehicle’s electrical system as you begin charging.
Monitoring Charging Progress
With the charger connected correctly and powered on, you’ll want to keep a close eye on the charging process to assure everything runs smoothly. Monitoring guarantees your battery charges safely and efficiently. Here’s what you should do:
- Check the indicator lights or display regularly to confirm the charger is working and the battery is charging.
- Observe battery temperature—if it gets too hot, disconnect the charger immediately to prevent damage.
- Listen for unusual sounds like buzzing or clicking, which might signal a problem with the charger or battery.
- Verify charging time matches the expected duration based on your battery’s specifications, stopping the charge once complete.
Safely Disconnect the Charger to Avoid Damage
Before disconnecting the charger, make sure your vehicle is turned off and the charger is unplugged from the power source. This prevents electrical surges that might damage the battery or charger.
Next, remove the negative (black) clamp first, then the positive (red) clamp to avoid sparks. Handle clamps carefully to prevent them from touching each other or metal surfaces.
| Step | Action | Tip |
|---|---|---|
| 1 | Turn off vehicle | Ensure no power flows |
| 2 | Unplug charger | Cut off electrical supply |
| 3 | Remove negative clamp | Prevents short-circuiting |
| 4 | Remove positive clamp | Avoids sparks and damage |
Following these steps keeps you and your battery safe during disconnection.
Test Your Battery After Charging and What to Do Next
Once you’ve finished charging your battery, you’ll want to test it to verify it holds a proper charge and functions correctly. Follow these steps to confirm your battery’s health:
After charging, always test your battery to ensure it holds a proper charge and works correctly.
- Use a multimeter to measure the voltage across the battery terminals. A fully charged battery should read around 12.6 volts or higher.
- Perform a load test using a battery tester to see if it maintains voltage under stress.
- Inspect the battery for any signs of damage, corrosion, or leaks.
- If the battery fails these tests, consider recharging or replacing it to avoid future issues.
Frequently Asked Questions
How Long Does It Typically Take to Fully Charge a Car Battery?
It typically takes 4 to 24 hours to fully charge a car battery, depending on the charger’s amperage and the battery’s condition.
You’ll want to monitor it to avoid overcharging and guarantee a full, safe charge.
Can I Use a Regular Charger for a Deep-Cycle Battery?
You can use a regular charger for a deep-cycle battery, but it’s not ideal. Deep-cycle batteries need slower, steady charging to avoid damage.
Using a charger with a deep-cycle setting works best to extend battery life.
What Are the Signs of a Failing Car Battery?
Think of your car battery as a weary traveler; if your engine struggles to start, lights dim, or you hear clicking sounds, it’s signaling fatigue.
You’ll want to check or replace it soon to avoid getting stranded.
Is It Safe to Charge a Frozen or Extremely Cold Battery?
You shouldn’t charge a frozen or extremely cold battery because it can cause damage or even explode. Let it thaw to room temperature first, then safely connect the charger to avoid risks and guarantee proper charging.
How Often Should I Charge My Car Battery to Maintain It?
You might think frequent charging wears out your battery, but you should charge it every few months if you don’t drive often. This keeps the battery healthy and prevents it from losing charge or dying unexpectedly.
Conclusion
Charging your car battery might seem tricky, but with the right steps, it’s simple and safe. While preparing and connecting require caution, the actual charging is straightforward and worry-free. You’ll go from uncertainty to confidence, from hesitation to action.
Once you’ve disconnected and tested your battery, you’ll know you’ve brought life back to your car. It’s a small effort that makes a big difference—quick, easy, and completely worth it. Using an auto battery charger correctly ensures reliable performance and extends your battery’s lifespan.

